23
`
1 Switch Looper
1. Add a 1 Switch Looper block to your preset.
2. Press the Looper switch.
The LED lights red, indicating the loop is recording.
3. Press the Looper switch again.
The LED lights green, indicating the loop is playing back.
4. Press the Looper switch again.
The LED lights amber, indicating the loop is in overdub mode. Subsequent presses
of the switch toggle between play and overdub mode.
5. While the Looper is in play or overdub mode, press and hold
the switch for 1 second.
The most recent recording is undone. Holding the switch again will redo the
recording.
6. Quickly double-press the Looper switch.
Playback/recording stops and the LED lights white, indicating a loop is in memory.
7. While Looper playback/recording is stopped, press and hold
the switch.
The recording is deleted and the LED lights dim white.
IMPORTANT! You may change presets while looping, but loop playback will
stop unless the preset you select includes the same type of looper block.
Preset EQ
EverypresethasonePresetEQblock.There'snodierencebetweenthePresetEQ
blockandchoosinganEQmodelforoneofthefouravailableeectsblocks(except
for their respective icons, so you know which is which!).
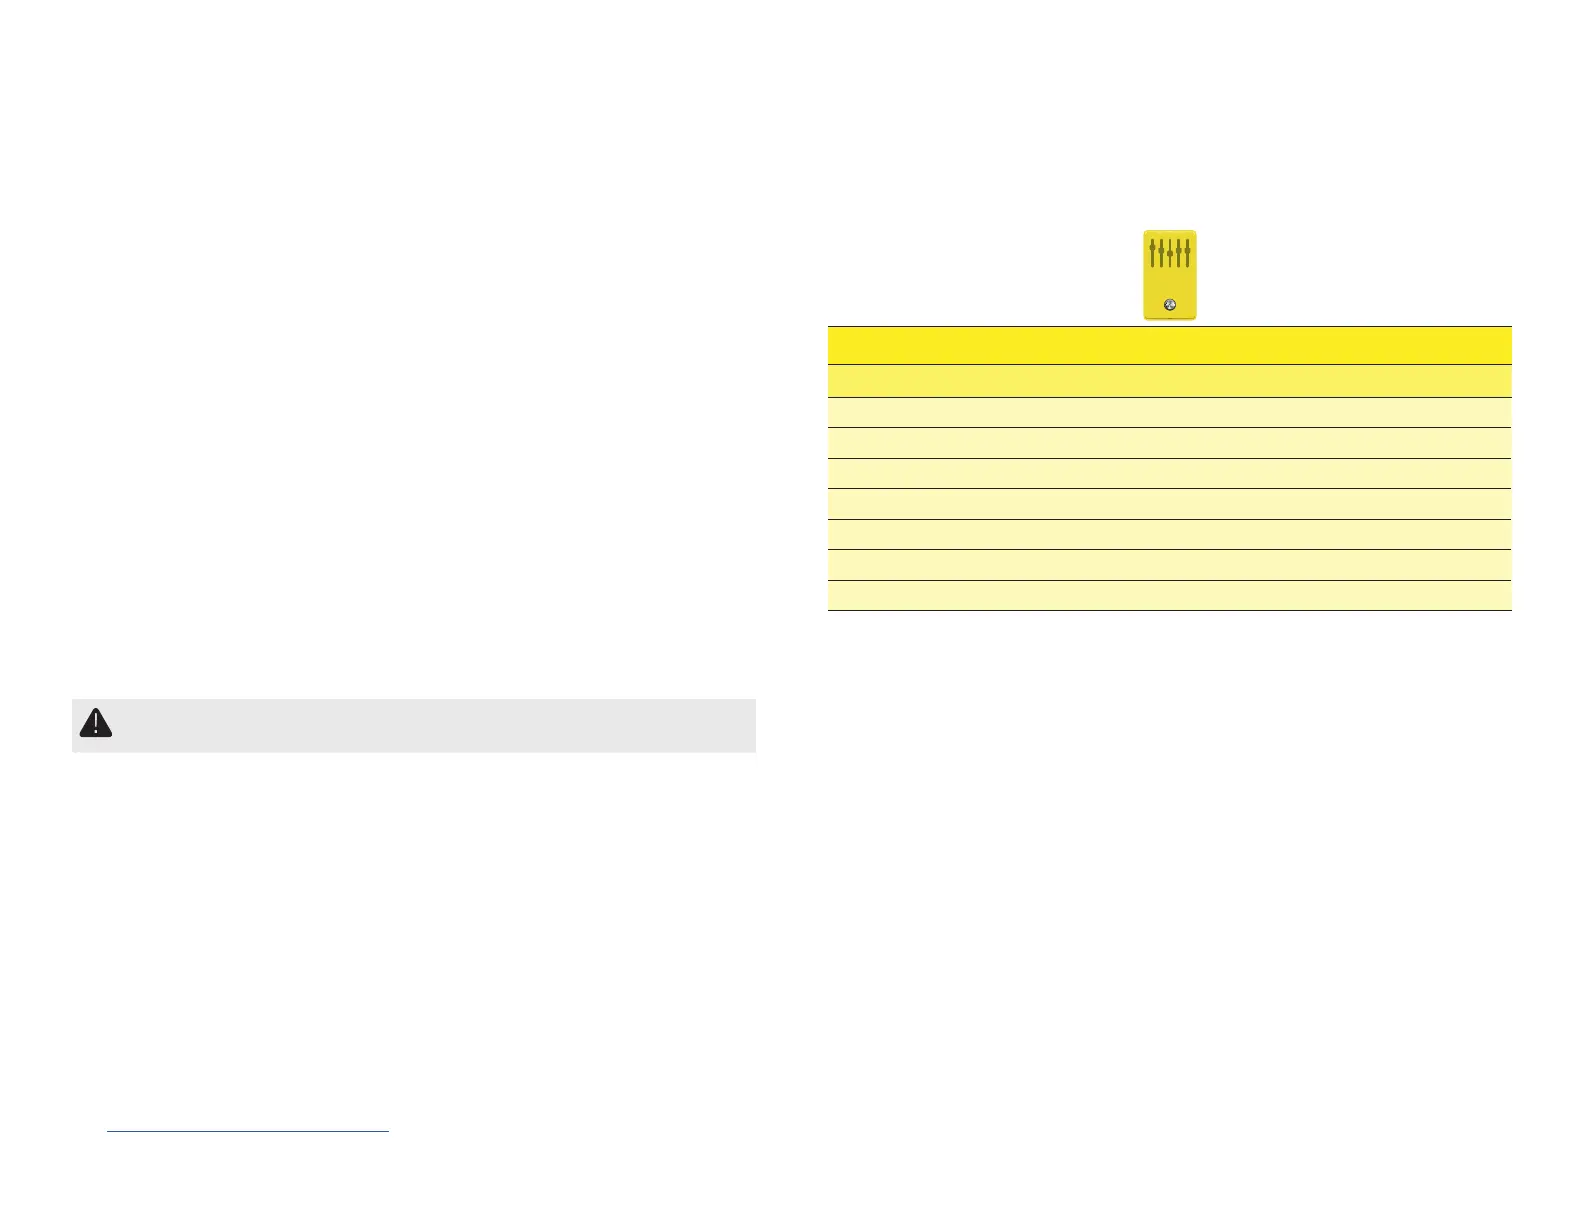
EQ Models (Stereo)
Model Based On*
Simple EQ
Line 6 Original
Low and High Cut
Line 6 Original
Low/High Shelf
Line 6 Original
Parametric
Line 6 Original
Tilt
Line 6 Original
10 Band Graphic
MXR
®
10-Band Graphic EQ
Cali Q Graphic
MESA/Boogie
®
Mark IV Graphic EQ
*See "U.S. Registered Trademarks" on page 25.AllproductnamesusedinthisdocumentaretrademarksoftheirrespectiveownersandneitherYamahaGuitarGroupnorLine6areassociatedoraliatedwiththem.
These trademarks appear solely to identify products whose tones and sounds were studied by Line 6 during sound model development.
 Loading...