16
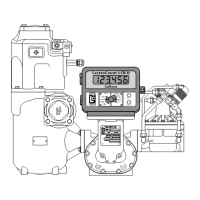
LCR-II MOUNTING
Neptune Meter Compensated
Insert cotter
pin
Insert cotter
pin
Bolt plate
and flange
to register
Place adapter
on drive
shaft
Bolt flange
to meter
Place fork
and extension
on end of
adapter
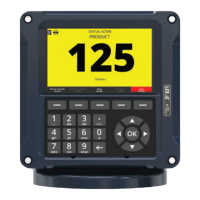
LectroCount LCR-II
Gallons
Insert cotter
pin
Bolt down
bracket to
meter
Place fork
and extension
on drive shaft
Lower register
and bolt onto
bracket
LectroCount LCR-II
Gallons
with Temperature
Compensation
Extension
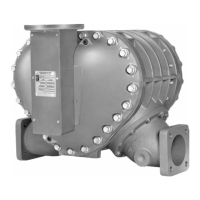
Neptune Meters
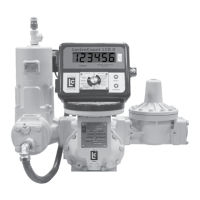
Remove Existing Registration Equipment
See Warning on pg.
10.
2. Remove the mechanical register from the meter.
3. Leave the star-shaped gear and the two square-head
studs.
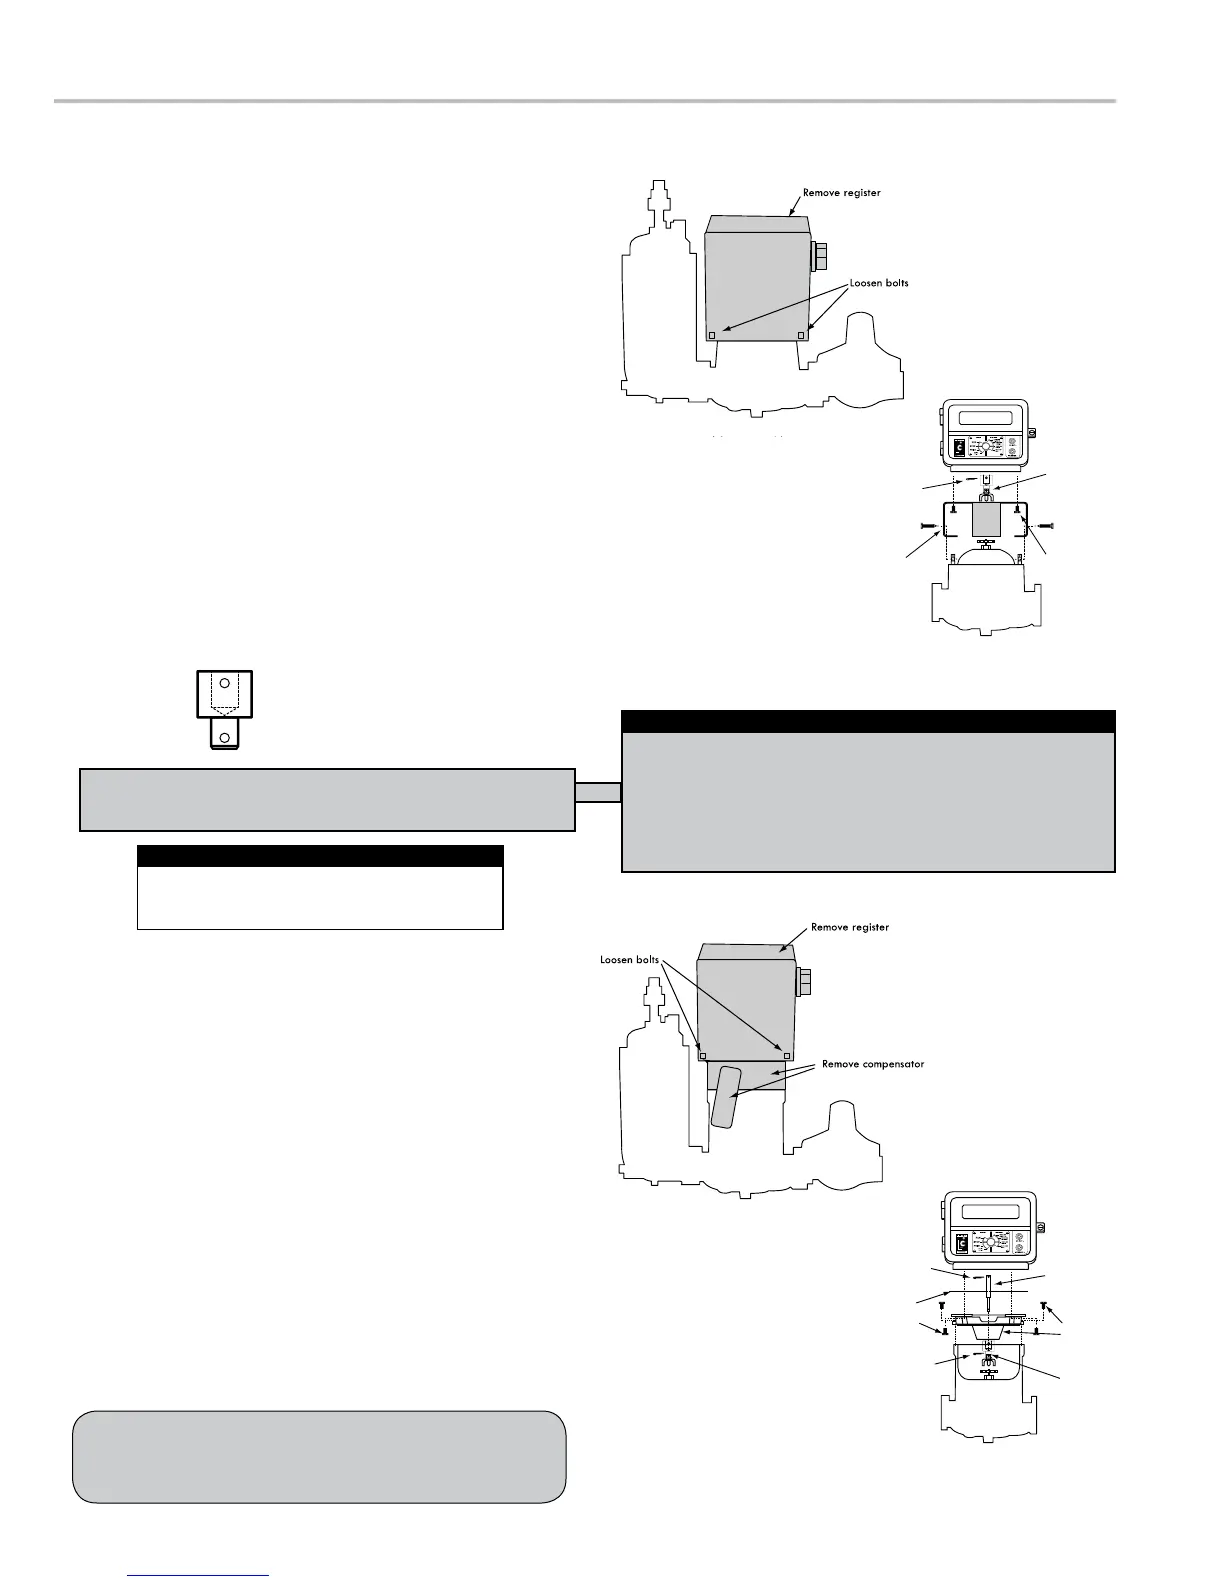
4. Remove the bellows from the front of the meter.
5. Remove the compensator.
Mount the LectroCount LCR-II
on the pulser drive shaft located on the bottom of the
LCR-II.
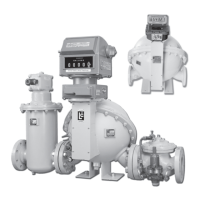
Mount the LectroCount LCR-II onto previously
temperature compensated Neptune meters
1. Place the shaft adapter on the pulser drive shaft under
the LCR-II.
2. Place the cotter pin through the hole, and bend open the
ends of the cotter pin.
3. Pass the other end of the shaft adapter through the
4. Loosely bolt to register.
using two more cotter pins.
Installation kits 82641 (E-26 series) & 82642 (E-36
series) are specically designed for previously temperature
compensated Neptune meters.
Apply anti-seize to all bolt threads to ensure
easy removal at a later date.
Apply Anti-seize
When the register is lowered onto a Neptune meter, make sure
the drive fork is not pressed against the star gear on the meter.
There must be a small gap between these two parts. To lower
the star gear, loosen the set screw on the side of the star gear.
Failure to do so will eventually damage the internal pulser and/
or the meter gear train.
Star Gear and Drive Fork
with Temperature
Compensation
 Loading...