Connecting to your System Using Smartphone or Tablet Apps
16
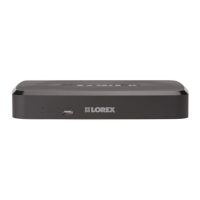
NOTE
Your cameras must have motion detection activated to receive push notifications.
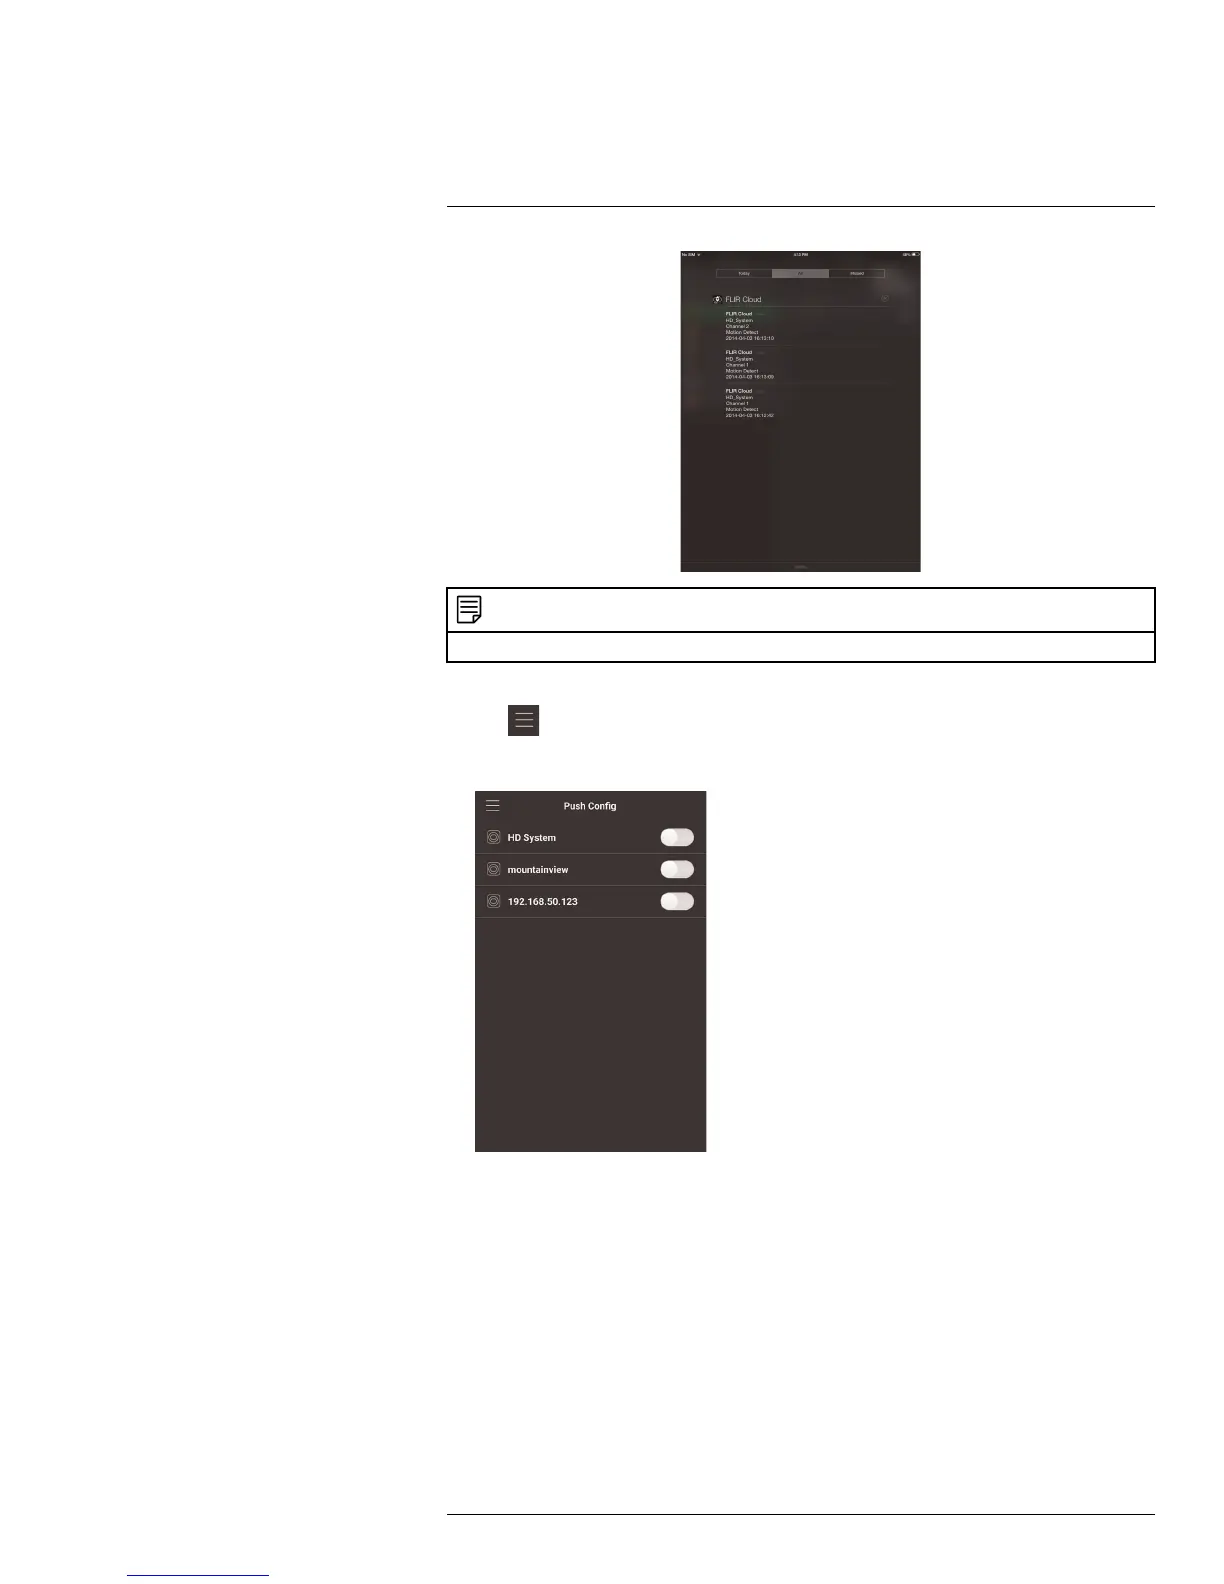
To enable Push Notifications:
1. Tap
to access the Menu, and then tap Push Config.
2. Tap the system you would like to configure.
#LX400070; r. 1.0/27147/27147; en-US
111
 Loading...