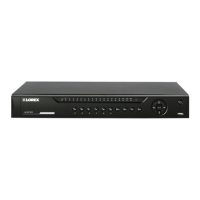
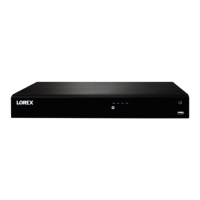
LNR110 Series Hard Drive
Installation
19
The system comes with a pre-installed 3.5" SATA hard drive. You can replace the hard
drive with one up to a maximum size of 4TB.
NOTE
It is recommended to use surveillance or security-certified hard drives, which are designed to be reliable
over long periods of time while recording 24/7. Security-certified hard drives are available at
www.lorextechnology.com.
19.1 Installing a Hard Drive
CAUTION
Make sure that the system is OFF and ALL power adapters have been disconnected before removing/in-
stalling the hard drive.
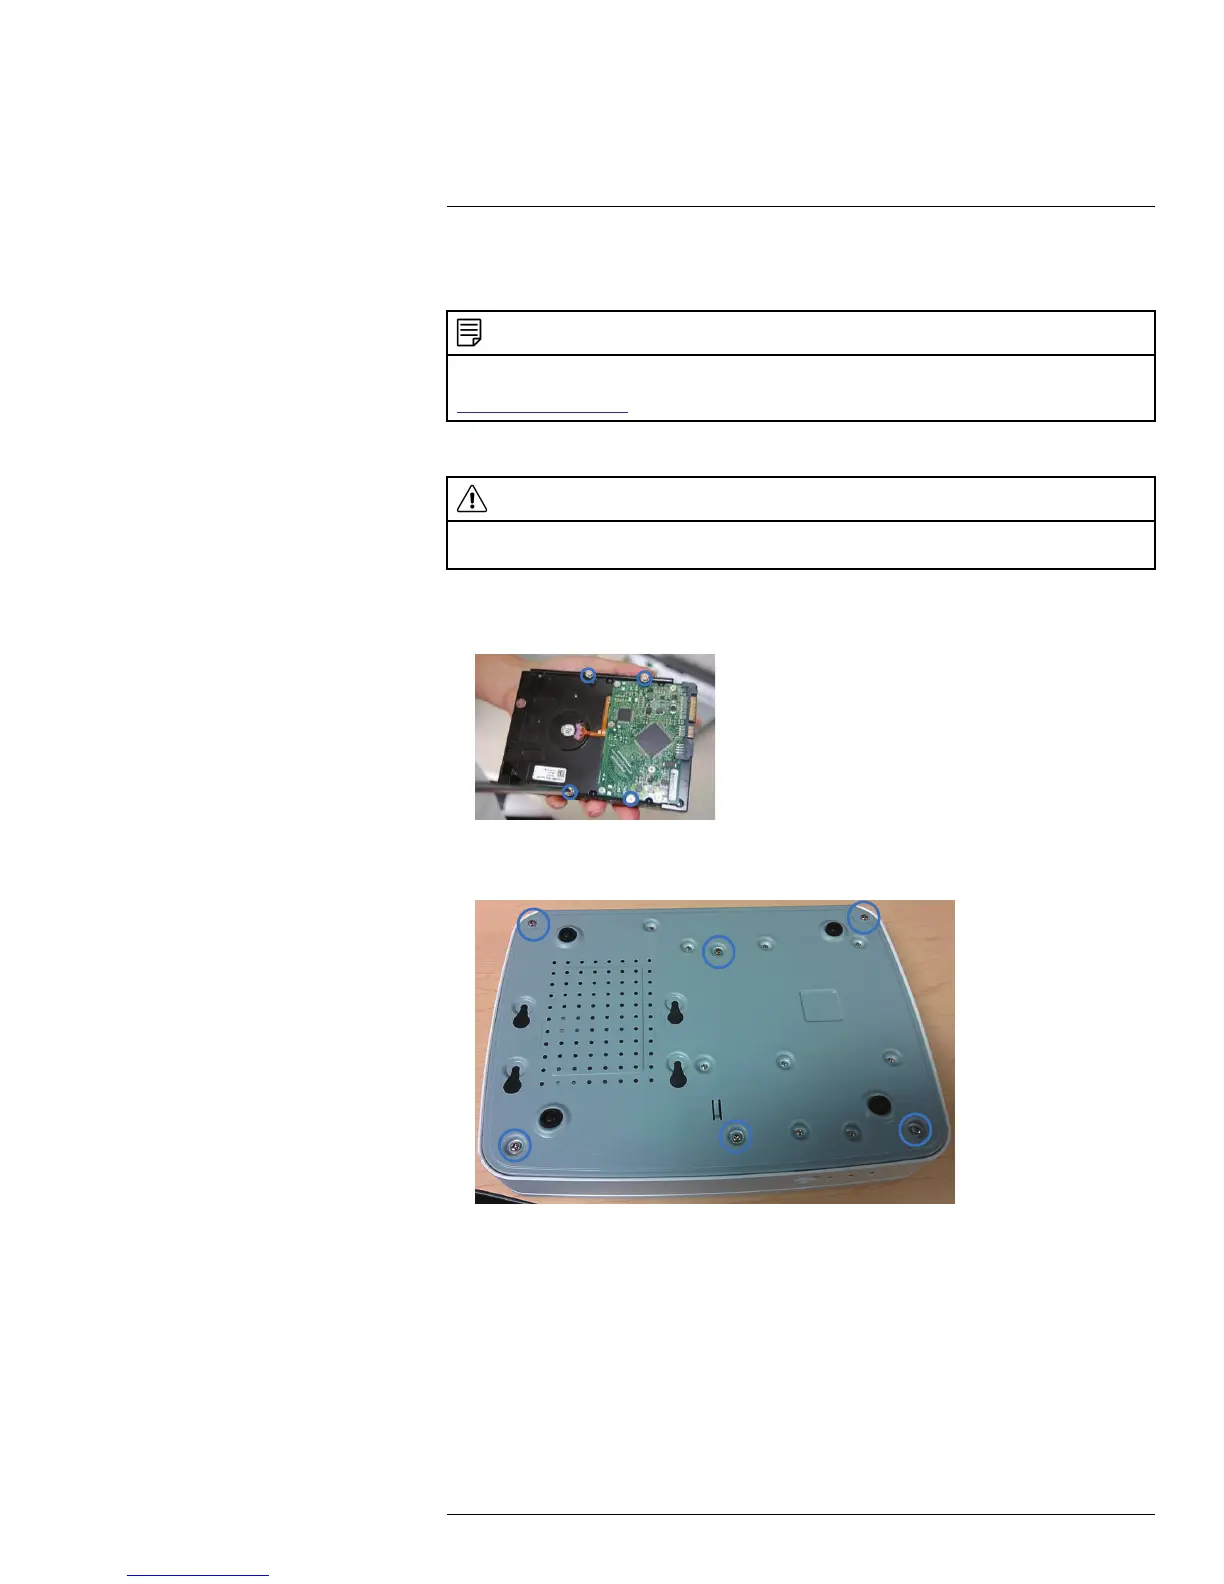
To install the hard drive:
1. Insert hard drive screws (4x) on the hard drive and tighten them half way.
2. Power off the system, and unplug all cabling from the system.
3. Turn the NVR over and remove the cover screws (6x).
#LX400070; r. 1.0/27147/27147; en-US
162
 Loading...