29
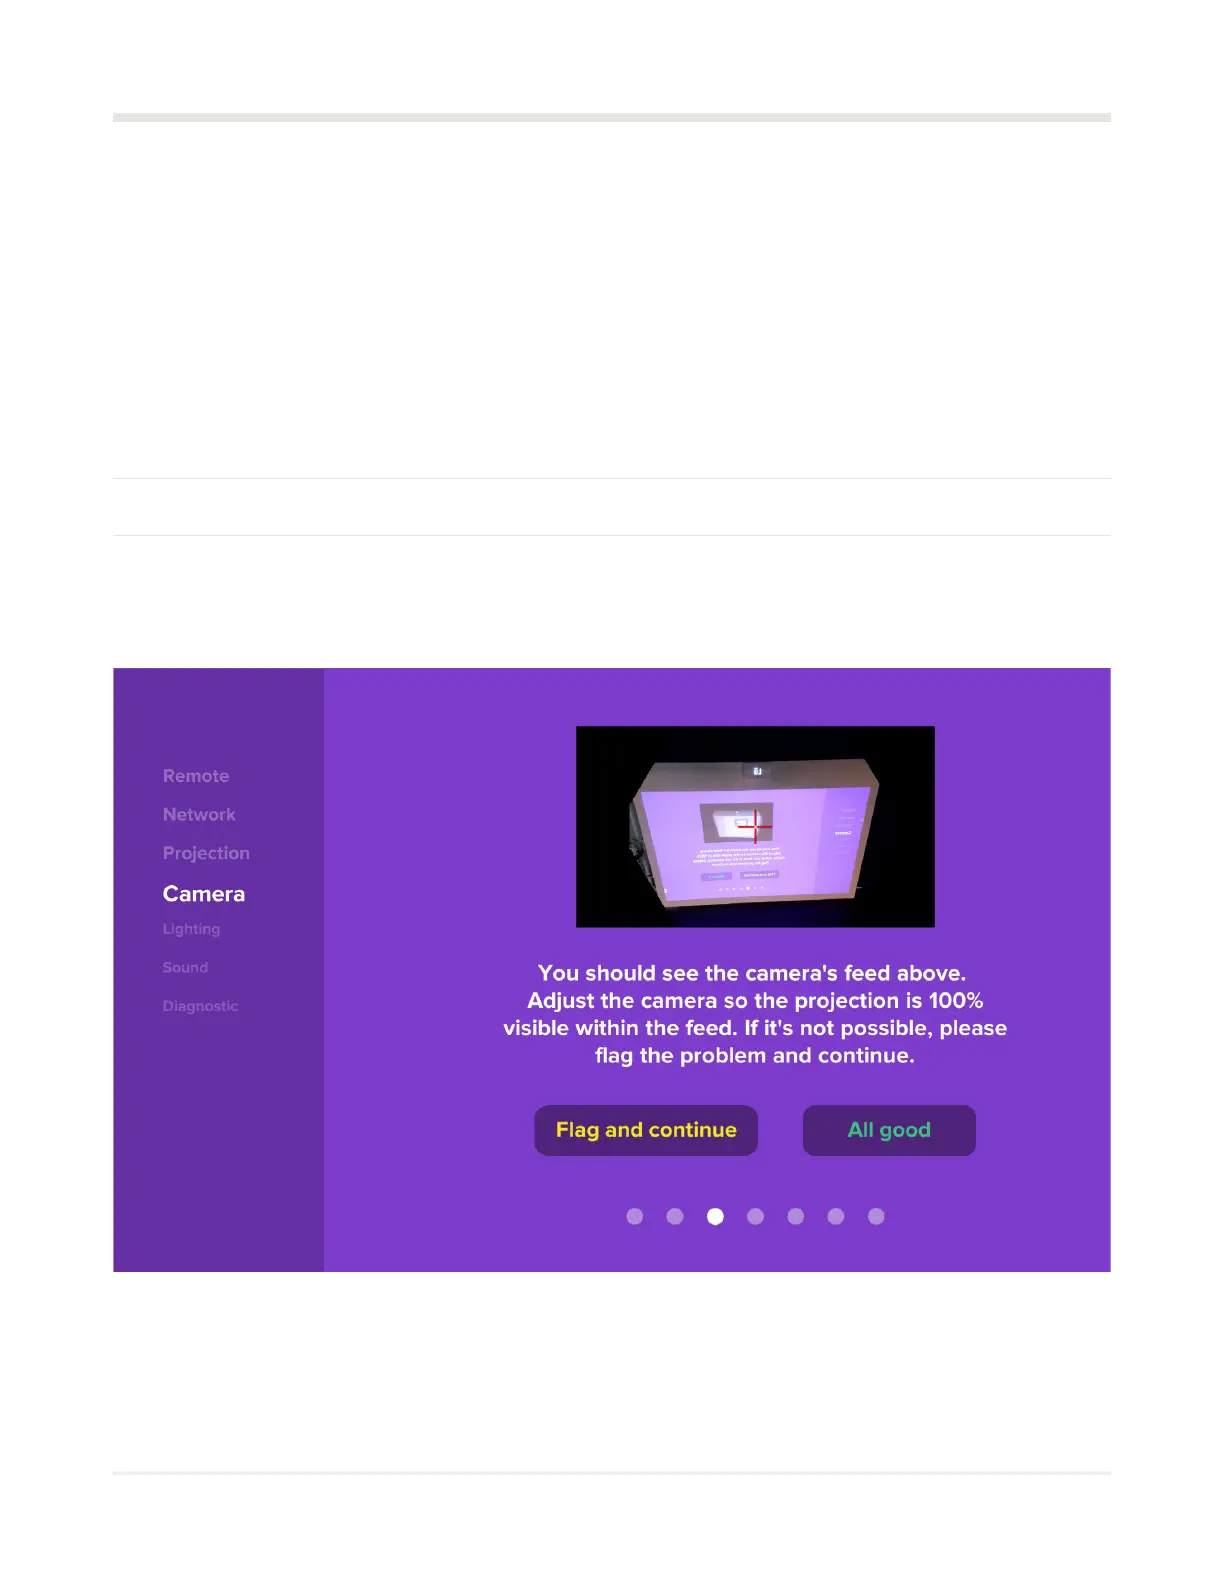
This step checks if the camera is set up properly.
Aim the camera at the wall by physically adjusting the tilt of the module, then screwing the module to the pole.
The eld of view can be seen in the video projection. It must be centered.
Once in place, rmly secure all moving parts and lock the rotation of the rod with a self-drilling metal screw.
Once the camera is secured in its nal position, click on “All good”.
02
03
CAMERA CALIBRATION
01
Camera feed
The camera feed will let you adjust the camera so that the projection is fully visible within the feed. Please note
that the projected image has a 4:3 ratio to the displayed image.