7-17
O w n e r ’ s M a n u a l
Automation
Editing Fade-In And Fade-Out Events
You can edit a Fade-In or Fade-Out curve by
recalling it in the Edit Fade Curve box, making
your changes, then saving it under the same
name. This permanently changes the fade
curve stored in memory.
You can also edit a channel fade curve once
it’s been written to automation by going into the
Mix Editor and modifying either the values or
the time for each discrete event. This is more
time consuming to accomplish, but allows you
much more control to fine-tune the fade curve.
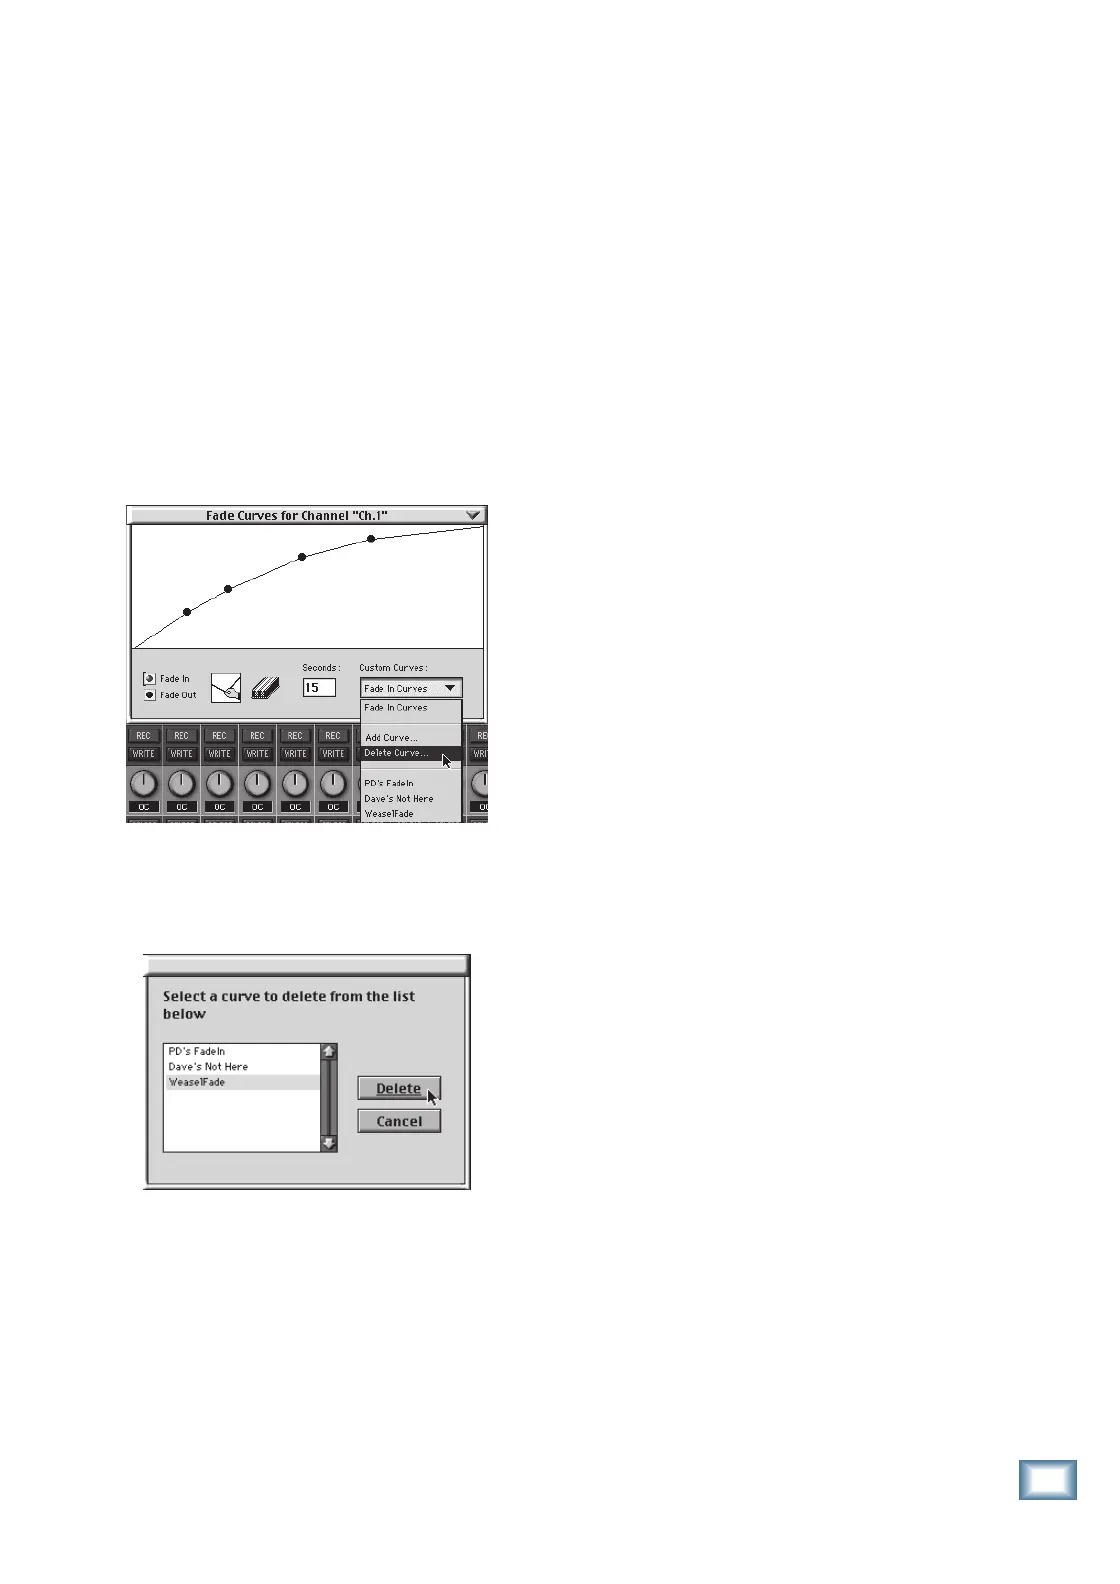
Deleting a Fade-In or Fade-Out Event
You can delete a Fade-In or Fade-Out curve
from memory by selecting “Delete Curve...”
from the Custom Curves box.
The Delete Fade Curves box appears. Select
the curve you want to delete from the list, then
click Delete. This permanently removes the
Fade Curve from memory.
You can also delete a channel fade curve once
it’s been written to automation. Select Fader in
the Included Types section. Select the fader
events, and then choose Cut from the Edit menu.
A milder caution applies here: you may unwit-
tingly create unwanted volume jumps until you
become a master of the technique.
Recording a Fade-In or Fade-Out Event
into Dynamic Automation
Select any number of channels to be write-
enabled. At the point where you want to write
an auto-fade into the automation, type “W” on
the computer keyboard to write-enable. (Make
sure Master Record is engaged.) Then type ei-
ther an “F” or “G” to fade-in or fade-out. You
can punch-out of automation at any point, us-
ing the rules you learned earlier, or you can
stop the fade-in/out by re-typing “F” or “G” mid-
way through an active fade.
Roll back, listen to the fade, and watch it on
the screen. Check out the fader events in the
Mix Editor. Hit Undo or erase the events, if
necessary. Change the fade curve or time in the
fade curve editor and redo the automation
pass, if necessary. (It’s easier than tweaking
the events in the Mix Editor.)
Copying An Entire Segment Of Your Mix
Now we’re getting into some heavy duty
stuff. You would use the following technique if,
for example, you’ve worked out some ex-
tremely tricky moves on multiple faders during
the first chorus, and now you want all those
same moves on the second chorus. This works
only if the two segments are identical in
length—which, if you work in the MIDI world,
is likely the case.
A Little Mackie Real Time OS Automation
Edit Example…
One of the most powerful things about the
Mix Editor is that you can now select a range
of events on a range of faders in a given range
of time and put it elsewhere or make it disap-
pear. Here’s an example:
Channels 1 to 14 have been mixed and put
to bed. But now the songwriter/producer wants
to add the intro music (8 bars of quasi-auto-
mated fade-in) to the end of the 108-bar song,
as a style effect that leaves the listener “want-
ing for more.”
OK. Since this music was generated using a
MIDI sequencer, the engineer first needs to
reimport the longer sequence to work with.
The engineer then selects Channels 1 to 14 and
opens the Mix Editor. She changes the view to
bars:beats:tics and then selects the Fader
events between the Start and End times of
1:1:0 and 8:4:479 (all of the 8 measures right
up to the final tic).
To copy moves from one time to another:
The engineer then chooses Copy from the
Edit menu in the Mix Editor. This copies all of
the selected events onto the computer clipboard.
 Loading...