Electronic Fluxmeter EF 14
4. Connect the power cable to the instrument and to a power socket.
5. Switch on the instrument (I). The display lights up and the Magnet-Physik logo briefly
appears.
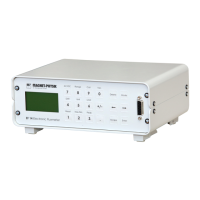
6. If a coil is connected to the front input, the measuring display appears. A typical example is
as follows:
If the coil is connected to the rear input clamps, the following display appears:
In this case, press the Reset key to activate the measuring display for the rear input. The
word rear behind the coil type shows, that the EF 14 assumes a coil at the rear clamps.
To obtain the best results the instrument must warm up for about 20 minutes. The coil plug
and the input socket shall have the same temperature to avoid drift due to thermo voltages.
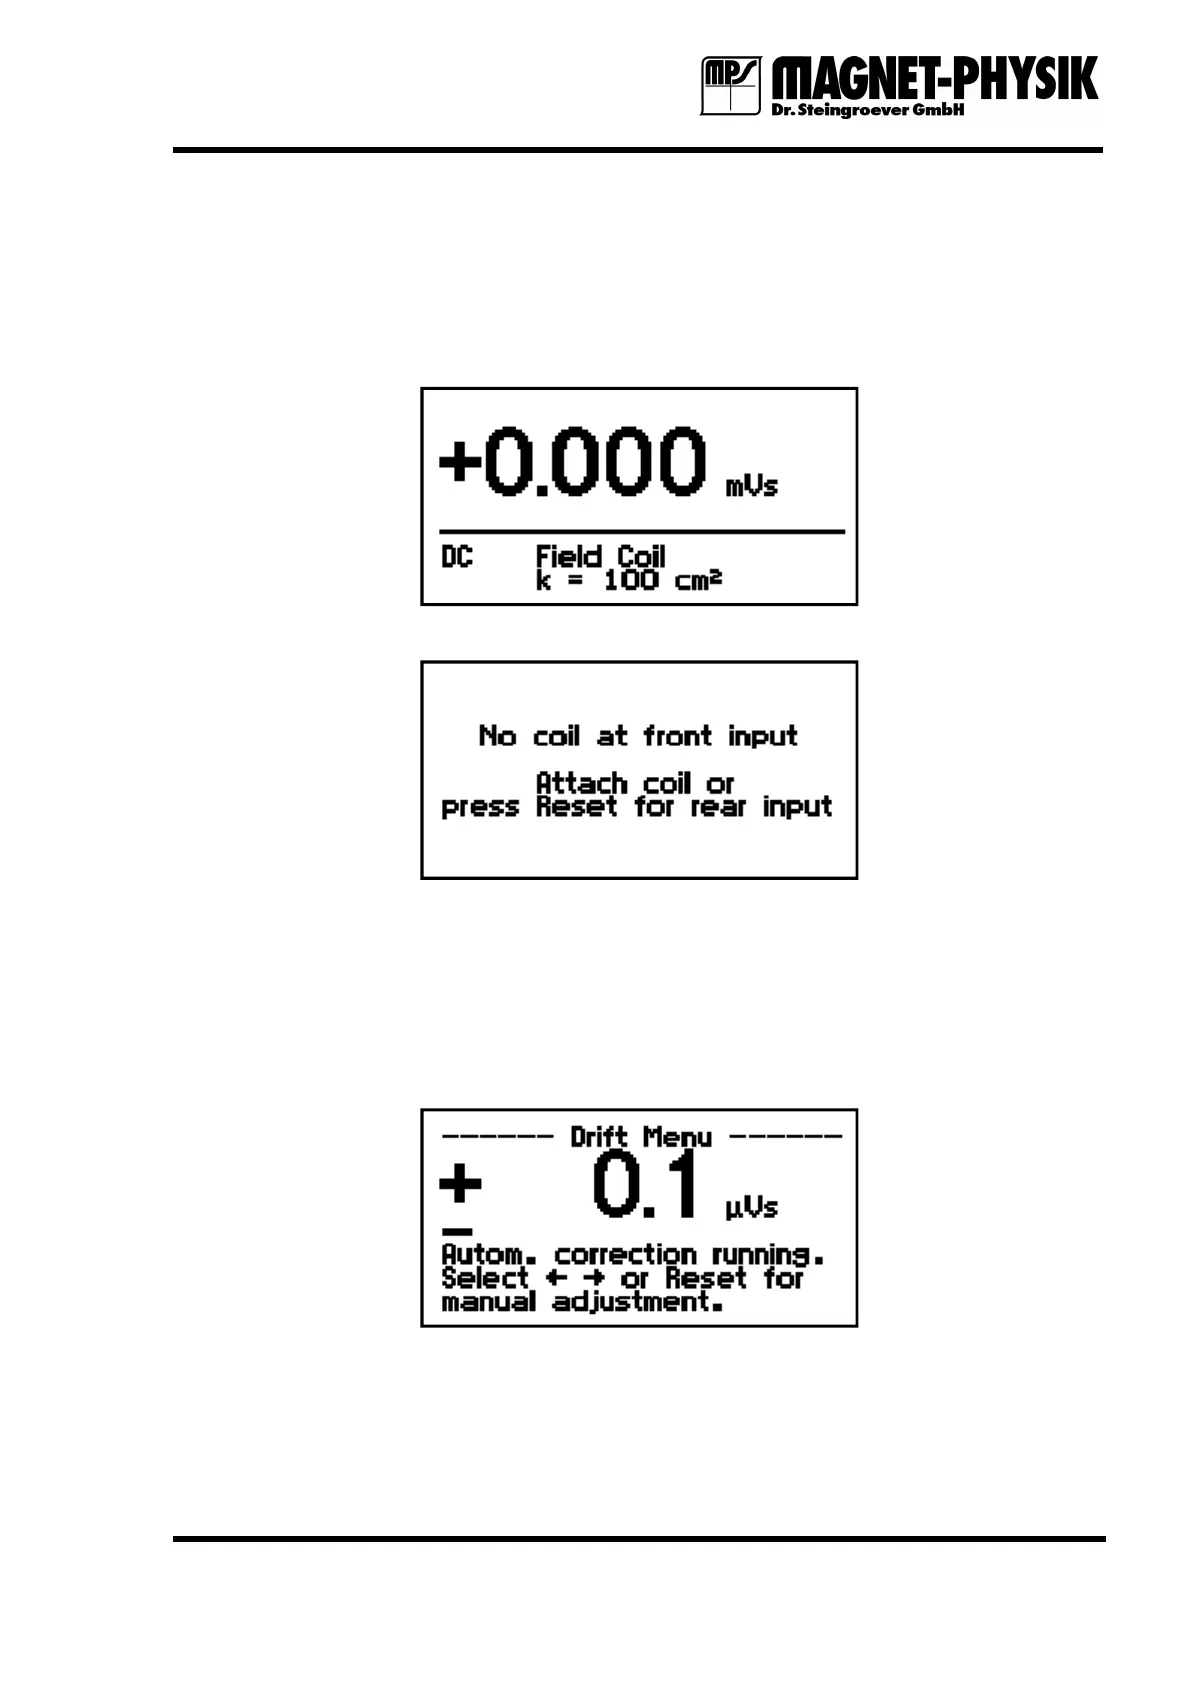
7. Press the Drift key on the front panel to start the automatic drift correction. The following
display appears:
If the device has functioned properly up to now, it is in order. If you have a field measuring
coil and a reference magnet you can continue with the test by using them to check the
accuracy of the EF 14.