28
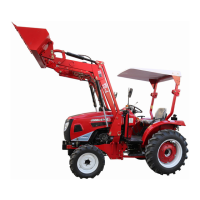
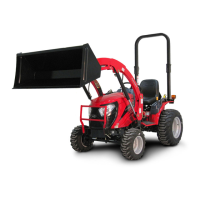
3.4. LOADER INSTALLATION
3.4.1. Remove all loader components from shipping package.
CAUTION: Lift and support all loader components safely.
IMPORTANT: Do not extend tilt cylinders without attachment pinned to loader. Failure to follow these
instructions could cause loader damage and void warranty.
3.4.2. Loader valve hoses and quick couplers have been pre-assembled on loader. Unwrap these hoses by
cutting nylon ties securing them to side of loader.
3.4.3. Before installing loader to tractor, use a hoist to install pin on
bucket or pin on attachment and bucket or skid steer attachment
and bucket on loader. Secure using pins and e-clips, 4 places.
Top Pin 1-1/8" x 7.01",
Grease Fitting 1/4"-28 and E-Clip,
1 place each side.
Bottom Pin 1-1/8" x 7.01",
Grease Fitting 1/4"-28 and E-Clip,
1 place each side.
Refer to Section 10 for Pin On Bucket, page 49.
Refer to Section 11 for Pin On Bale Spear, pages 50 to 51.
Refer to Section 12 for Pin On Pallet Fork, pages 52 to 53.
Refer to Sections 13 to 16 for Optional Pin On Quick Attach System, pages 54 to 59.
Refer to Sections 17 to 20 for Optional Skid Steer Tool Carrier System, pages 60 to 67.
3.4.4. Following these instructions will add stability to loader package and will allow easier handling of loader with
hoist.
3.4.5. Support the loader by using a hoist. Install loader to mounting brackets previously installed on tractor.
Refer to Section 8 — Mounting the Loader, pages 45 to 47.
CAUTION: Lift and support all loader components safely.

 Loading...