EasyManuals Logo

Makita JR3051T Repair Manual

Makita JR3051T
32 pages
To Previous Page IconTo Previous Page
Page #32 background imageLoading...
Page #32 background image
32 / 32
8-2 Handle section
Fig.71
1
Handle L
8
Switch
2
Rib A
9
Noise suppressor (if used)
3
Rib B
10
Range C
4
Rib C
11
Range B
5
Boss
12
Power supply cord
6
Lead wires of Field
13
Range A
7
Motor housing
14
Line filter (if used)
15
Fix Lead wires of Field connect to Switch in this groove. Put Lead wire of Filed (White) on Lead wire of Field (Black).
16
Put the slack of Lead wires of Field connect to Switch in Range C.
17
Put Lead wires of Power supply cord connect to Switch in Range B and route between Rib A and Rib B/ Boss and Rib C.
18
Pass Lead wires (White/ Black) of Field connect to Switch through Line filter (if used) and assemble them to Range A as shown.
6
15
7
13
3
4
2
10
9
1
5
8
11
14
12
16
17
18

Other manuals for Makita JR3051T

Questions and Answers:

Question and Answer IconNeed help?

Do you have a question about the Makita JR3051T and is the answer not in the manual?
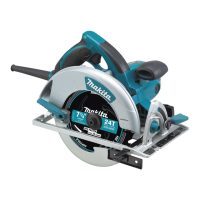
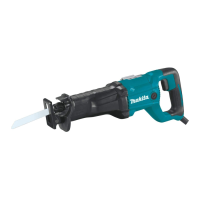
Makita JR3051T Specifications

General IconGeneral
Power SourceCorded
Amperage12 A
Strokes Per Minute0-3, 000 SPM
Tool Weight7.3 lbs
Voltage120 V
Tool Length17-3/4 inches
Max. Cutting Capacity in Wood10 inches
Max. Cutting Capacity in Steel Pipe5-1/8 inches

Related product manuals