3-7
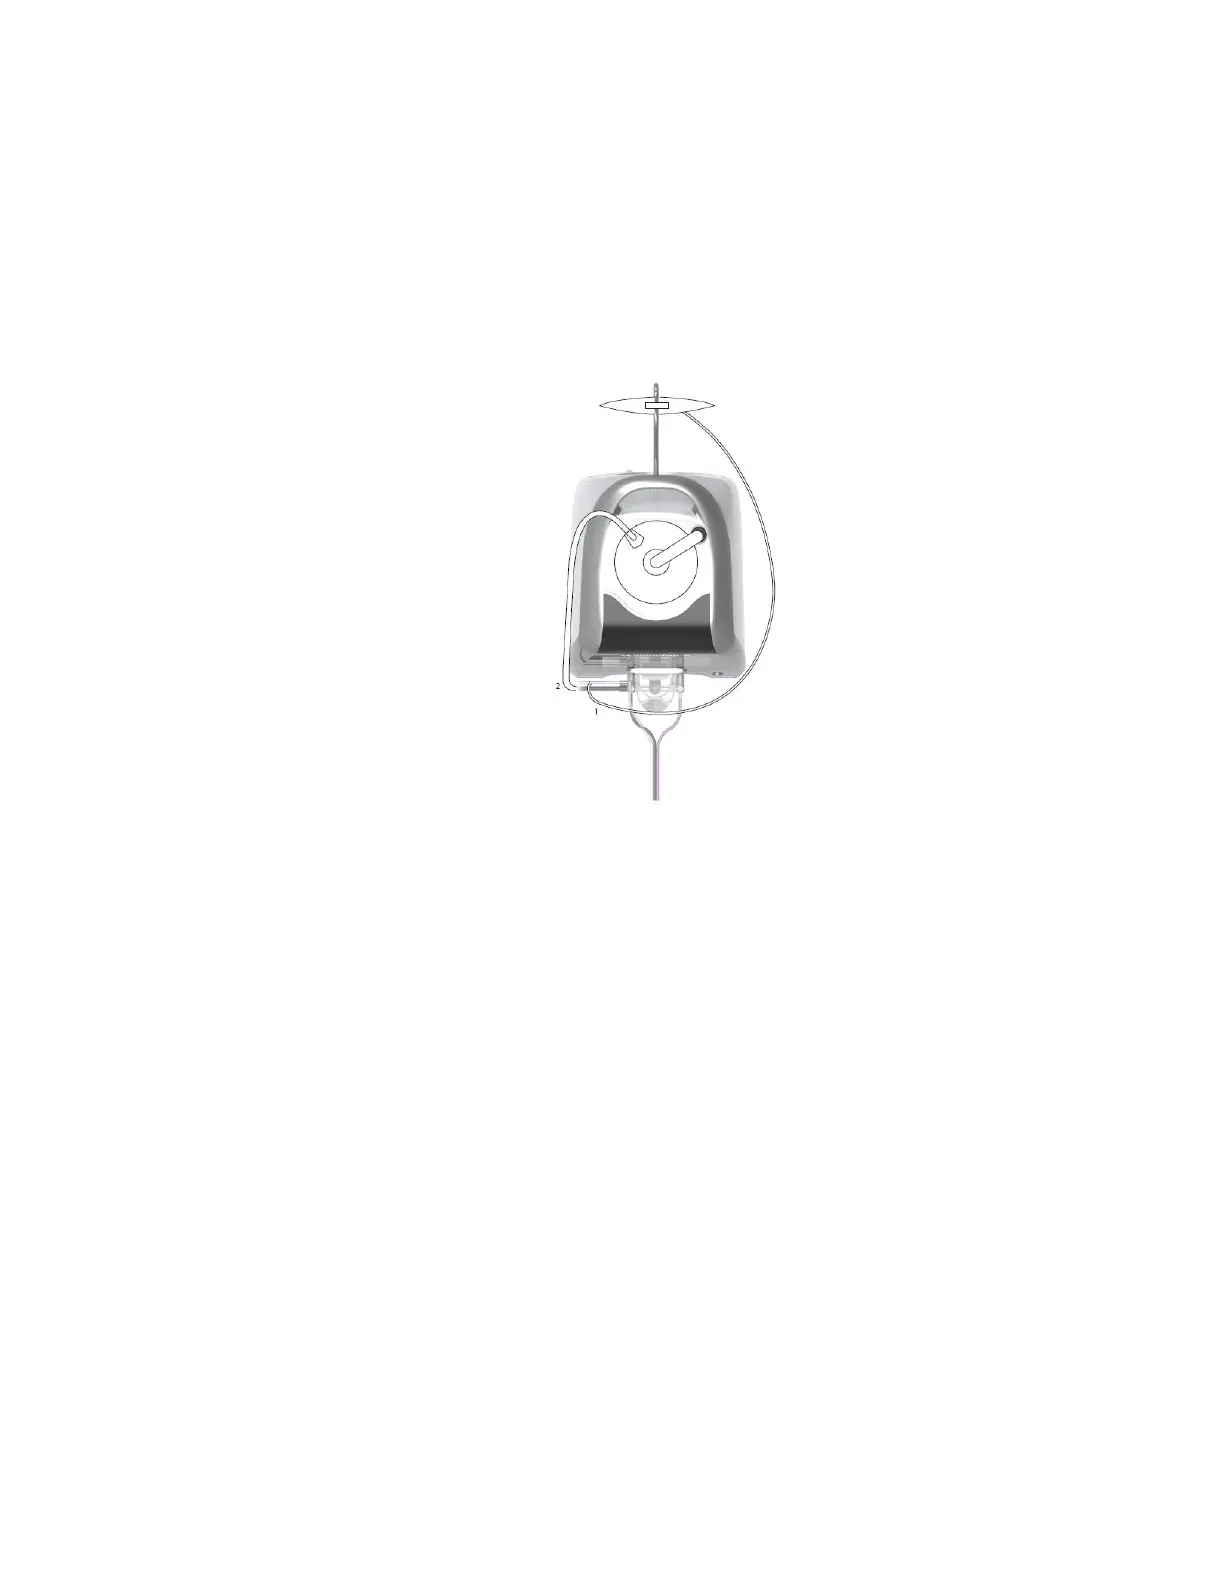
b. Place the assembled vacuum canister in the well at the top of the Mammotome revolve Control
Module.
NOTE: Ensure that the canister and lid are correctly assembled to prevent a vacuum error. Incorrect
assembly can prevent the system from completing initialization.
c. Connect the control module’s flexible vacuum source tube to the center vacuum port on the vacuum
canister lid.
d. Rotate the canister clockwise to pull the canister tube tightly against the Control Module to ensure the
tube cannot touch the probe when docking and undocking.
e. Visually inspect the control module’s flexible vacuum source tube for signs of moisture, blood, or
tissue inside the tube.
WARNING: The pressure differential created in the canister during the procedure can cause blood
discharge.
NOTE: If any moisture, fluid, foam, or solid material is visible in the control module’s flexible vacuum
source tube, complete the procedure immediately, stop use of the control module
immediately, and contact your local representative for assistance.
f. Close off the other vacuum canister ports, except the patient port, with the attached covers.
7. (OPTIONAL – EX ONLY) Connecting the Sleeve to the Mammotome revolve EX Holster
a. Ensure the Mammotome revolve EX Holster is placed in the corresponding docking station.
b. Remove the sleeve assembly from Mammotome revolve EX Probe packaging by holding the collar
and rigid portion of the sleeve assembly.
c. Press the sleeve firmly over the Mammotome revolve EX Holster while on the docking station,
ensuring that the flat surface of the Sleeve aligns with the flat surface of the Holster.