Setup 17
Setup
WARNING! Read “Safety Information” on page 3 before installing, powering, operating or servicing
the smartMAC.
Control panel and menu navigation
The DMX address and any status
messages are shown in the display when
the smartMAC is powered on.
The control panel is used to set the
smartMAC to DMX or stand-alone (single
fixture or synchronized master/slave)
operation, set its DMX address,
configure individual fixture settings
(personality), read out data, and execute
service utilities.
See “Control menu” starting on page 43
for a complete list of the menus and
commands available in the control panel.
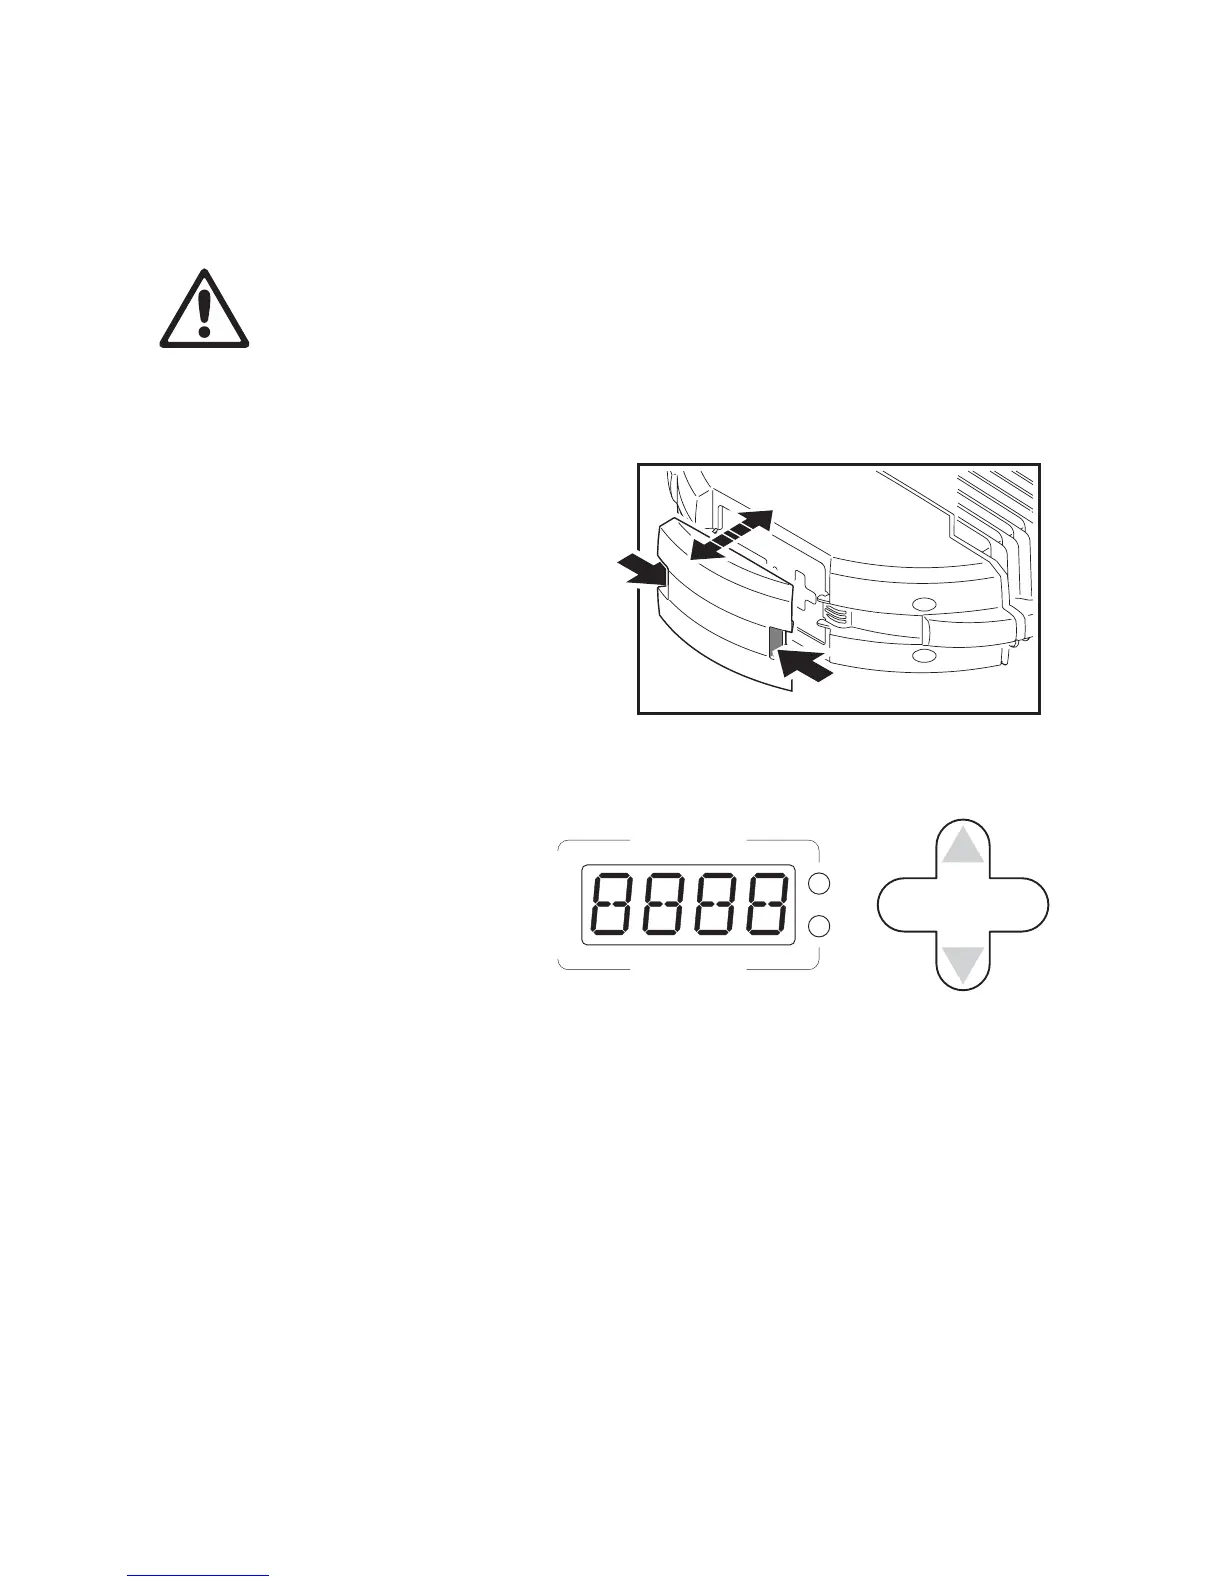
See Figure 9. For access to the
control panel, squeeze the tabs
on the sides of the control panel
cover inwards and lift the cover off
the fixture.
See Figure 10. To enter a menu,
press [Menu]. Press the [Up] and
[Down] arrows to scroll within a
menu. To select a function or
submenu, press [Enter]. To
escape a function or move back
one level in the menu structure,
press [Menu].
Note: [Enter] must be pressed and held for a few seconds to enter the Utilities menu (
).
Setting stand-alone, master/slave or DMX operation
DMX control, stand-alone and synchronized master/slave modes are selected as follows:
• To set the smartMAC to stand-alone operation, press [Up] or [Down] until
is displayed, then select
, then .
• To set the smartMAC to synchronized stand-alone operation, in which a master fixture sends
synchronizing signals to slave fixtures, select
→ then for the master fixture, for slave
fixtures, or to return to single fixture operation.
• To disable stand-alone operation and return the smartMAC to DMX control, select
→→.
The smartMAC is supplied configured for DMX control by default.
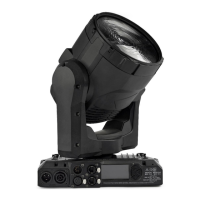
Figure 9: Control panel access cover
DMX