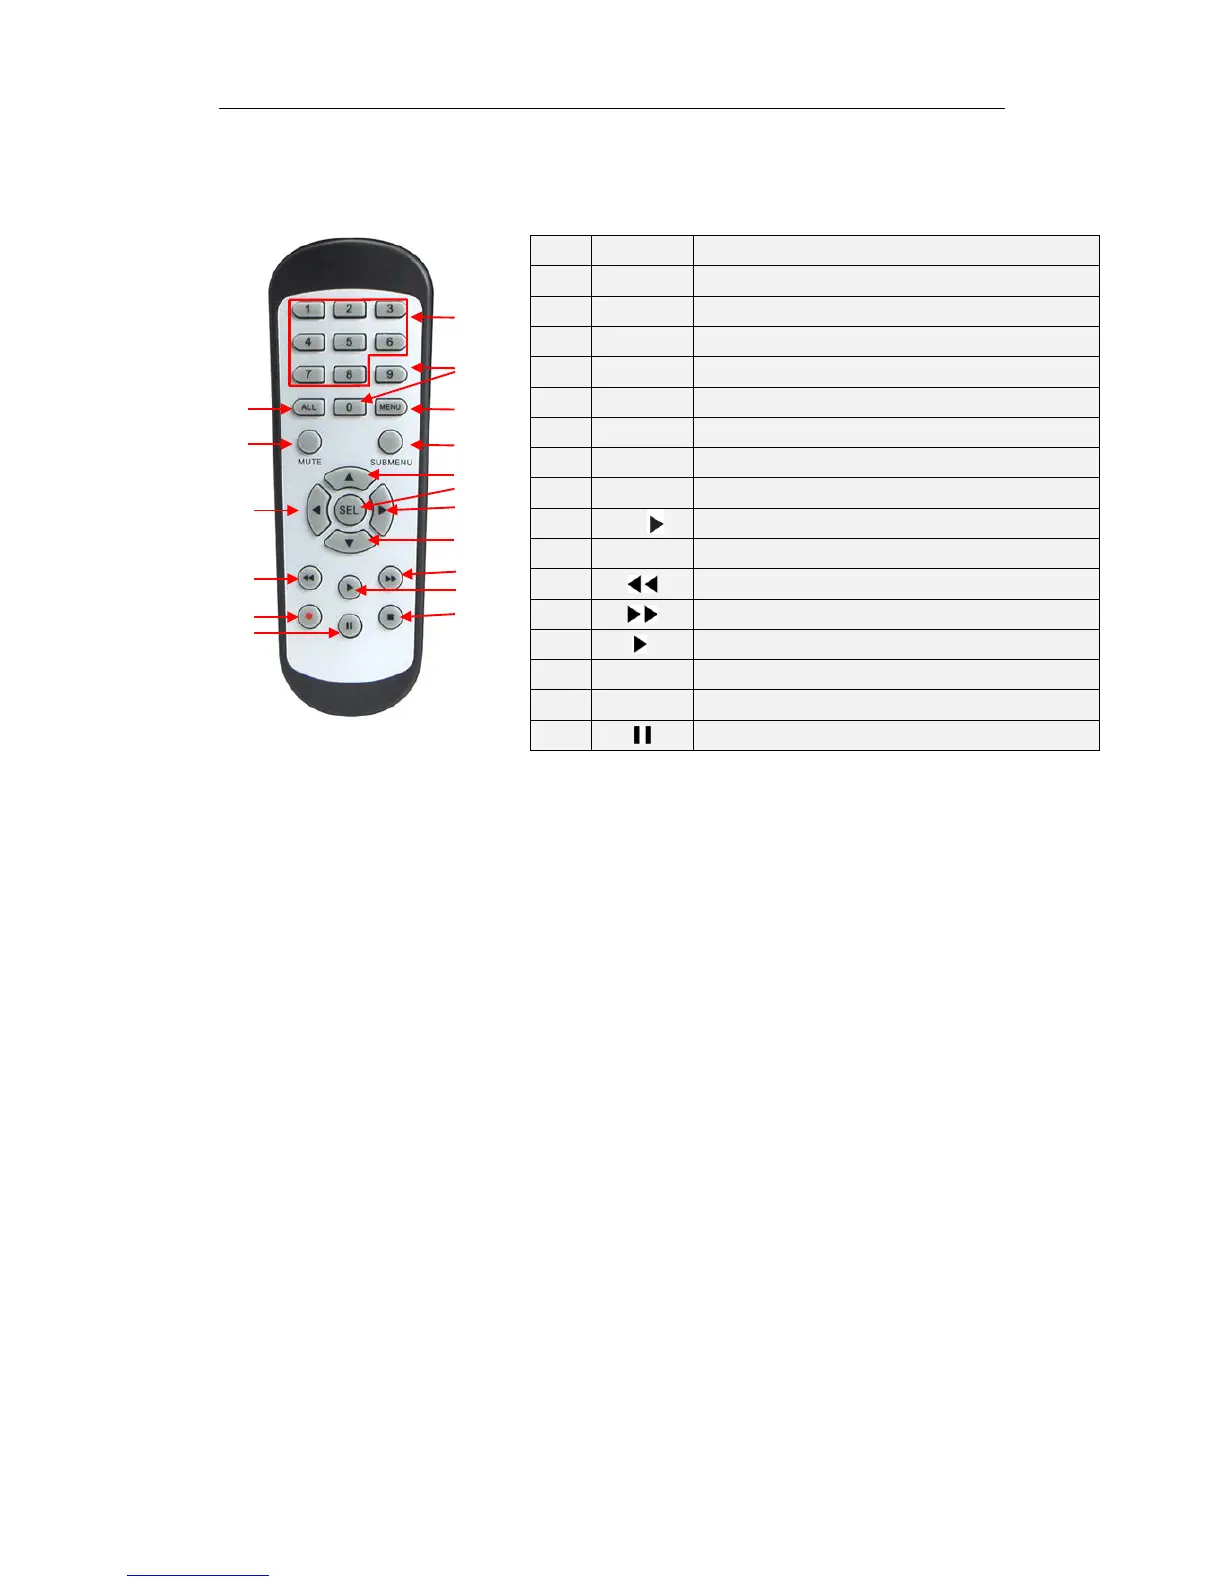
1.3 Remote Controller (For reference only)
Table 2-3 Key functions of the remote controller
Chapter 2 NVR Connection
2.1 HDD Installation
Caution: Please do not attempt to remove a hard drive when the NVR is running!
HDD Installation:
(1) Disconnect the power, and then remove screws on both sides and rear panel and
open NVR’s upper cover.
(2) Connect HDD data cable and power cable to the main board. Install the HDD on the
bracket using screws provided and then connect the HDD power cable and data cable.
(3) Replace the upper cover back carefully
Note: If user requires higher performance HDD, it is strongly recommended to use hard
drive designed for surveillance.
2.2 Web Camera and Monitor Connection
Transmit signals of web camera to NVR by network cable and connect VGA port or HDMI
port for output (Refer to section 2.2 Rear Panel). Refer to Chapter 7 System Connection
Diagram.
2.3 Power Supply Connection
Please use attached power adapter to connect NVR. Before power on, make sure network
port is well connected.
Item Key title Key function
1 1-8 Channel select 1-8; Numeric key
2
9、0
Numeric key
3 ALL Multiple display mode
4 Menu Enter into Main menu/Exit
5 Mute Mute On/off