kajaaniMCA
i
– Installation, Operating & Service - 9.3 - W4610201 V2.5 EN
F7
F6
F5
F4
F8
F3
F1
F2
F9
F10
F11
F12
F13
F14
F15 F16
i
Press “Start sample 1/2”
Sample 1: not taken
Sample 2: not taken
Cs % Temp Sig.lev u Compens.
0.00 56.8 58.2 0.0
10.00
5.00
0.00
Start Start
sample 1 sample 2
Fig. 9.5. “Sampling” display.
○○○○○○○○○○○○○○○○○○○○○
○○○○○○○○○○○○○○○○○○○○○
○○○○○○○○○○○○○○○○○○○○○
F7
F6
F5
F4
F8
F3
F1
F2
F9
F10
F11
F12
F13
F14
F15 F16
i
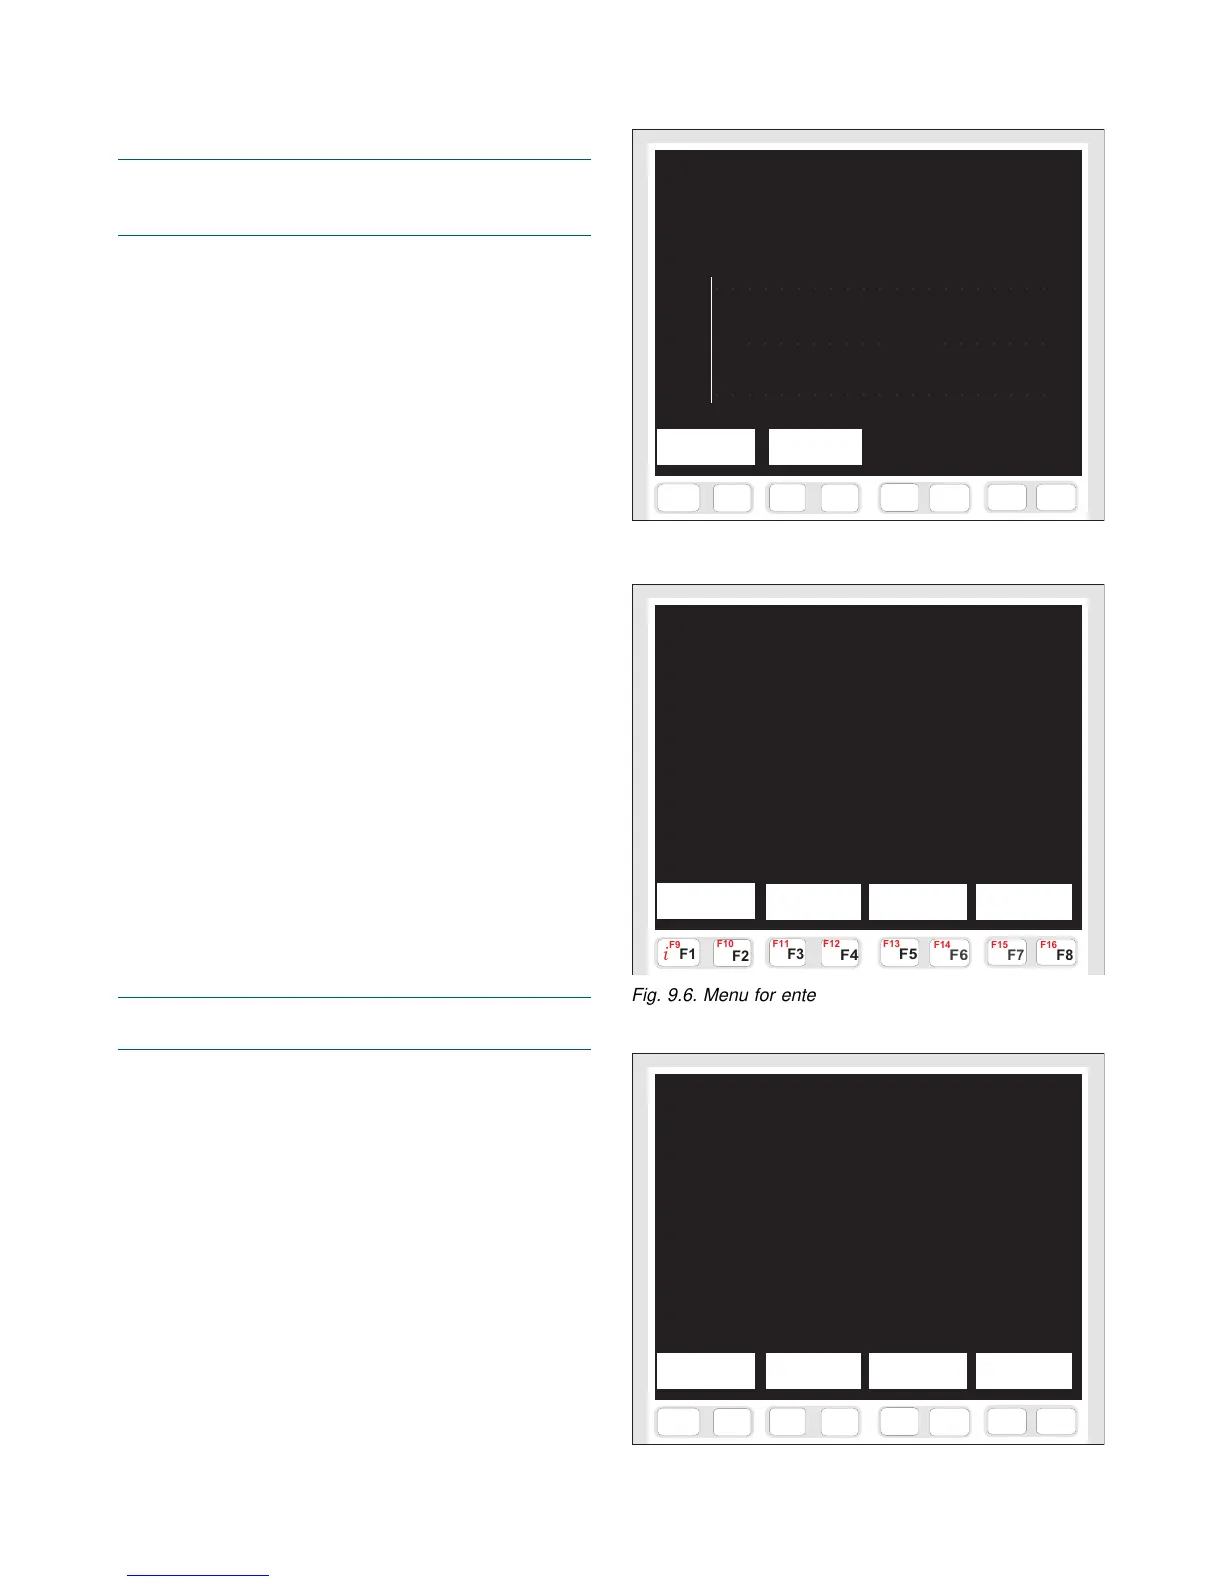
Fig. 9.6. Menu for entering the laboratory values.
Enter laboratory values
25.10.00 26.10.00
09:20 09:30 25.10.00 25.10.00
Lab ? Lab ? 14:10 14:15
Latest Latest Cal in Cal in
sample 1 sample 2 use 1 use 2
F7
F6
F5
F4
F8
F3
F1
F2
F9
F10
F11
F12
F13
F14
F15 F16
i
Fig. 9.7. “Latest sample 1” display.
LATEST SAMPLE 1
Lab values: Measurement values:
Cs = 0.00 % MCAi = 0.00 %
Cond= 0.00 mS/cm Temp = 0.00 °C
Sig.lev.= 0.0 u
MCAi-Lab = % Chem.comp = %
Total error = %
Enter Enter
lab measurem.
Sample taking
NOTE: Enter data on two sample points selected from
laboratory follow-up data (see section 7.A.2), or take new
calibration samples as described below.
Samples are taken in the same way as for consisten-
cy calibration, but in this case we need two points (= two
samples). Go from M
AIN MENU => SELFDIAGNOSTICS =>
S
PECIAL FUNCTIONS => CHEMICAL COMPENSATION => TAKE
SAMPLE
(Fig. 9.5).
1. Choose the sample number with the function key
[F1&F2] S
TART SAMPLE 1. Press the start key for
sample 1, and take calibration samples – at least
three parallel samples.
2. Then press [F5&F6] S
TOP. Analyze the consistency
and conductivity of the samples in laboratory.
Entering laboratory values
Go from MAIN MENU => SELFDIAGNOSTICS => SPECIAL
FUNCTIONS
=> CHEMICAL COMPENSATION => ENTER LAB
(Fig. 9.6).
1. Press [F1&F2] Latest sample 1 to open the display
shown in Fig. 9.7.
2. Press [F1&F2] E
NTER LAB, and move the cursor to
the laboratory Cs and conductivity fields. Enter the
laboratory values and press [F5&F6] S
AVE LAB.
The values measured by the sensor are automatically
saved here when the sample is taken as described above.
If you wish to enter the sensor values too, for example
when using data from laboratory follow-up, press
[F3&F4] E
NTER MEASUREM. and then enter the measured
values in the same way. Press [F5&F6] S
AVE MEASUREM.
to save the changes.
When changes have occurred in the chemicals con-
tent of the process, calibrate the second sample in the
same way.
NOTE: Do not change the consistency calibration while
performing the chemicals compensation!
If the consistency calibration is changed before the
second chemicals compensation sample has been tak-
en, the MCA
i
will delete the data on the first sample!
When both calibration points have been saved, the
MCAi will ask “Take latest sample 1 and latest sample
2 into use?” when the E
NTER LAB menu is opened. Press
Y
ES and the MCA
i
will activate the chemicals compen-
sation. In the “Enter laboratory values” display (Fig.
9.6) the sample pair will then be moved from the L
ATEST
SAMPLE
1/2 menus to the CAL. IN USE 1/2 menus.
“Chemical compensation” display (Fig. 9.4) shows the
current compensation value, and data on the sample
pair.
 Loading...