© Microhard 14
2.0 Quick Start
To reset to factory
defaults, press and
hold the CONFIG for 8
seconds with the
pMDDL5824 powered
up. The pMDDL5824
will reboot with factory
default settings.
This QUICK START guide will walk you through the setup and configuration of a few
basic applications. The QUICK START will rely on the WebUI for configuration. This
walkthrough also assumes the units used are installed in microhard interface/
development boards or custom boards that allow access to the LAN port. See the
appropriate section for pin-outs.
Note that the units arrive from the factory with a Radio Configuration of ‘Master’
and the Local Network setting configured as ‘Static’ (IP Address 192.168.168.1,
Subnet Mask 255.255.255.0). DHCP is enabled by default, and will assign an IP to a
connected device or computer with DHCP enabled.
2.1 Getting Started
✓ Connect the appropriate Antenna(s) to the pMDDL5824.
✓ Connect and/or apply a suitable power source to the unit. Allow the unit to boot
up fully, the CPU LED (Blue) should be on in a solid state
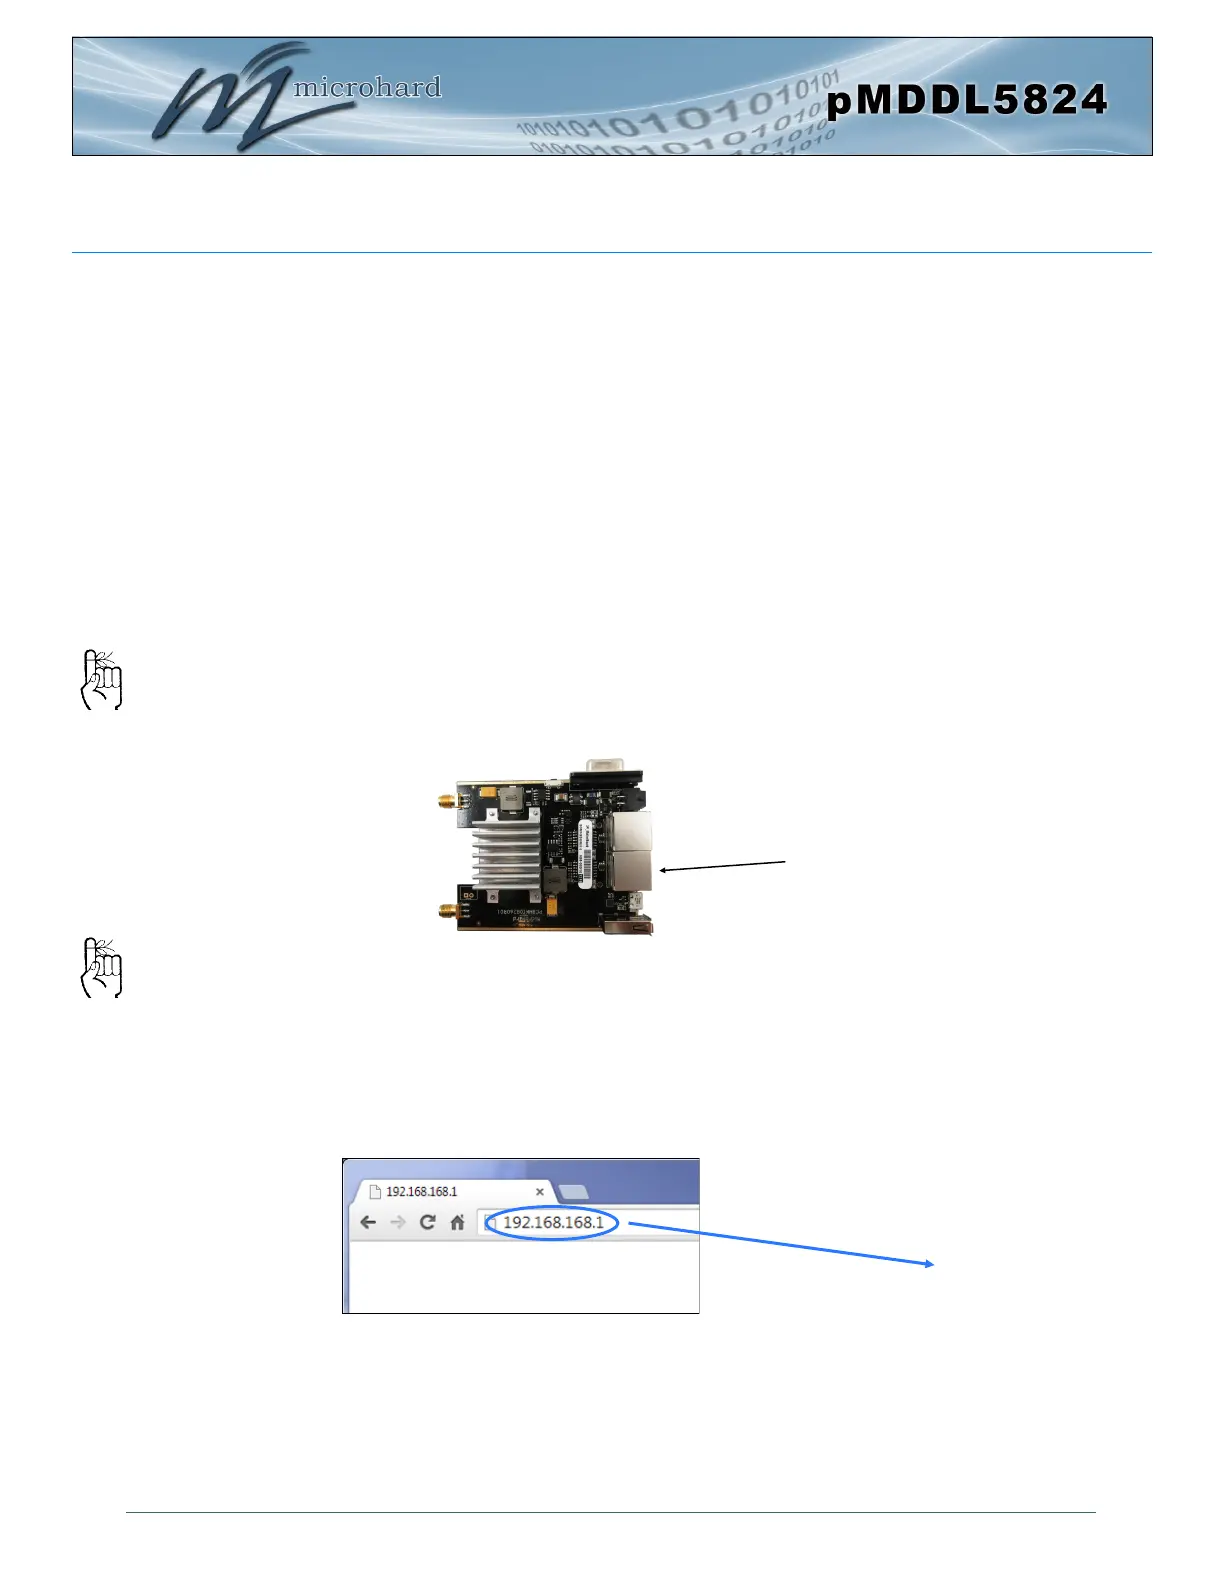
✓ Connect A PC to the LAN port of the pMDDL5824 Dev Board, using an Ethernet
Cable.
✓ The PC must have its Network Setting (TCP/IP Properties) set to DHCP (The mo-
dem will assign a IP address to you), or STATIC with an IP Address of (e.g.)
192.168.168.10 and a Subnet Mask of 255.255.255.0.
✓ Open a Browser Window and enter the IP address 192.168.168.1 into the ad-
dress bar.
The factory default
network settings:
IP: 192.168.168.1
Subnet: 255.255.255.0
LAN
192.168.168.1