OM-258 035 Page 23
5-9. Connecting 1-Phase Input Power (Continued)
! Installation must meet all National
and Local Codes − have only qualified
persons make this installation.
! Disconnect and lockout/tagout input
power before connecting input con-
ductors from unit. Follow established
procedures regarding the installation
and removal of lockout/tagout
devices.
! Always connect green or green/yel-
low conductor to supply grounding
terminal first, and never to a line ter-
minal.
See rating label on unit and check input
voltage available at site.
1 Black And White Input Conductor (L1
And L2)
2 Red Input Conductor
3 Green Or Green/Yellow Grounding
Conductor
4 Insulation Sleeving
5 Electrical Tape
Insulate and isolate red conductor as shown.
6 Input Power Cord.
7 Disconnect Device (switch shown in
the OFF position)
8 Disconnect Device Grounding Terminal
9 Disconnect Device Line Terminals
Connect green or green/yellow grounding
conductor to disconnect device grounding
terminal first.
Connect input conductors L1 and L2 to
disconnect device line terminals.
10 Over-Current Protection
Select type and size of over-current
protection using Section 5-8 (fused
disconnect switch shown).
Close and secure door on disconnect device.
Follow established lockout/tagout proced-
ures to put unit in service.
Input1 2012−05
Notes
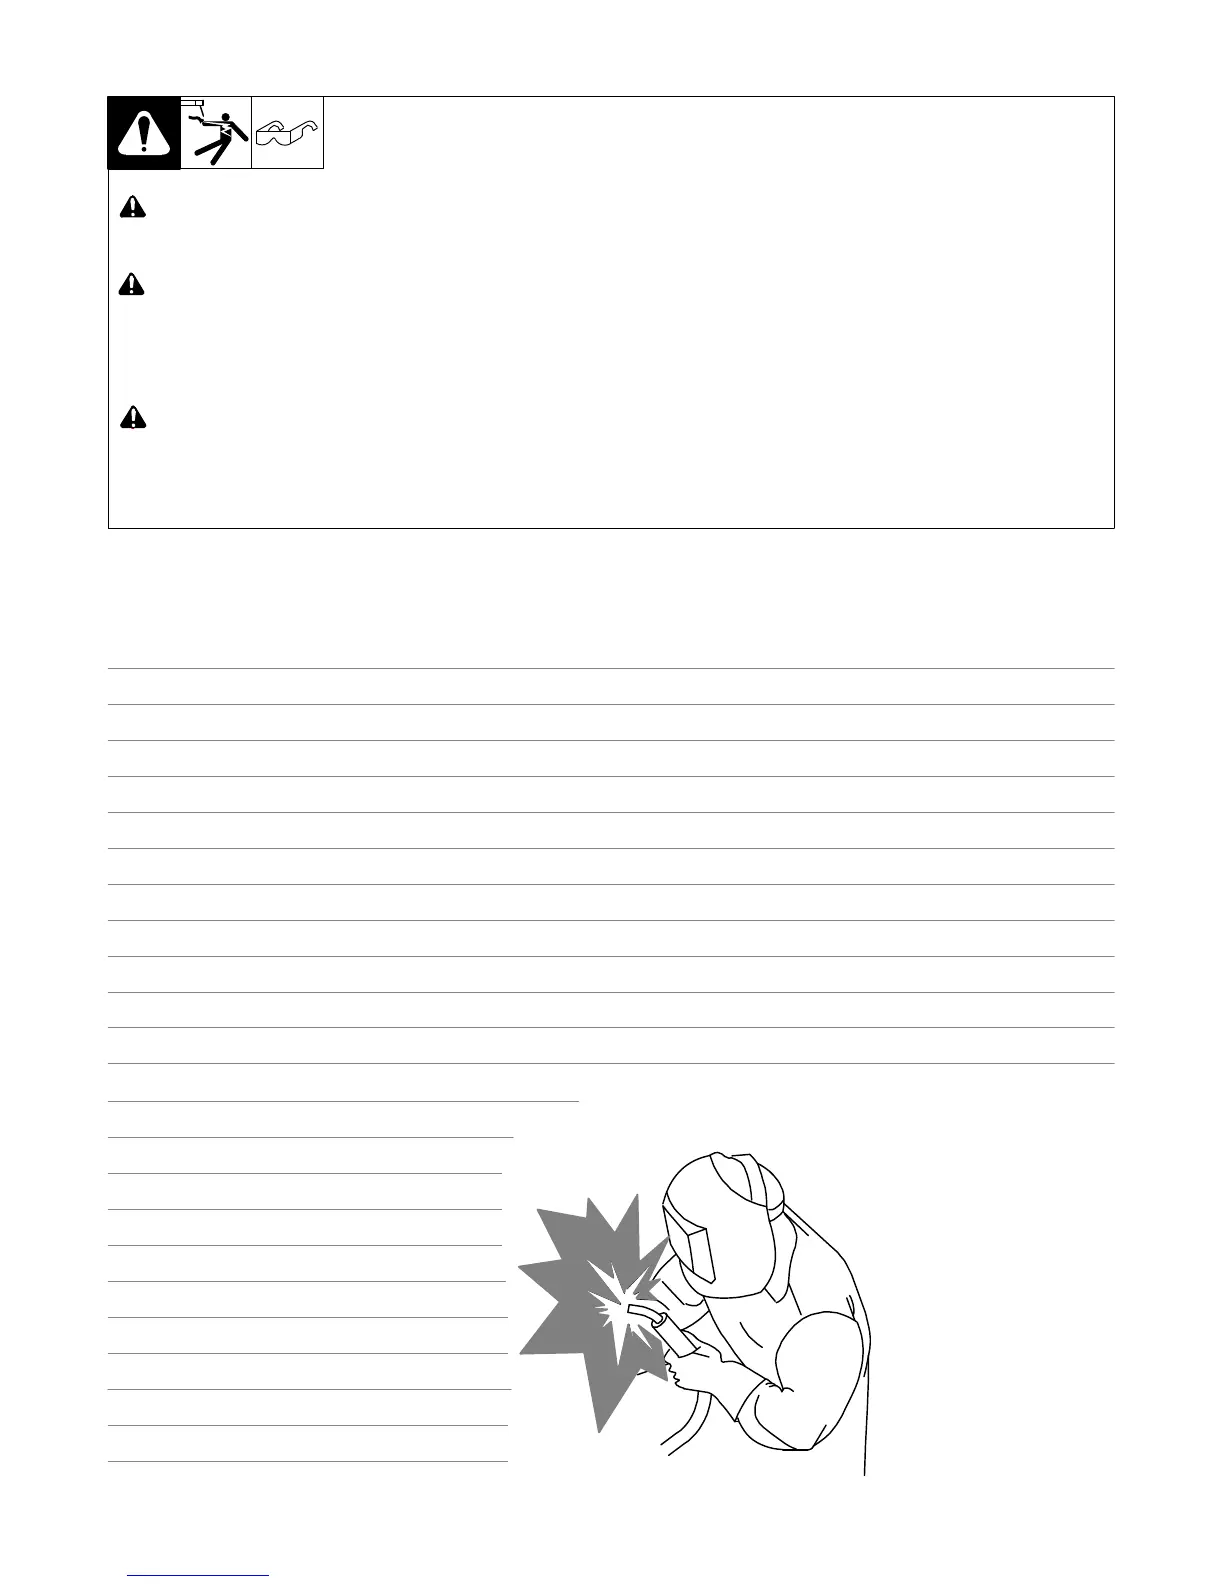
Work like a Pro!
Pros weld and cut
safely. Read the
safety rules at
the beginning
of this manual.



 To Next Page