- 28 -
Connecting the power cable
Connect the power cable as described below.
Connect the power cable to the receptacle of the following specifications.
• Voltage : AC 100 – 120 V
±10%
AC 200 – 240 V
±10%
• Frequency : 50/60 Hz
±1%
• Capacity : 12A or less (AC 100 – 220 V
±10%)
6A or less (AC 200 – 240 V
±10%)
• Be sure to insert the power cable into an approriately-grounded re-
ceptacle. If not, there is a fear of arising electric shock hazards and
damage to the device.
• Be sure to turn off the power switch of the device in prior to the con-
nection of the power cable.
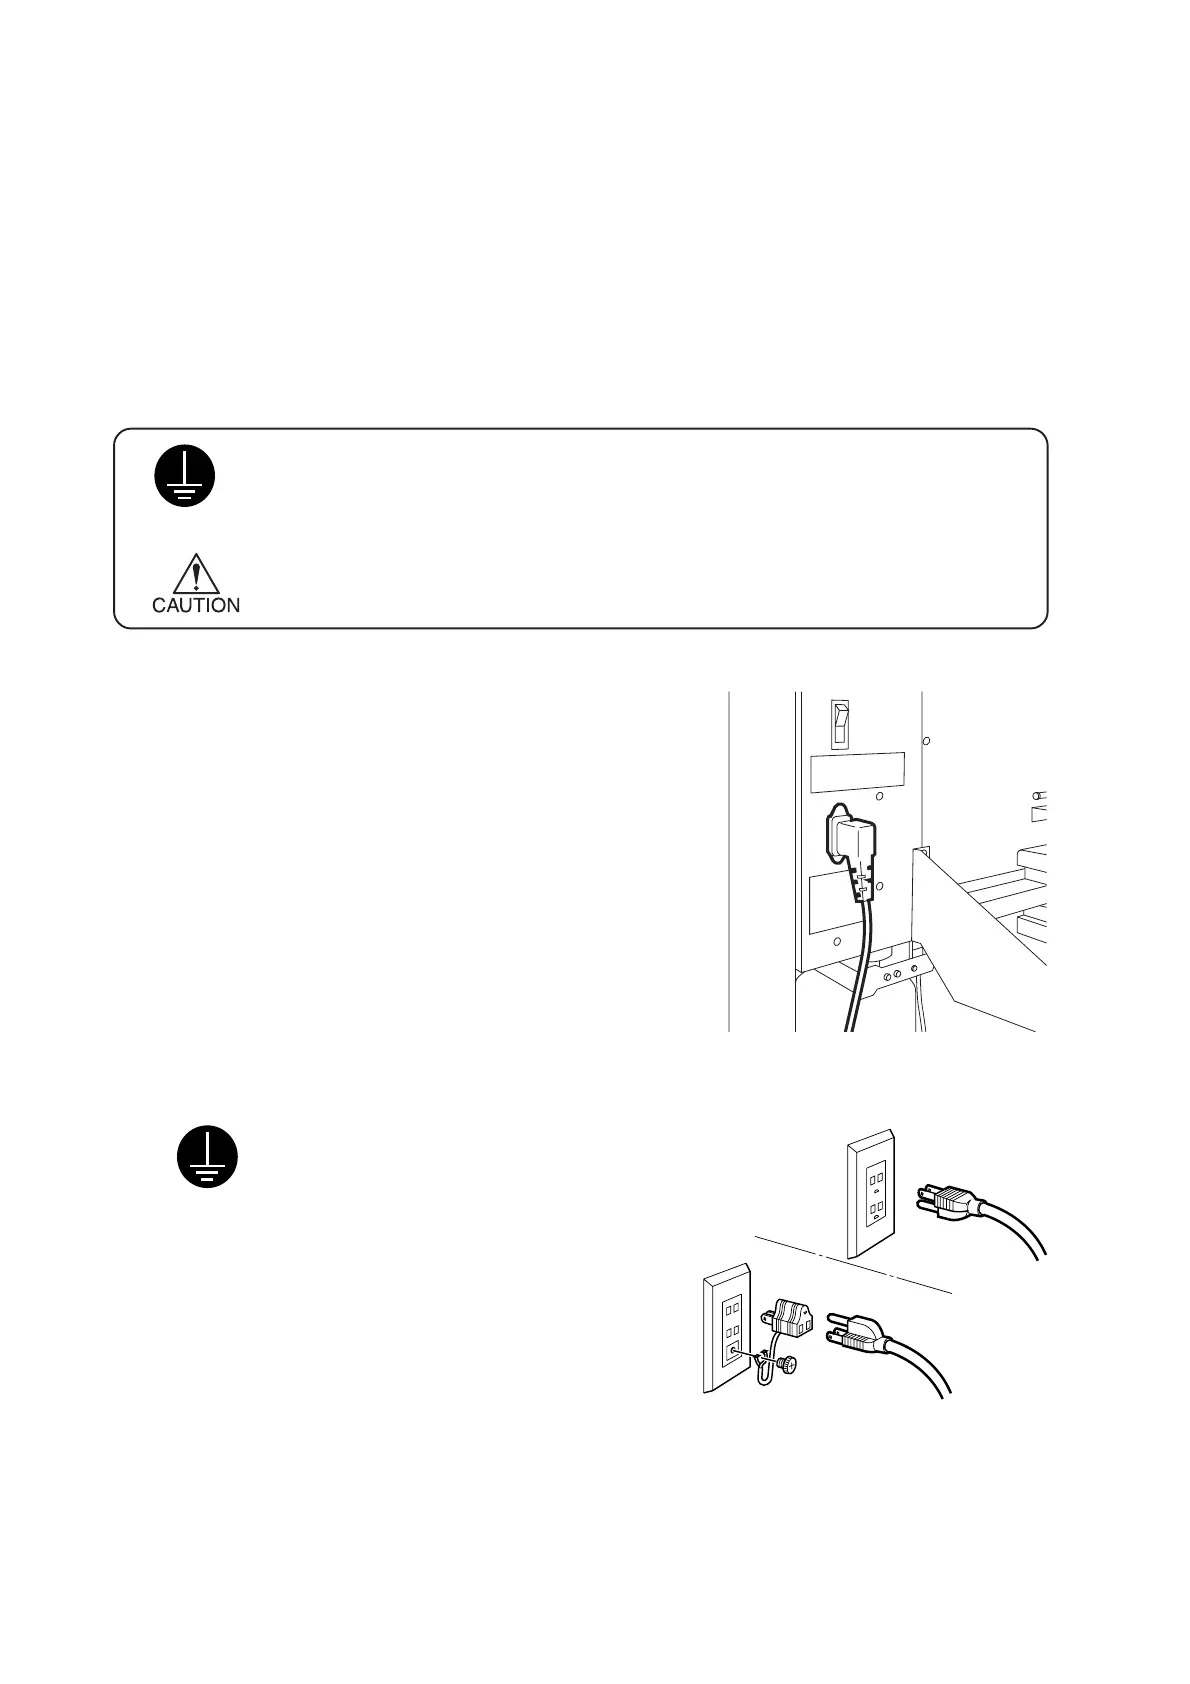
1. Connect the power cable to the AC inlet.
2. Connect the power cable to the 3-pole receptacle.
For a 2-pole receptacle, connect the
grounding adapter supplied with the device
to the power cable plug.
Properly ground the green wire (ground
lead) of the grounding adapter.

 Loading...