- 10 -
C. Printing a special clear ink image
To print an image designed for clear ink, create a special image, separate from the color image, and carry
out mono color replacement with RasterLink6. After that, composite the clear ink image with the color
image.
Creating the clear ink image
1.
Using design software such as Illustrator or Photoshop, create a clear
ink image with the following conditions:
• Color Mode: CMYK
Colors used: One color only - cyan or magenta or yellow or black. Set 100% density for the
color. For the other colors, set 0%.
In this procedure, black 100% is used as an example.
2.
Save the created image as an EPS or TIFF image.
3.
Import the image saved in procedure 2 into RasterLink6.
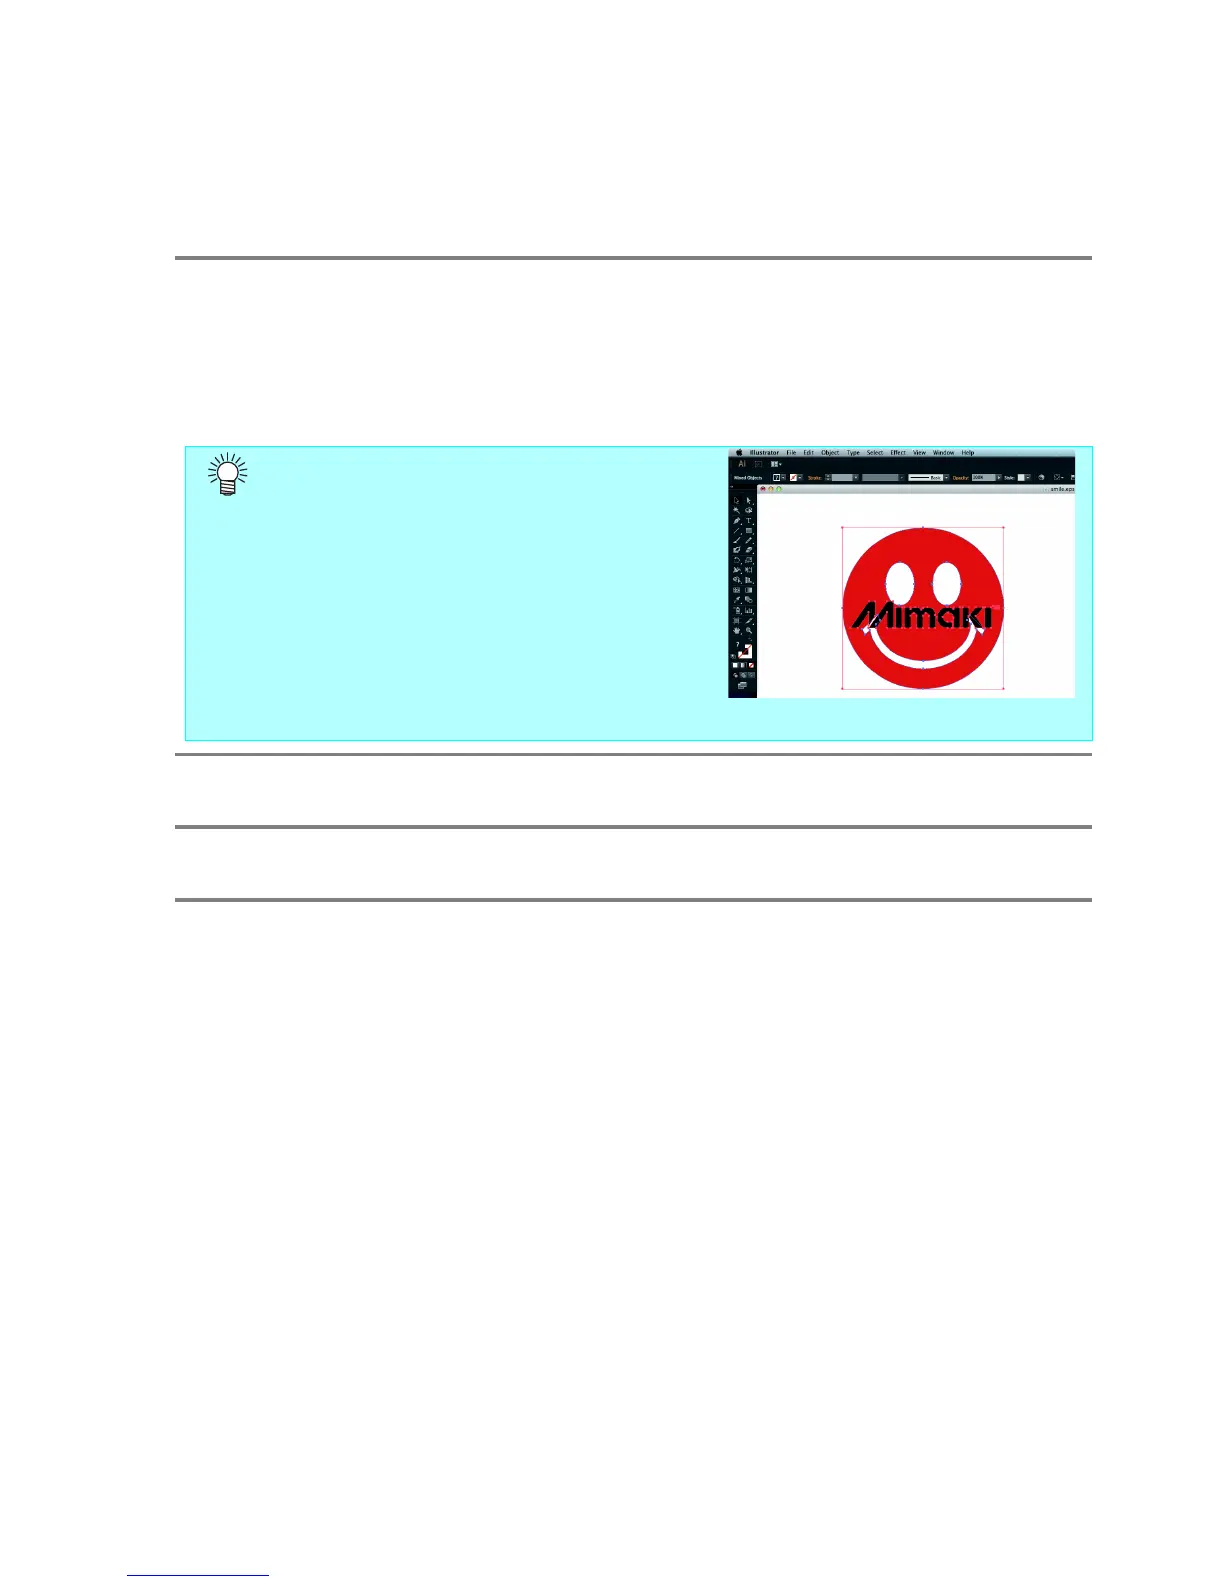
Make the clear ink image’s size match the color
image’s.
You can do this by creating a non-fill/non-line path
around the periphery of both images, as shown on
the right.
You are recommended to save the color image and
clear ink image separately from each other
after you have done the layout for them with the
design software.

 Loading...


