Auto Accept Mode
When a target is detected in Auto Accept
Mode, the Discrimination Pattern will be
automatically modified to accept the FE-CO
coordinates of that target.
To Auto Accept the target:
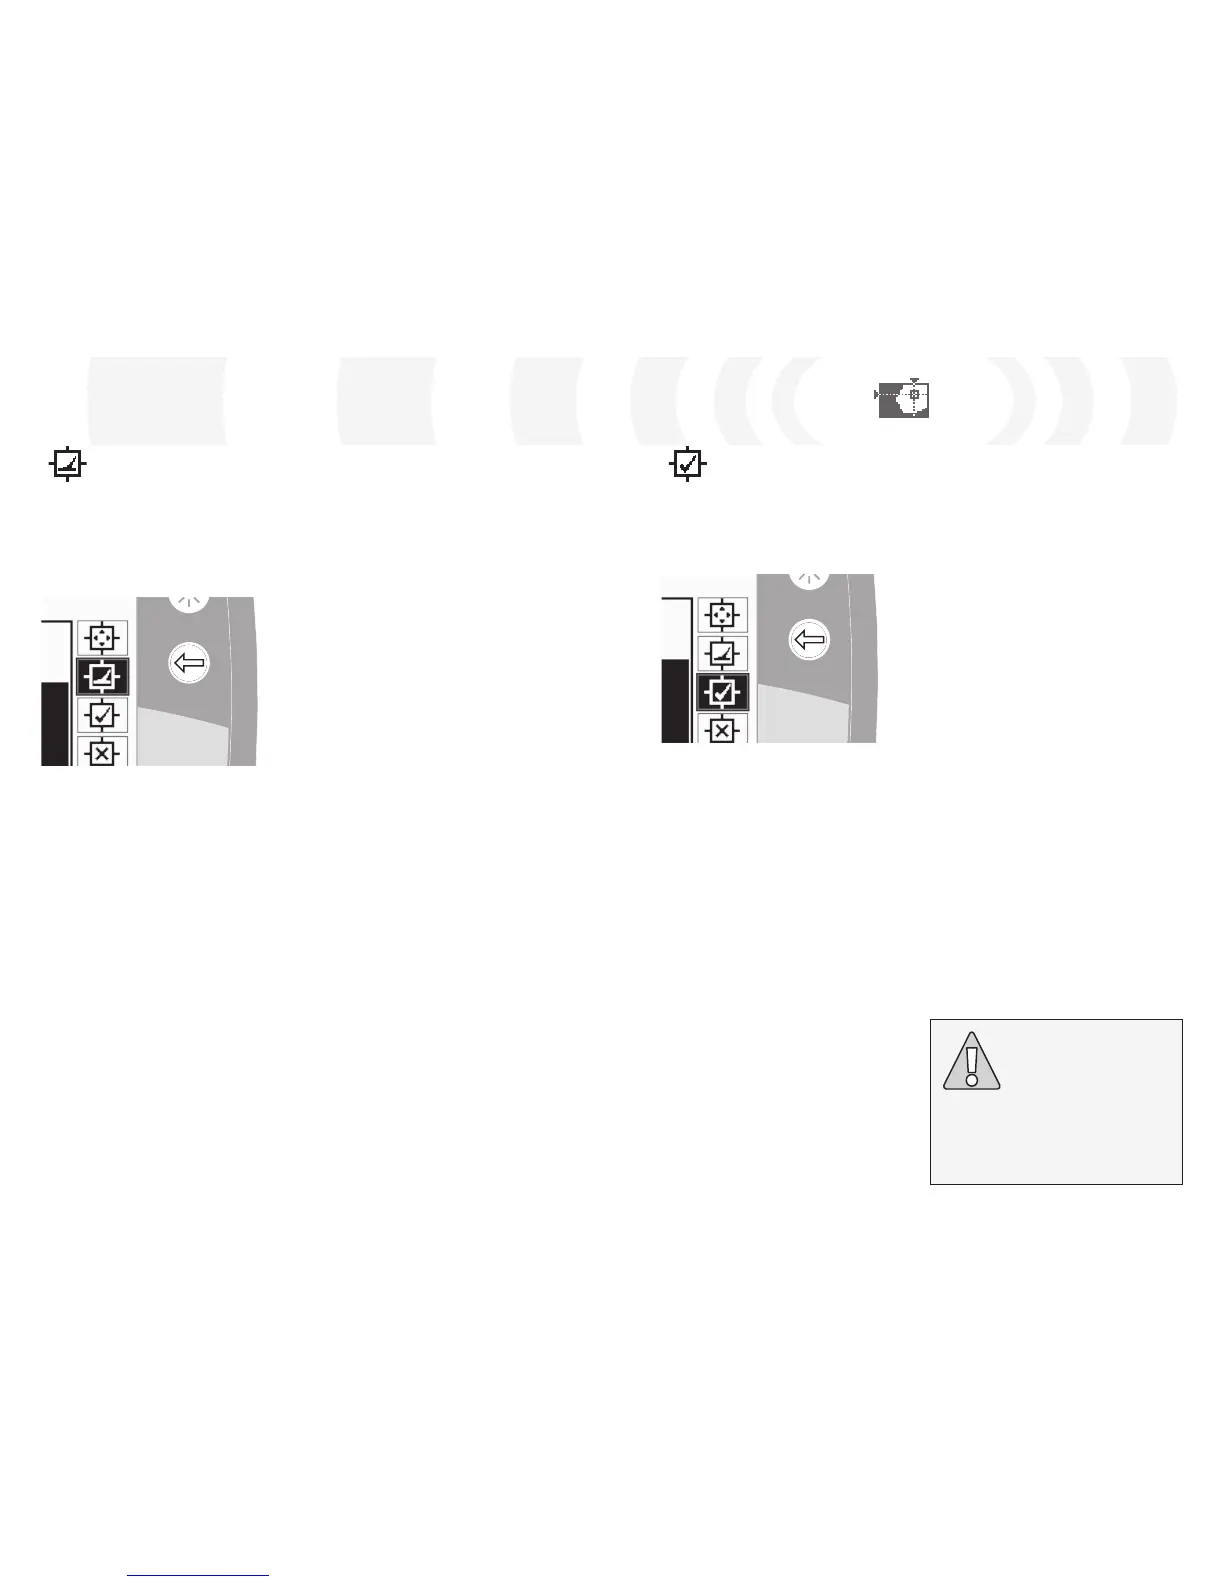
1 Place the target on the ground
2 Press the Right Shift button until the Auto
Accept Edit Mode is selected
3 Swing the coil several times over the
desired target until the detector accepts
it by clearing an area in the Smartfind
Window. If you have more than one target,
repeat the procedure for each one
4 Press the Detect button (or QuickMask
button if you wish to load the pattern into
QuickMask) once you have finished editing
5 Answer ‘Yes’ to the dialogue box to return
to the Pattern/Digital (or QuickMask) Screen
with your new Discrimination Pattern
loaded into Smartfind
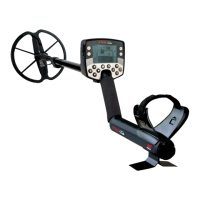
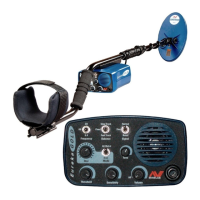
Discrimination Menu
E-Trac needs to detect the target consistently
to accept it into the Smartfind Disc. Pattern.
Creating a Discrimination Pattern
using Auto Accept:
Fill in the Smartfind Window:
Press the Left Shift button until the ‘All
Pattern’ Edit Frame is selected. Press the
Accept/Reject button twice to reject the
entire Discrimination Pattern. This fills in the
Smartfind Window, rejecting all targets
and preparing the Window for learning a
new target.
Change the size of the cursor:
Press the Left Shift button to change the
Edit Frame size (Small, Medium, Large or
All Pattern).
CAUTION: Pressing the Menu Button
while in Edit will take you back to the
Discrimination Menu and all changes
made in Edit will be lost.
Auto Latch Mode
The Auto Latch Mode automatically selects
the FE-CO coordinates of a detected target.
This allows you to either accept or reject the
target from the Discrimination Pattern using
the Accept/Reject button.
To Auto Latch the target:
1 Place the target on the ground
2 Press the Right Shift button until the Auto
Latch Edit Mode is selected
3 Swing the coil several times over the
desired target until the detector confirms
the FE-CO coordinates
4 Press the Accept/Reject button once to
reject those coordinates from the Smartfind
Discrimination Pattern, press twice to
accept. If you have more than one target,
repeat the procedure for each one
5 Press the Detect button (or QuickMask
button if you wish to load the pattern into
QuickMask) once you have finished editing
6 Answer ‘Yes’ to the dialogue to return to
the Pattern/Digital (or QuickMask) Screen
with your new Discrimination Pattern
loaded into Smartfind
Tip: Changing the Trash Density setting (pp.
72–3) from High to Low can stabilise the
FE-CO coordinates of a detected target while
using any ‘Auto’ Edit Modes.
Creating a Discrimination Pattern
using Auto Latch:
Clear the Smartfind Window:
Press the Left Shift button until the ‘All
Pattern’ Edit Frame is selected. Press the
Accept/Reject button once to accept the
entire Discrimination Pattern. This clears the
Smartfind Window, accepting all targets
and preparing the window for learning a
new target.
Change the size of the Edit Frame:
Press the Left Shift button to change the
Edit Frame size (Small, Medium, Large or All
Pattern). A Large frame will accept a larger
area of the Discrimination Pattern as a target
is detected. A Small frame will accept a
smaller area of the Discrimination Pattern,
but slightly altered or damaged targets may
be ignored.