4.
INSTALLAZIONE • INSTALLATION
ENGLISHITALIANO
- 64 -
4.3.10Protection - Installation
The protections must always be
mounted and be positioned in
such as way as to completely
cover the tools.
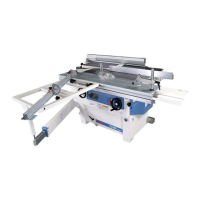
Saw guard (fig. 17)
– Lift the saw assembly using the
handwheel A.
– Fit in the protection B and tighten
the handle D.
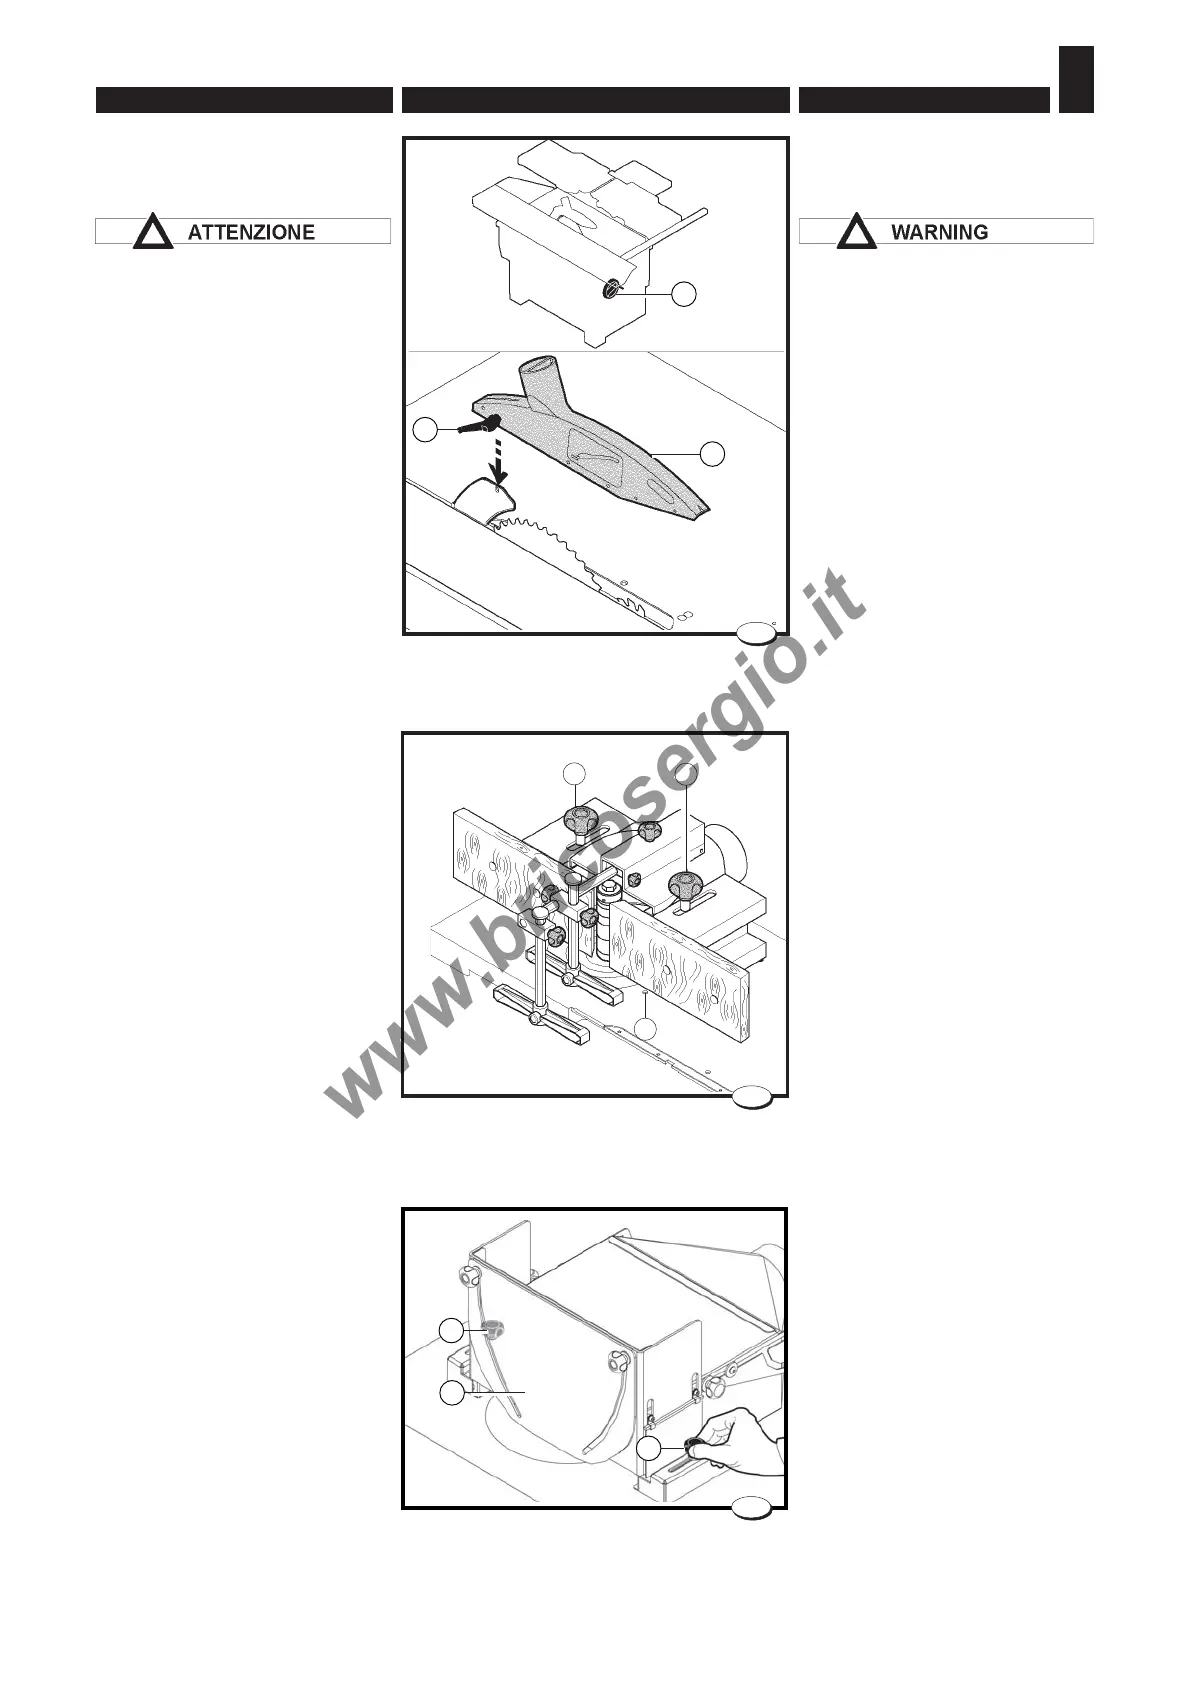
Moulder hood (fig. 18)
In the version with inclinable router,
move the hood into the holes B
when working with the inclined
spindle.
Position the hood on the working
table and screw the two knobs H
into their special holes.
Tenoning shaper hood (fig.19)
Position the hood B on the
workbench and fix it through the
knobs D
4.3.10 Protezioni -
Installazione
Le protezioni devono sempre es-
sere montate,e devono essere
posizionate in modo da coprire
al massimo gli utensili.
Protezione sega (fig. 17)
– Sollevare il gruppo sega me-
diante il volantino A.
– Inserire la protezione B serran-
do la maniglia D.
Cuffia toupie (fig.18)
Posizionare la cuffia sul piano di
lavoro e avvitare i due pomelli H
nei rispettivi fori.
Nella versione con toupie
inclinabile spostare la cuffia nei
fori B quando si lavora con l'albe-
ro inclinato.
Cuffia toupie per tenonare
(fig. 19)
Posizionare la cuffia B sul piano di
lavoro e fissarla mediante i pomel-
li D.
H
H
028.091.0.tif
18
B
033.022.0.tif
B
D
17
A
028.029 .0.tif
19
D
B
D