180
Setting Up Rooms
Configuring Displays
2 If there is a full screen zone associated with this display, click its border and then press
Delete on your keyboard to remove it.
3 Click the display and then press Delete on your keyboard.
4On the File menu, click Save.
The updated room configuration is saved.
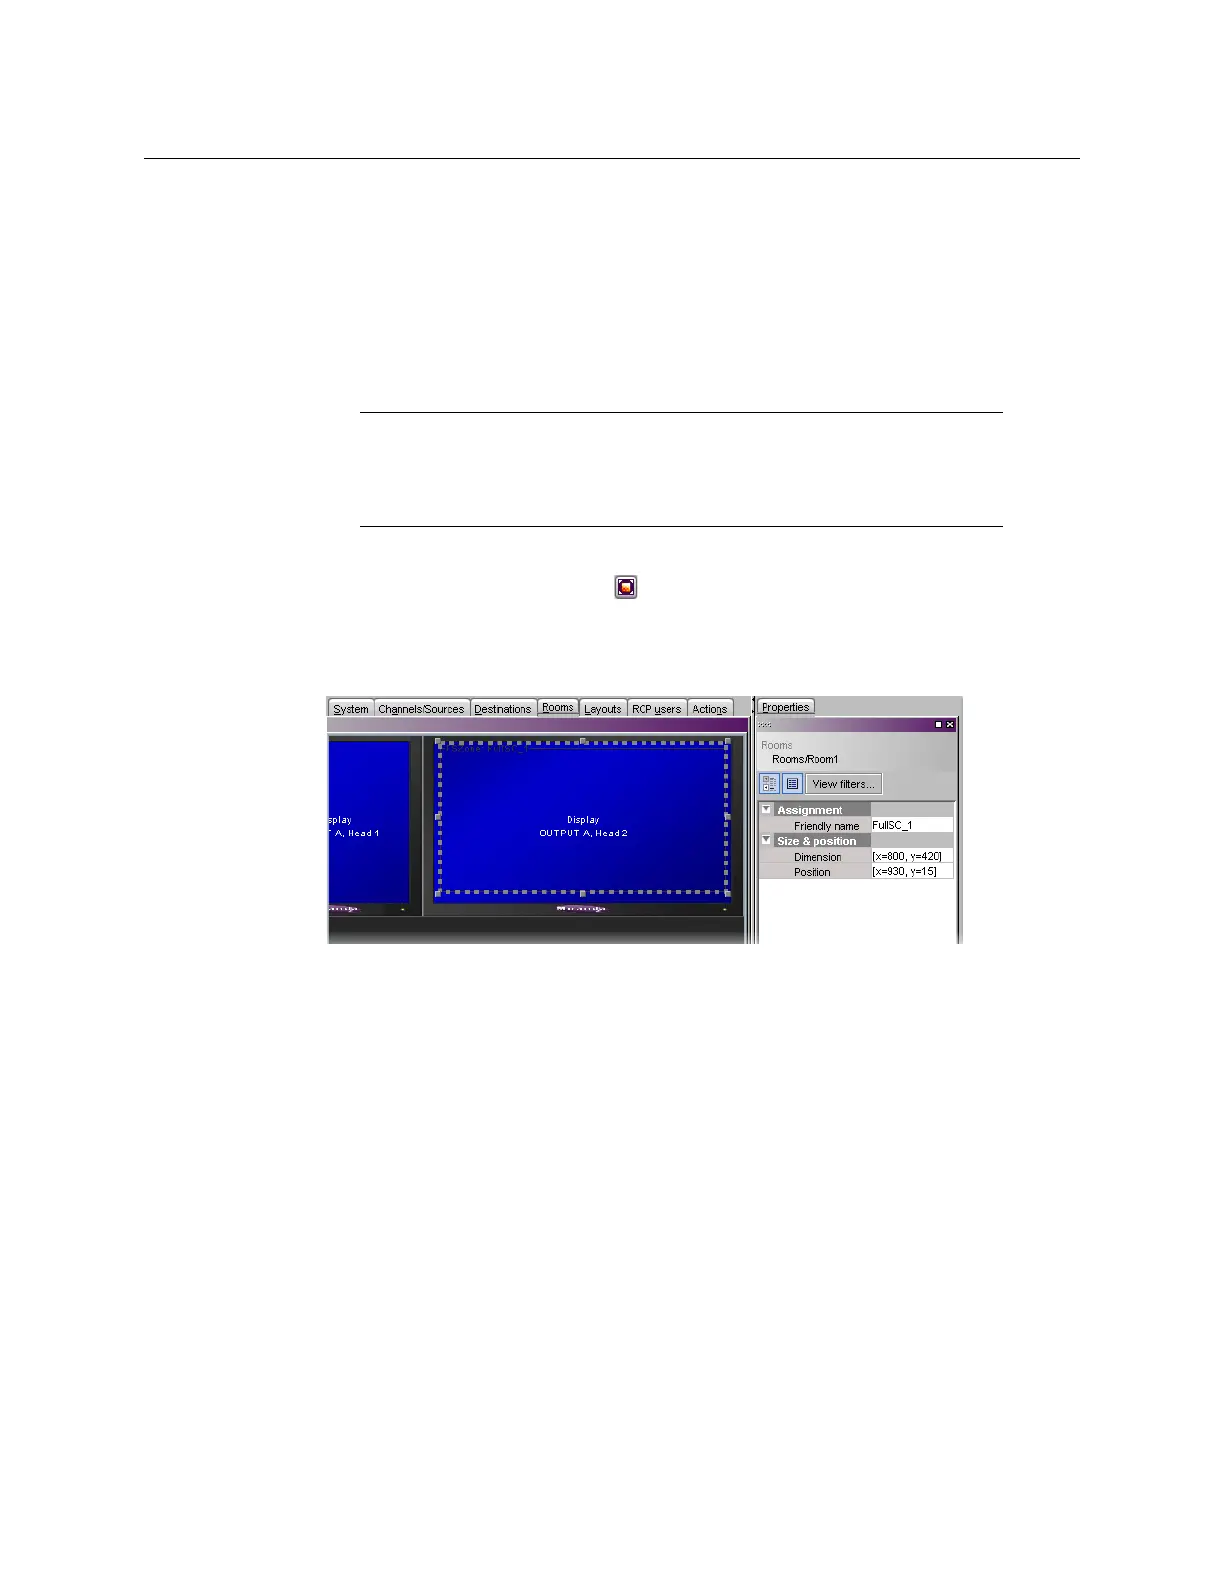
Adding Full Screen Zones
To add a full screen zone to a room
1 Click the Full screen zone button on the toolbar, and then click the room area to
create the full screen zone.
2 Position and resize the zone as appropriate.
3In the Properties tab, click the Friendly name box, and then type a name for the zone.
4 Press Enter on your keyboard to validate the new name, and then click Save on the File
menu.
The room configuration is saved.
Removing Full Screen Zones
To remove a full screen zone from a room
1 Open the room that contains the full screen zone you wish to remove (see Opening
Rooms, on page 174).
2 Locate the full screen zone, click its border and then press Delete on your keyboard.
3On the File menu, click Save.
The updated room configuration is saved.
Configuring Displays
The monitor wall driven by your Kaleido-X system may include displays of various shapes
and sizes, each with its specific characteristics. The displays you add to your rooms in XEdit
must be configured to match the attributes of their physical counterparts. The Kaleido-X
Notes
• Adding full screen zones to a room is optional.
• Do not span a full screen zone across more than one display; use spanned
video monitors instead.
See Spanning on page 198 for more information.
 Loading...

