16
3 Mounting onto the Machine
No. 99MBE095B
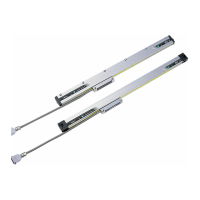
3.2.2 Mounting the Scale Main Unit
1
Temporarily xing the scale
Using the supplied xing screws, temporarily x the scale main unit onto the scale main unit xing
surface of the machine.
(Tight enough so that the scale does not move when the hands are released.)
At this point, do not x the detector head.
(Screws and washers, etc. to be used)
y Full-xing part → Datum point position for length variation due to temperature changes
Hex socket head cap screw M6x30 + shake proof washer
y Elastic xing part
Hex socket head cap screw M6x30 + small round plain washer + special plate spring
Tips
The number of the holes at the full-xing part is dierent depending on the total length of the scale.
For details, refer to
"4.6.2 Dimensional Table" on page 40.
(Machine)
Horizontal direction
Vertical
direction
Detector head
mounting surface
Detector
head
Elastic xing part
Head xing block
Special plate
spring
•Elastic xing parts
Hex socket head cap screw
M6x30
+ Small round plain washer
•Full-xing parts
Hex socket head cap screw
M6x30
+ shake proof washer
Full-xing parts
Special plate
spring
Elastic xing part
Scale main unit
Scale main unit
mounting surface
The head xing blocks that x the detector head dene the positional relationship between the scale main unit
and the detector head.
When mounting the scale unit on the machine, do not remove the head xing blocks in order to keep the posi-
tional relationship.
 Loading...