CHAPTER 2: INSTALLATION AND SETUP
UNIFLOW
®
2 PULSED THERMODE CONTROL
990-228 2-7
6. Connect a properly filtered air line to the air inlet fitting on the head. Use 0.25 inch O.D. by
0.17 inch I.D. plastic hose with a rated burst pressure of 250 psi. Limit the length of the air line
to less than 40 in. (1 m) or thermode motion will be very slow.
NOTE: Use a lubricator only with automated installations.
7. Turn on the air system and check for leaks.
8. Set the
HEAT/NO HEAT switch on the Control front panel to the NO HEAT position. In this
position, the Control can not deliver heating energy to the thermode, but it will automatically
control the head.
9. Set the circuit breaker on the rear panel of
the Control to the ON position. The
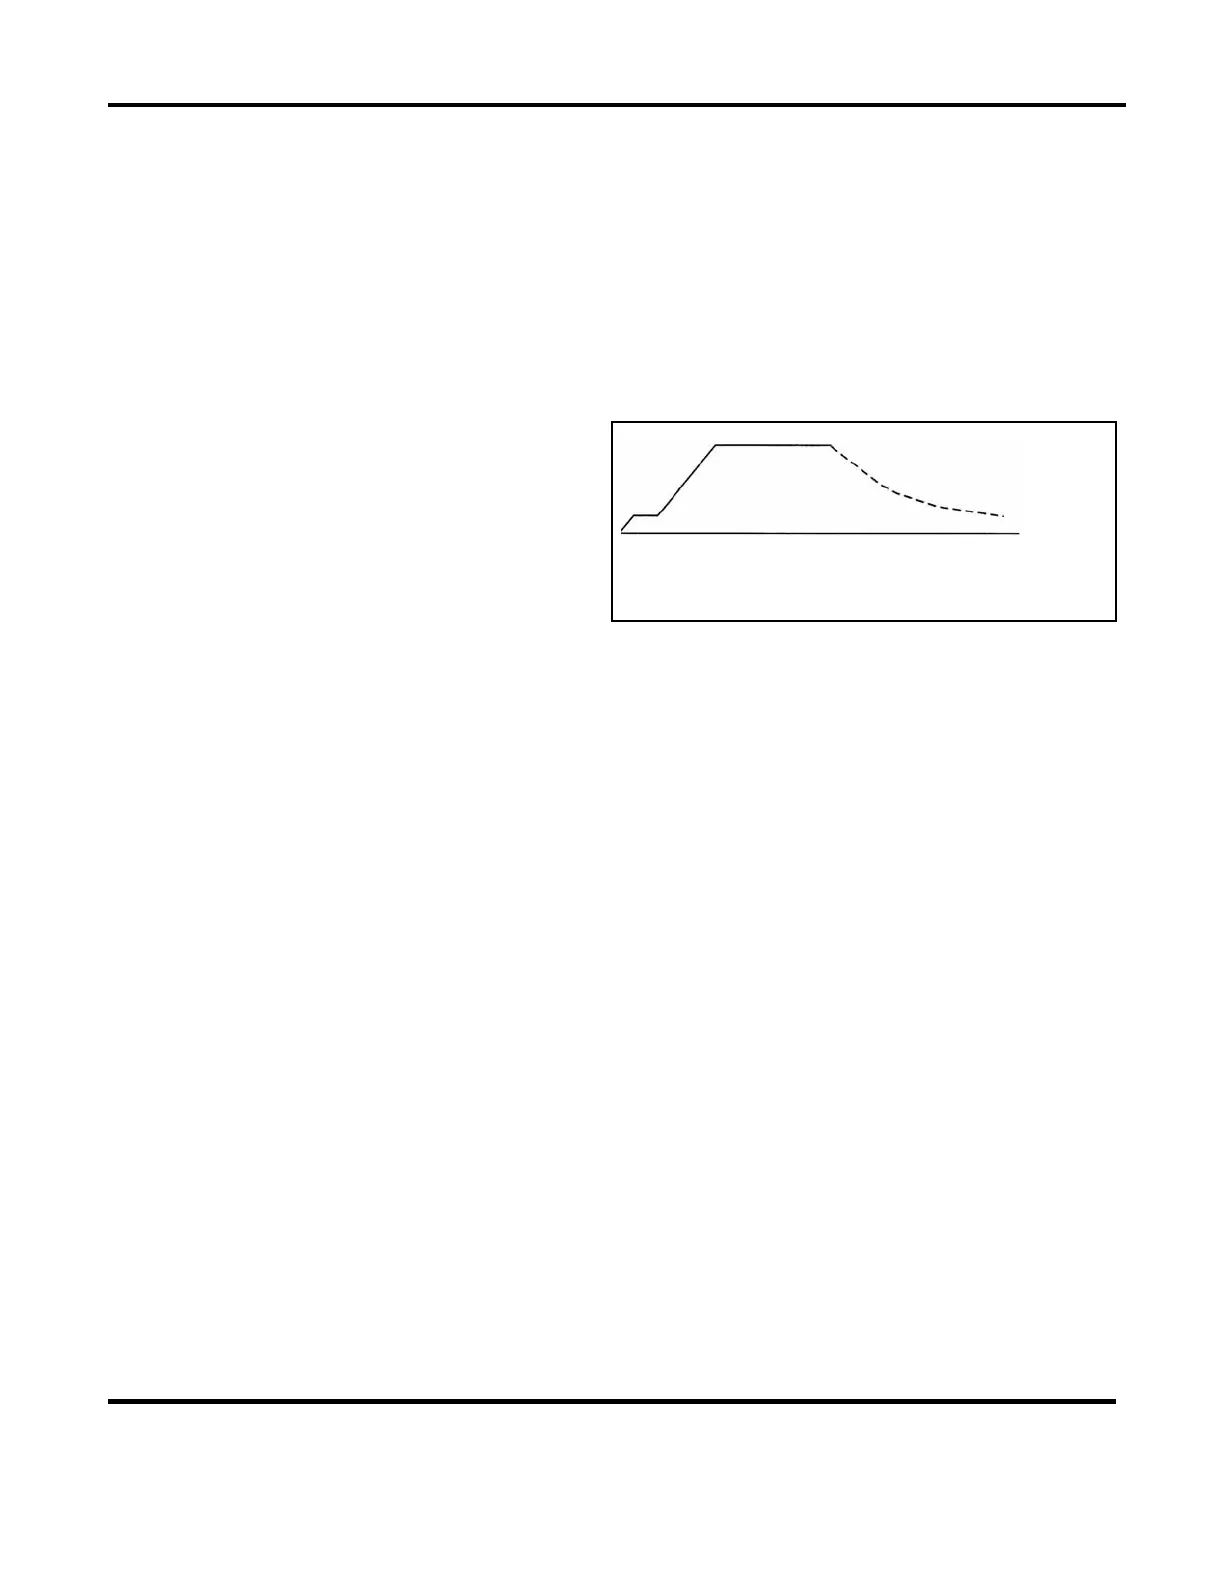
default graphic screen will display. You
will use this screen to enter heating
parameters
40°C
1
Ideal Profile
150 --- 350 180 Celsius
01.0 1.0 03.0 ---- Seconds
10. Turn the air regulator clockwise to produce 10 psi on the air regulator pressure gauge.
11. Press the foot switch down to close the first level, and hold the foot switch at the first level.
The thermode should descend to the parts.
12. If the parts are properly positioned under the thermode, press the foot switch to the second
(bottom) level. The Control should begin a process cycle without applying heat and the
head should immediately retract. If the head does retract, go to Step 14. If the head does
not retract, go to Step 13.
13. Increase air pressure in 5 psi increments and repeat Steps 11 and 12 until the thermode
automatically retracts at the end of the process cycle.
14. Press the foot switch to actuate to the first level. The thermode should descend smoothly to
the surface of the parts. When it reaches the parts, release the foot switch and go to Step 16.
If it does not descend smoothly, go to Step 15.
15. Adjust the head down speed control knob and repeat Step 14 until the thermode descends
smoothly.
16. Press the foot switch to actuate the first level and set the thermode on the parts. Release the
foot switch and verify that thermode does not impact during retraction. If it does impact
during retraction, go to Step 17.
17. Repeat Step 16, adjusting the Head Up Speed Control Knob until the thermode does not
impact at the UP position.
 Loading...