21
q 14) Apply a couple of drops of Kwik Bond Thin
C/A into each of the three cowl mounting holes. This
will harden the wood and keep the wood screws from
coming loose during flight.
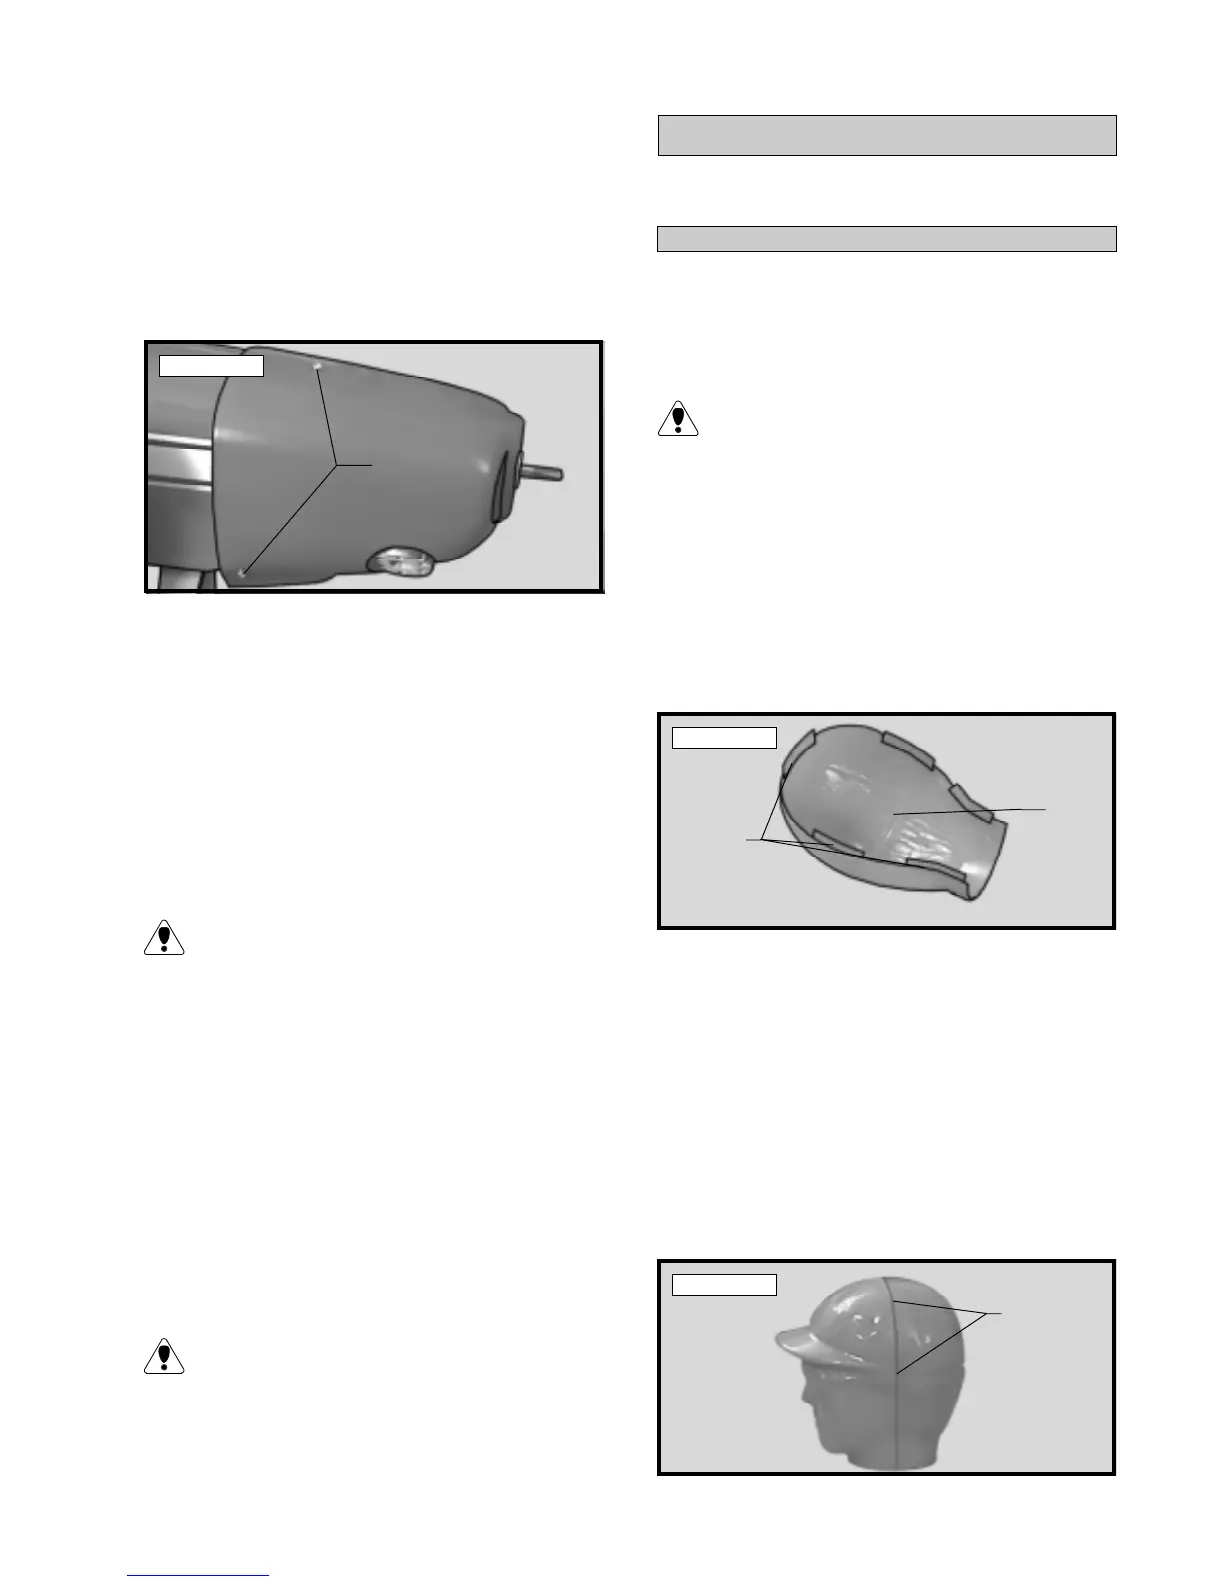
q 15) Slide the cowl back onto the fuselage and
secure it in place using the three 3mm x 6mm wood
screws. See photo # 42 below.
Photo # 42
q 16) Locate the areas of the cowl that need to be
removed for access to the high and low speed needle
valves and muffler assembly.
q 17) Remove the cowl and make these cutouts
using a Dremel Tool with a cutting disc and sanding
drum attachment. Holes for the needle valves can be
cut using a drill bit. We highly suggest the use of a
Dubro Fuel Filler Valve to fuel the airplane. This
should be mounted to the cowl at this time also.
Because of the diameter of the cowl, it may be
necessary to use a needle valve extension for
the high speed needle valve. Make this out of suffi-
cient length 1.5mm wire and install it into the end of
the needle valve. Secure the wire in place by tighten-
ing the set screw in the side of the needle valve.
q 18) Install the muffler and connect the fuel and
pressure lines to the fuel tank, carburetor, muffler and
fuel filler valve.
q 19) Install the propeller and spinner assembly. The
spinner cone is held in place using two 2mm x 12mm
wood screws.
The propeller should not touch any part of the
spinner cone. If it does, use a sharp modeling
knife and carefully trim away the spinner cone where
the propeller comes in contact with it.
PARTS REQUIRED
q {1} Molded Plastic Pilot Head
PILOT ASSEMBLY
PILOT
q 1) Using a modeling knife or Lexan Canopy
Scissors, trim off the rounded edges on the pilot head
halves. Use 220 grit sandpaper with a sanding block
and sand the edges smooth, flat and straight.
Pay careful attention to keeping the edges
straight. This will make joining the halves much
easier.
q 2) Using scissors, cut out small tabs about 1/8”
wide and 1/4” long from the excess plastic that was
trimmed off in the previous steps. Bend each of the
tabs at the middle into a shallow "V" shape.
q 3) Using thin C/A glue the tabs into only one
half of the pilot head at several locations along the
edges. See photo # 43 below.
Photo # 43
q 4) After the glue has completely cured, trial fit
the two halves together. Make any adjustments nec-
essary to get each half to fit as close as possible. When
satisfied with the fit, glue the halves together using
Kwik Bond Thin C/A. Work one tab at a time, hold-
ing the halves tightly together and applying one drop
of glue until the parts are completely glued together.
q 5) After the glue has completely cured, use 220
grit sandpaper and lightly sand the seams. If any gaps
are present they can be filled using Testors Contour
Putty. See photo # 44 below.
Photo # 44
Wood
Screws
Pilot
Head
Plastic
Tabs
Fill Seam