5
ÄSUGGESTIONÃ To avoid scratching your new airplane, do not unwrap the pieces until they are
needed for assembly. Cover your workbench with an old towel or brown paper, both to protect the aircraft
and to protect the table. Keep a couple of jars or bowls handy to hold the small parts after you open the
bags.
ÄNOTEÃ Please trial fit all the parts. Make sure you have the correct parts and that they fit and are
aligned properly before gluing! This will assure proper assembly. Since the Extra 300 is hand made from
natural materials, every airplane is unique and minor adjustments may have to be made. However, you
should find the fit superior and assembly simple.
If you should find a part missing or have questions about assembly, please call or write to the address below:
Customer Service Center
18480 Bandilier Circle
Fountain Valley, CA. 92728
Phone: (714) 963-0329
Fax: (714) 964-6236
E-Mail: globalhobby@earthlink.net
PARTS REQUIRED
WING ASSEMBLY
q {2} Wing Halves w/Ailerons, Hinges & Torque Rods
q {1} Dihedral Brace W-23
q 1) Look at the surface of each root rib on both
wing halves. Notice how the excess covering mate-
rial overlaps onto them. Using a modeling knife, care-
fully cut away the covering from both of the root ribs.
Leave about 1/16” of covering overlapping so it does
not pull away.
It is important that the covering be removed from
the root ribs. This will ensure an adequate wood-
to-wood glue joint and prevent wing failure during
flight.
q 2) Using a ruler and a pen, locate and mark the
centerline of the wing dihedral brace W-23. Draw a
vertical line at this location on each side. See photo
# 1 below.
Photo # 1
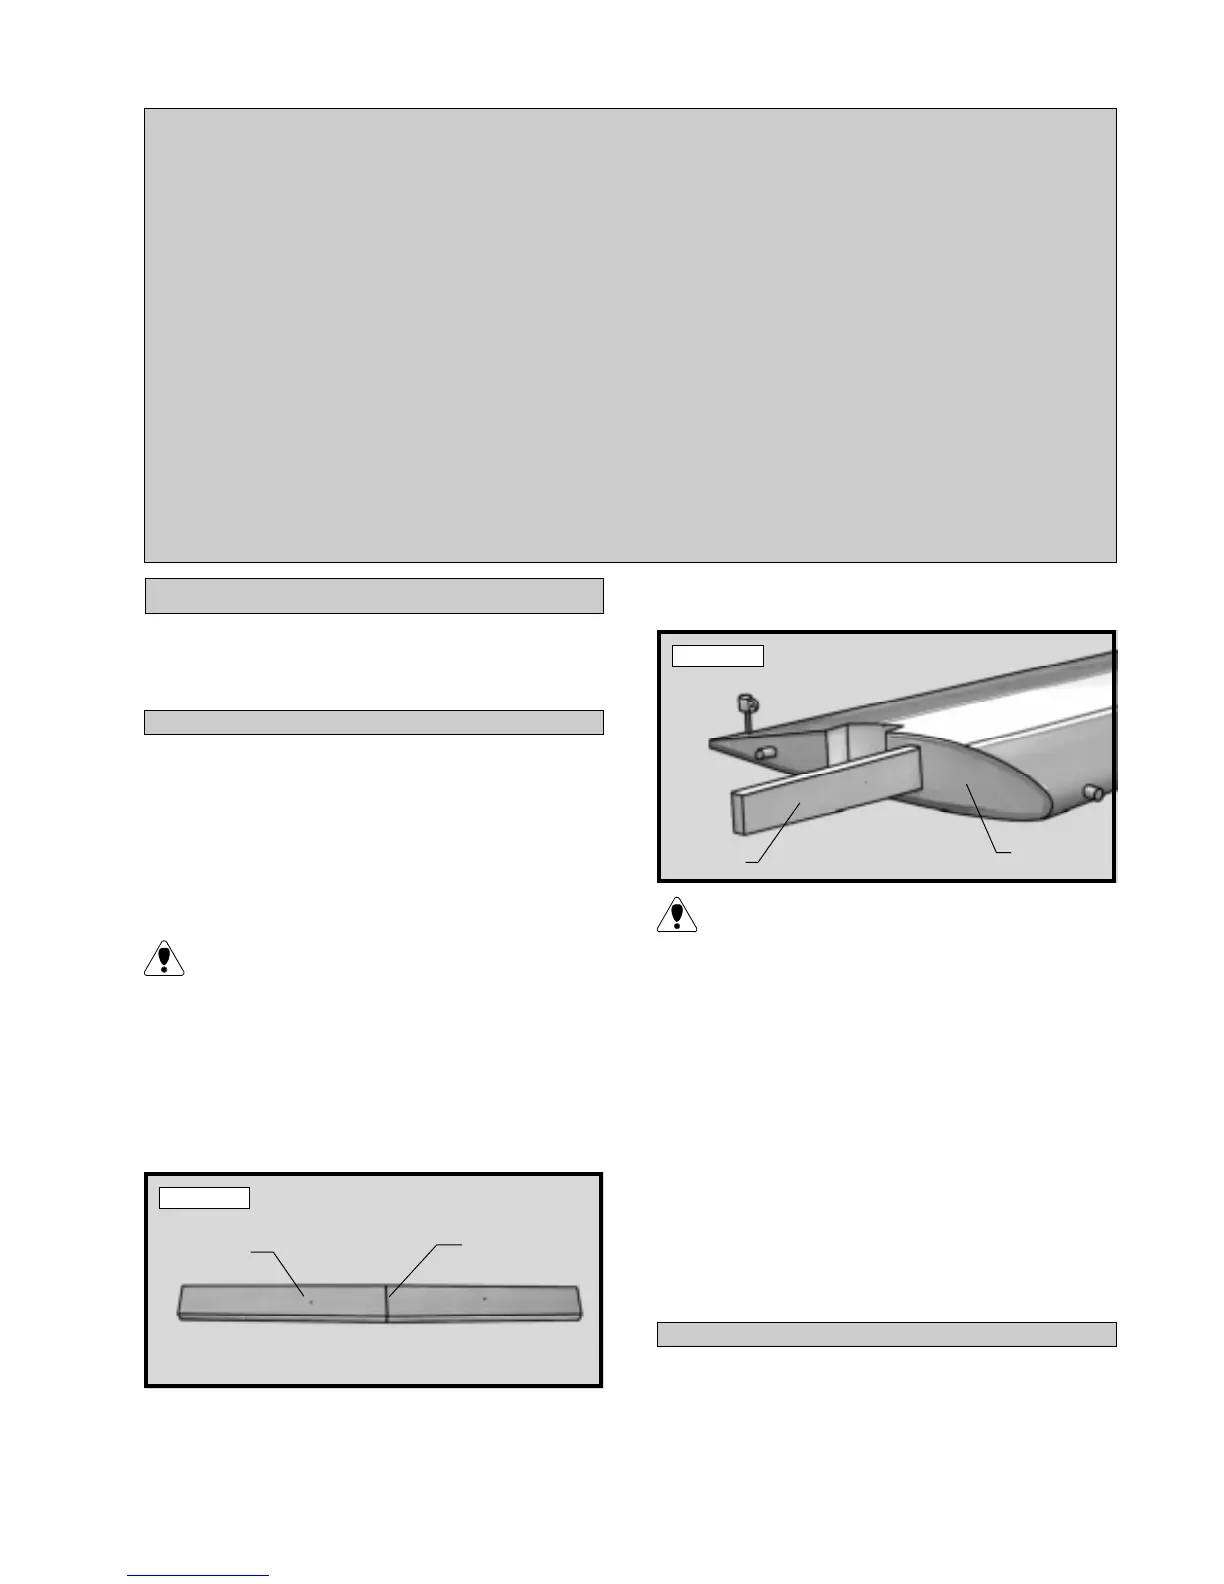
q 3) Test fit the dihedral brace into the plywood
box in each wing half. The brace should slide into
each wing half up to the centerline. If it does not,
The dihedral brace is the same shape on both
the top and the bottom. It can be installed in
either direction.
q 4) Test fit both of the wing halves together with
the dihedral brace temporarily installed. Do not glue
it in at this time! The wing halves should fit to-
gether tight with little or no gaps in the center section
joint. If the center section joint is not tight, remove
the wing halves and lightly sand the edges and tips of
the dihedral brace. Test fit the wing halves together
with the dihedral brace installed again. Repeat until
you are satisfied with the fit of the wing halves.
q 5) When satisfied with the fit of the wing halves,
remove the wing halves and the dihedral brace.
remove the brace and lightly sand the edges and tips
until the proper fit is obtained. See photo # 2 below.
Photo # 2
q 6) Mix a generous amount of Kwik Bond 30
Minute Epoxy. Working with only one wing half for
now, apply a thin layer of epoxy inside the plywood
dihedral brace box and to only half of the dihedral
INSTALL THE DIHEDRAL BRACE
JOINING THE WING HALVES
Draw Centerline
Dihedral
Brace W-23
Dihedral
Brace
Root
Rib