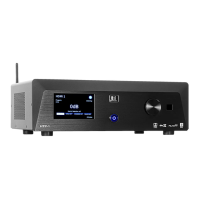
HTP-1 Installation and User Guide Release 1.8.1
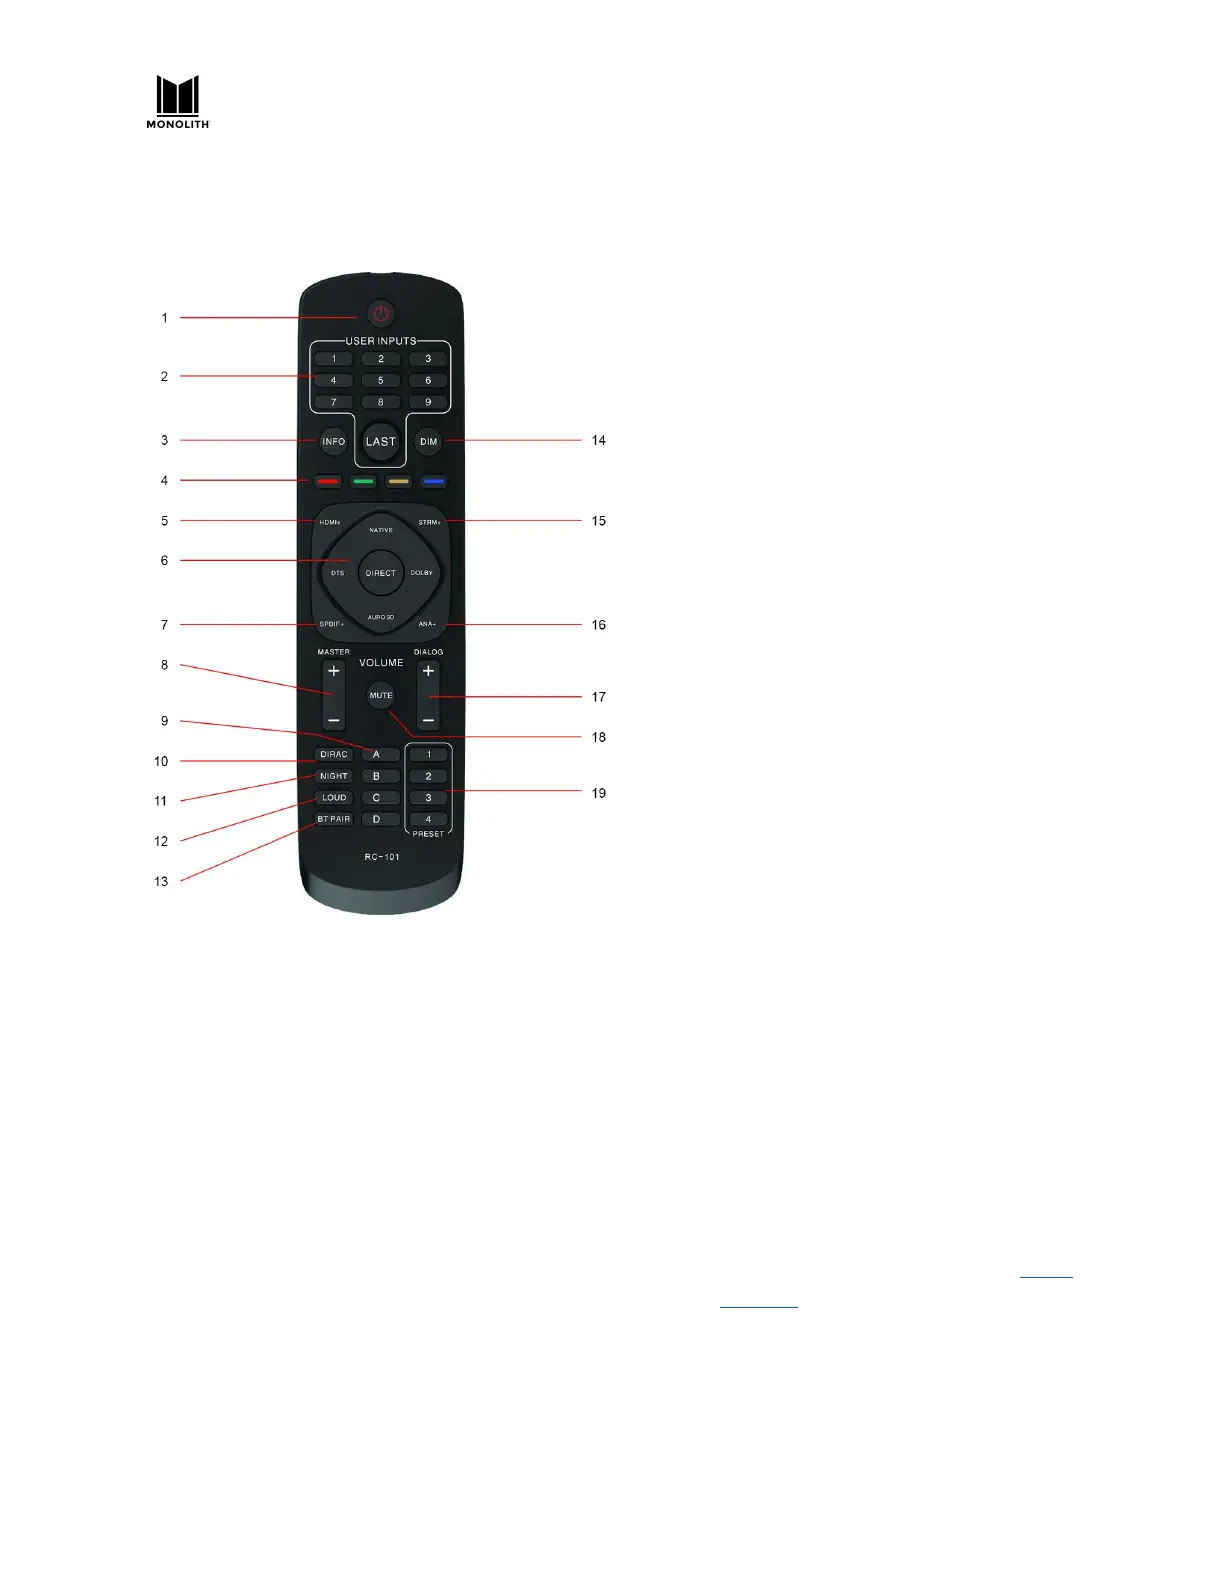
Remote Control
1. POWER: Press the POWER button to
turn the unit on or or to put it into
standby mode.
2. USER INPUTS: Press the number
buttons to select individual inputs. The
numbers map to the visible inputs, from
left to right, that are display on the
Web GUI Home Page. Press the LAST
button to select the last input used.
3. INFO: Press the INFO button to display
the relevant information on the Front
Panel LCD Display.
4. COLORS: The Red, Green, Yellow, and
Blue buttons activate user definable
functions.
5. HDMI+: Press the HDMI+ button to
cycle forward through the eight HDMI®
inputs as well as the TV input. When
using this button the GUI will display
the HDMI input that will be selected
after a short timeout period expires
(about 3 seconds). This allows the user
to rotate through the input options
without actually changing the input
(which can slow things down). This
delayed input change only applies to
this button, not any of the other +
buttons.
6. SURROUND MODES: Press the buttons
to select the NATIVE, DTS®, DIRECT,
DOLBY®, or AURO-3D® surround
modes.
7. SPDIF+: Press the SPDIF+ button to
cycle forward through the digital audio
inputs. The cycle order is COAXIAL 1,
COAXIAL 2, COAXIAL 3, OPTICAL 1,
OPTICAL 2, OPTICAL 3, and AES/EBU.
8. MASTER: Press the + button to increase
the MASTER volume level or press the -
button to decrease the MASTER volume
level.
9. LETTERS: The A, B, C, and D buttons
activate user user defined functions.
These may be supported in the future.
10. DIRAC: Press the DIRAC button to
enable or disable Dirac® Room
Correction.
11. NIGHT: Press the NIGHT button rotates
between off, auto and on. Night mode
is designed for low volume movie
viewing. See more details under “Audio
Features”.
12. LOUD: Press the LOUD button to enable
or disable Loudness mode, which
boosts low and high frequencies for low
volume music listening. This is