OPI-PulseNGKit-en-141106
Version: 2.01
Page 22 of 31
021,725,1*62/87,216
Operating Manual
PulseNG Kit
Gateway: 0.0.0.0 (default setting)
Synchronize time: Synchronize time of PC to IBU-NG, possible settings:
never / daily / hourly
DNS: 0.0.0.0 (default setting)
Table 7: Global settings
After changing the IP address, please disconnect the
IBU-NG from voltage, then reconnect in order to accept the
new address.
Plot
Sensor axes
X-Axis / Y-Axis / Z-Axis / Module / Background / DSP / Monitoring
pulseNG
0
255
255
255
0
0
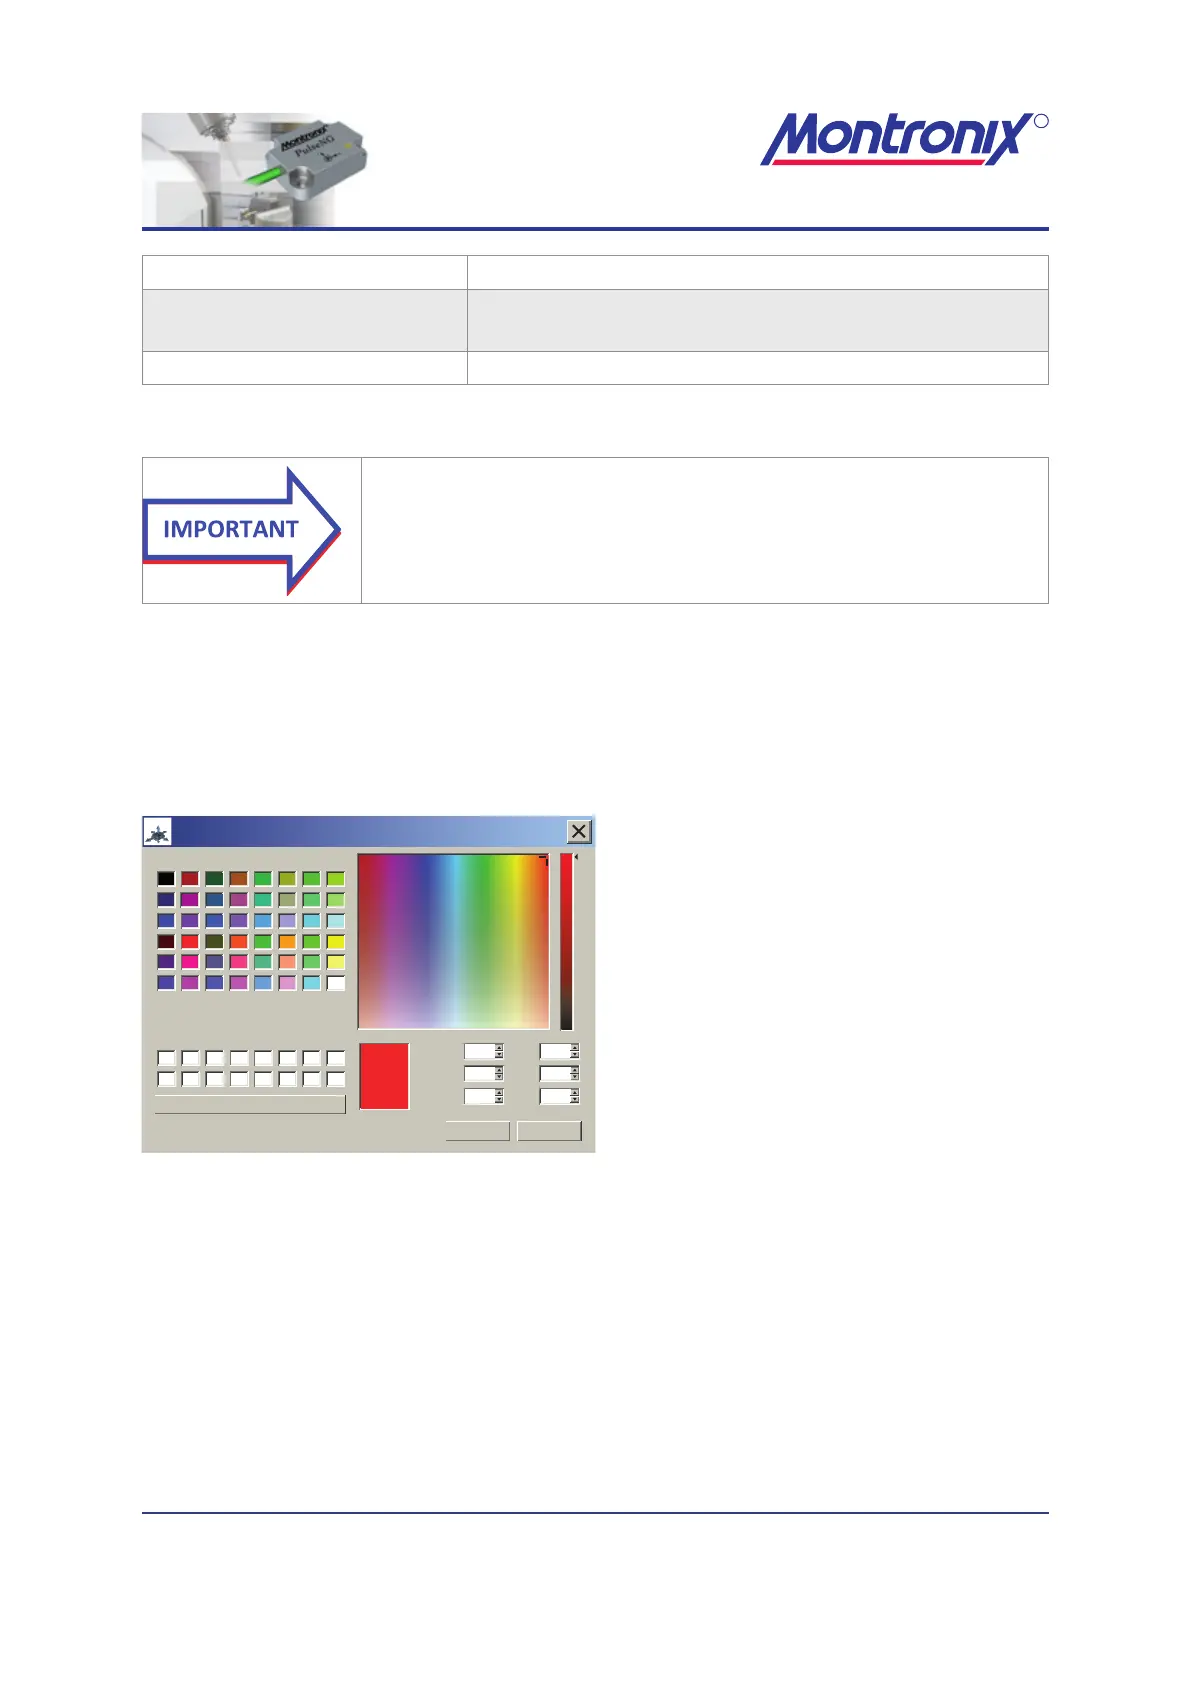
Select color
OK Cancel
Basic colors:
Hue:
Sat:
Val:
Red:
Green:
Blue:
Custom colors:
Add to Custom Colors
Left mouse click on eld, then select
desired color.
Conrm with „OK“.
Figure 16: Color selection pop-up window
Machine axes
Assigns a sensor axis to a machine axis.
We recommend mounting the sensor so that the sensor axes correspond to the
machine axes. If this is not possible, you can change the assignment.
Mounting of the sensor should be parallel to machine axes to minimize inuences by
other axes. The use of a level is highly recommended.