28
English
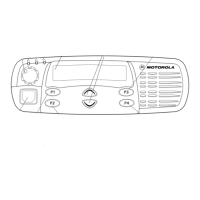
GETTING STARTED
SELECTING A TRUNKED ZONE
AND TALKGROUP
Up to 15 PassPort and/or LTR trunked zones
(containing 16 talkgroups each) can be
programmed into your radio.
To select a trunked zone and talkgroup:
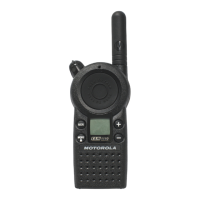
SENDING A TRUNKED CALL
To Send a Trunked Call
1 v or w to select the appropriate
trunked zone.
2 y or z until you see the desired
preprogrammed talkgroup on the display.
Note: N (the PassPort Zone symbol)
appears when a PassPort Zone has
been selected.
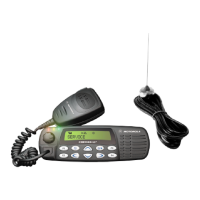
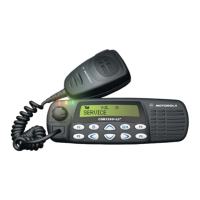
1 Hold the microphone in a vertical position
at a distance of about 1 to 2 inches
(2.5 to 5 cm) from your mouth.
2 Press and hold the PTT button.
–or–
Press and release the PTT button and
wait 3 seconds.
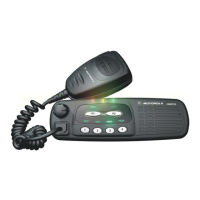
• If access to the trunked system was
successful, the red LED indicator
lights steady.
In addition, your dealer can
program your radio to sound a
short, high-pitched (talk permit)
tone, indicating successful trunked
system access.
• If access to the trunked system was
unsuccessful, the red LED indicator
flashes and a low-pitched (talk
prohibit) tone sounds, indicating that
the system was busy or out-of-range.
 Loading...