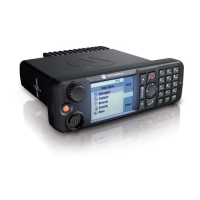
133
The Menu
1. From the main menu, select Menu > Setup > Tones, then
highlight All Tones.
2. Press and hold the Menu button until a confirmation screen
appears. Press Yes to confirm.
3. The first free position is assigned as a shortcut key. A
confirmation screen appears. Press Done to confirm.
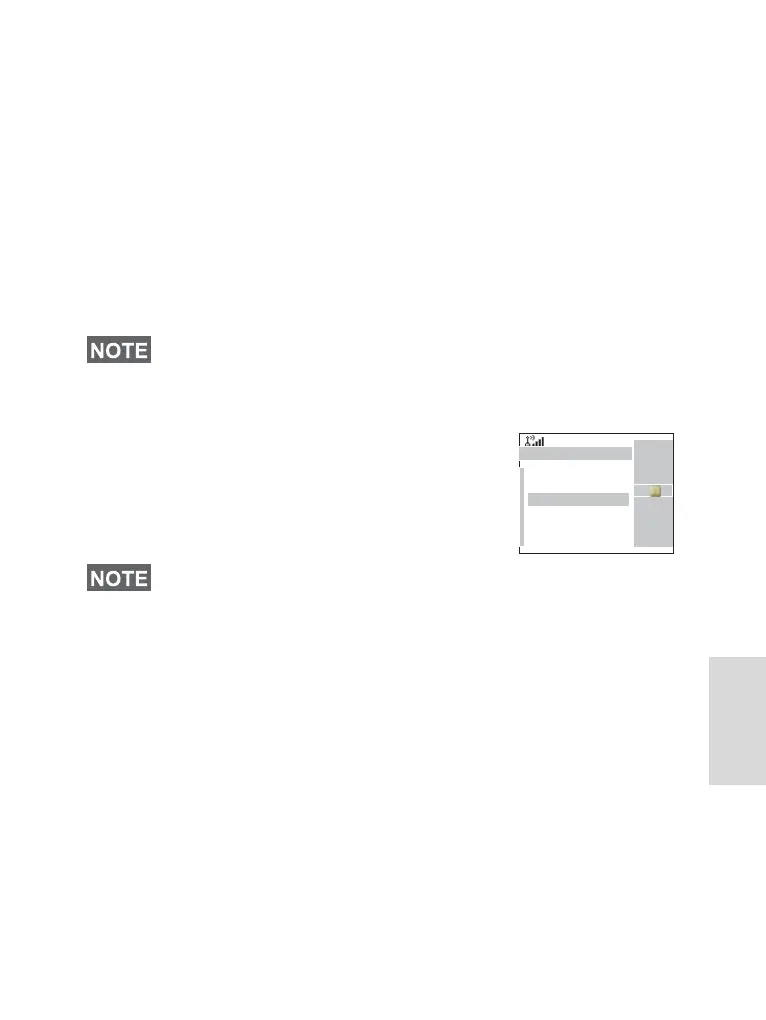
Viewing the Menu Shortcut List
1. Press the Menu button.
2. Select More... > Shortcuts. The display shows the
shortcut list.
Editing Shortcuts
1. From the main menu, select More...
> Shortcuts.
2. Scroll to the shortcut you wish to edit.
3. Press the Menu button and select Edit.
4. After a few seconds, you will be prompted to confirm the
newly created shortcut. The first free position is assigned
as a shortcut key. Press Yes to confirm. Press No to cancel.
If the number is already assigned as a shortcut for another
option, you will be asked to replace the current shortcut
number with a newly created one.
Deleting Shortcuts
1. From the main menu, select More... > Shortcuts.
2. Scroll to the shortcut you wish to delete.
If the Service Provider configures the shortcuts, [New Entry] will
not be displayed.
To modify a menu setting or create a new shortcut from this
step, highlight the menu option and select GoTo. Otherwise, go
to Step 3.
Back
GoTo
[New Entry]
1)More
2)Setup
3)Details...
4)Group Call
Shortcuts

 Loading...