NPort 5600 Series User’s Manual Getting Started
2-2
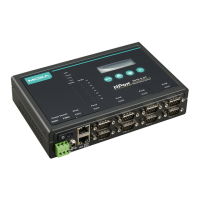
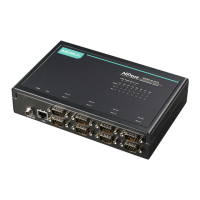
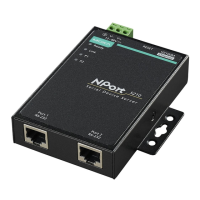
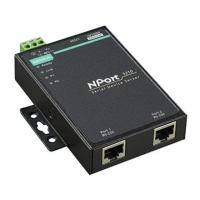
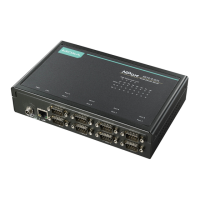
Panel Layout
The following figures depict the front and rear panels of the NPort 5600 series.
Front panel of NPort 5600 series
5610-
16
Front panel of NPort 5600-T series
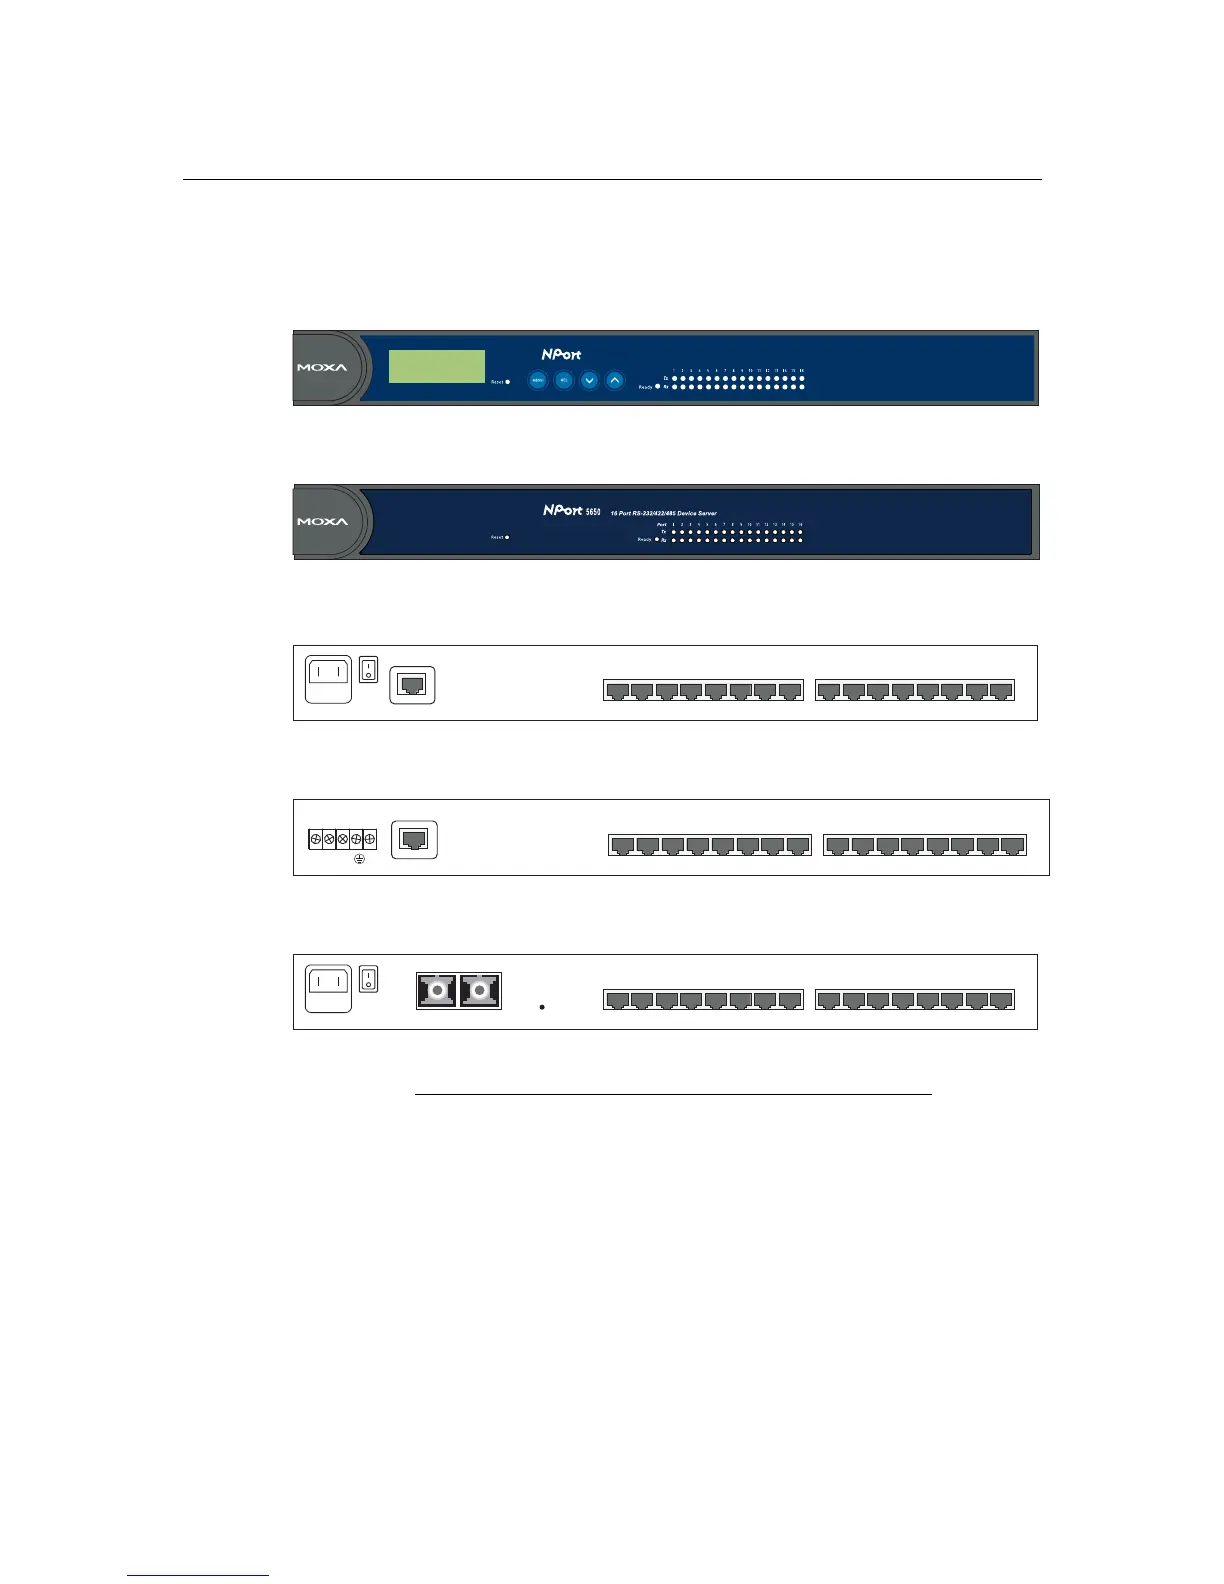
Rear panel of NPort 5600 series (AC Power)
LAN
Serial ports
AC POWER 100-240V, 47-63Hz
12345678
9 10111213141516
Rear panel of NPort 5600 series (DC Power)
LAN
Serial ports
12345678
9 10111213141516
V+ V-
Rear panel of NPort 5650 Fiber model
Serial ports
Link
Fiber
AC POWER 100-240V, 47-63Hz
12345678
9 10111213141516
Reset Button—Press the Reset button continuously for 5 sec to load factory defaults
: Use a
pointed object, such as a straightened paper clip or toothpick, to press the reset button. This will
cause the Ready LED to blink on and off. The factory defaults will be loaded once the Ready LED
stops blinking (after about 5 seconds). At this point, you should release the reset button.
Connecting the Hardware
This section describes how to connect NPort 5600 Series to serial devices for first time testing
purposes. We cover Wiring Requirements, Connecting NPort 5610/30/50-16/8’s Power,
Connecting NPort 5610-16/8-48V’s Power, Grounding NPort 5610-16/8-48V, Connecting to
the Network, Connecting to a Serial Device, and LED Indicators.
 Loading...