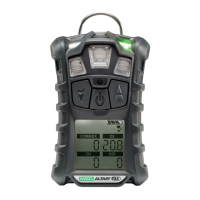
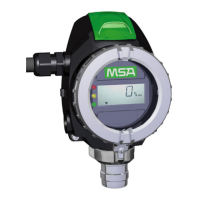
ULTIMA X
®
Series
GB
45
FAULT function to work properly. Additionally, INITIAL Calibration should only be
used when a regular calibration will not clear a fault condition due to use of incorrect
cal gas or other similar situation.
Initial calibration is accomplished by:
- Push-Button - using the optional push-button as outlined in [ chapter 12.6
"Calibration with RESET button"]
- HART Communicator - chapter 13.12]
- ULTIMA/ULTIMA X Calibrator - pressing the ZERO and CALIBRATE buttons
simultaneously while aiming the Calibrator at the ULTIMA X
- ULTIMA/ULTIMA Controller - pressing and holding the SPAN button until the
Controller display shows "Do Init Cal 1=y"
- Press 1 while pointing the Controller at the ULTIMA/ULTIMA X Series display.
The ULTIMA® X Series display should show a 30-second countdown and
"APPLY ZERO GAS"
The remainder of the procedure is now the same as that for a regular cali-
bration.
The word "iCAL" on the ULTIMA X
®
Series display distinguishes
INITIAL Calibration from a regular calibration. If the word "iCAL" does not
appear, the user may abort the calibration by pressing the ZERO, CAL or
ADDRESS button on the Calibrator while aiming at the unit; then, retry the
above procedure.
The display leads the user through the zero and span calibration routines as in
a regular calibration.
The calibration process can be aborted at any time during the 30-se-
cond countdown simply by pressing the ZERO, CAL or ADDRESS but-
ton on the Controller/Calibrator while aiming at the ULTIMA X or by
pressing and releasing the push-button if fitted.
This procedure should be initiated only when a new sensor is installed
otherwise, the sensor end-of-life indication may not be accurate.

 Loading...