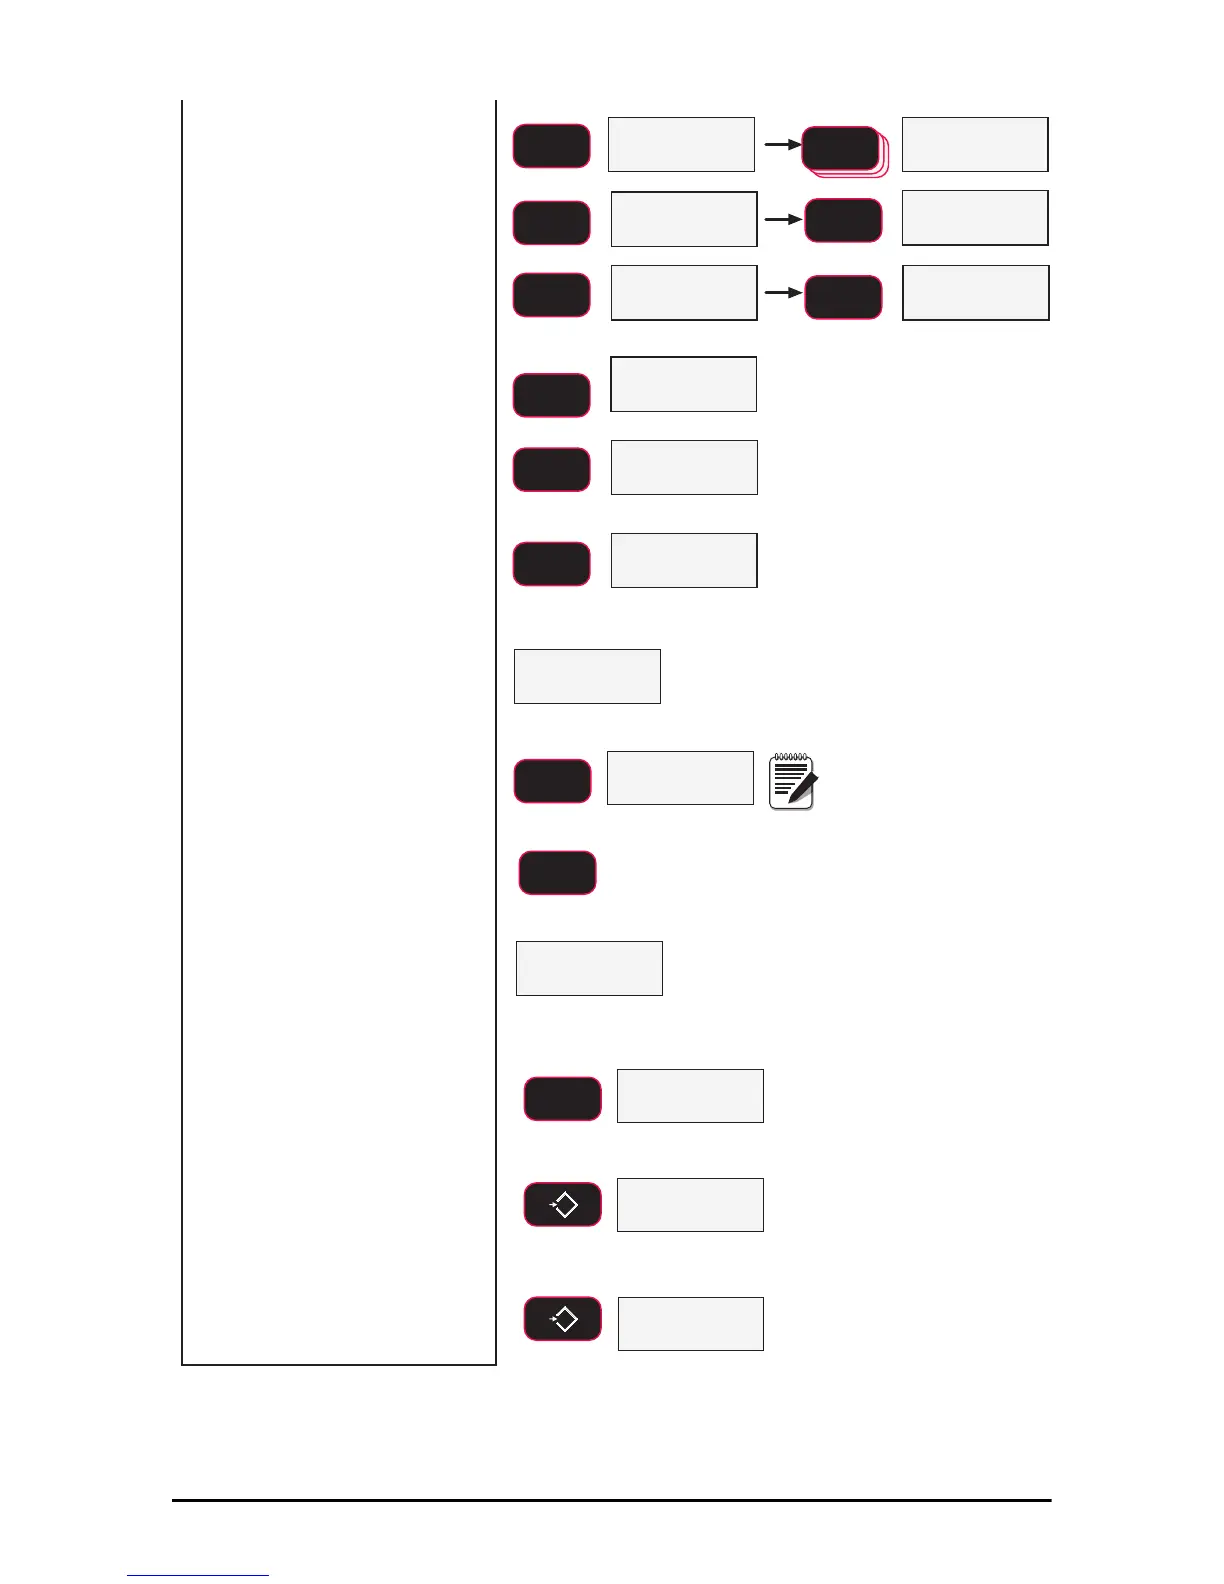
12) Press F2 and using the
previous process, enter
the RF channel number.
Recommended RF Channel numbers
range from 12 to 23. In this example
we’ll use 21 as the RF Channel.
13) When the desired RF
channel number is
shown and fixed, press
F1.
14) The next RF setup menu
item is the nEtid
(Network ID). Press F1
to see the current net ID
number.
If the offered network ID value is
correct, push F1 and jump to step 17.
15) Using the numeric entry
process as before, input
a network ID number.
Press F2 to start a new
number.
Allowed network ID numbers range
from 0 to 99999. MSI recommends
a random number of at least four
digits to ensure that the 8000
system won’t conflict with any
other 802.11.4 networks (Zigbee).
16) When the final number is
shown and fixed, press
F1 to store the network
ID.
17) The RF setup menu goes
to the first menu, OnOff.
Press the ZERO key to
exit out of the RF setup
menus.
18) Press ZERO again to exit
the COMM setup menu
and store the new RF
network numbers.
QHWLG
blinking
blinking
fixed
blinking
blinking
fixed
current Net ID blinking
blinking
example value only
6WU(Q
SCROLL
F2
SCROLL
F2
SCROLL
F2
SCROLL
F2
SCROLL
F2
ENTER/SELECT
F1
ENTER/SELECT
F1
ENTER/SELECT
F1
ENTER/SELECT
F1
ENTER/SELECT
F1
Repeat number
entry procedure
3ULQW
6WRUH
2Q2II
ENTER/SELECT
F1
0
EXIT/SAVE
ZERO
0
EXIT/SAVE
ZERO
blinking
ENTER/SELECT
F1
17)
The menu displays StrEn.
Press the F1 to enter.
Press F2, using the
numeric entry process,
input a transmission
strength number.
16)When the desired number
is displayed, press F1 to
store the number.
18)