W415-2350 / 10.28.19
EN
22
fi nishing
2
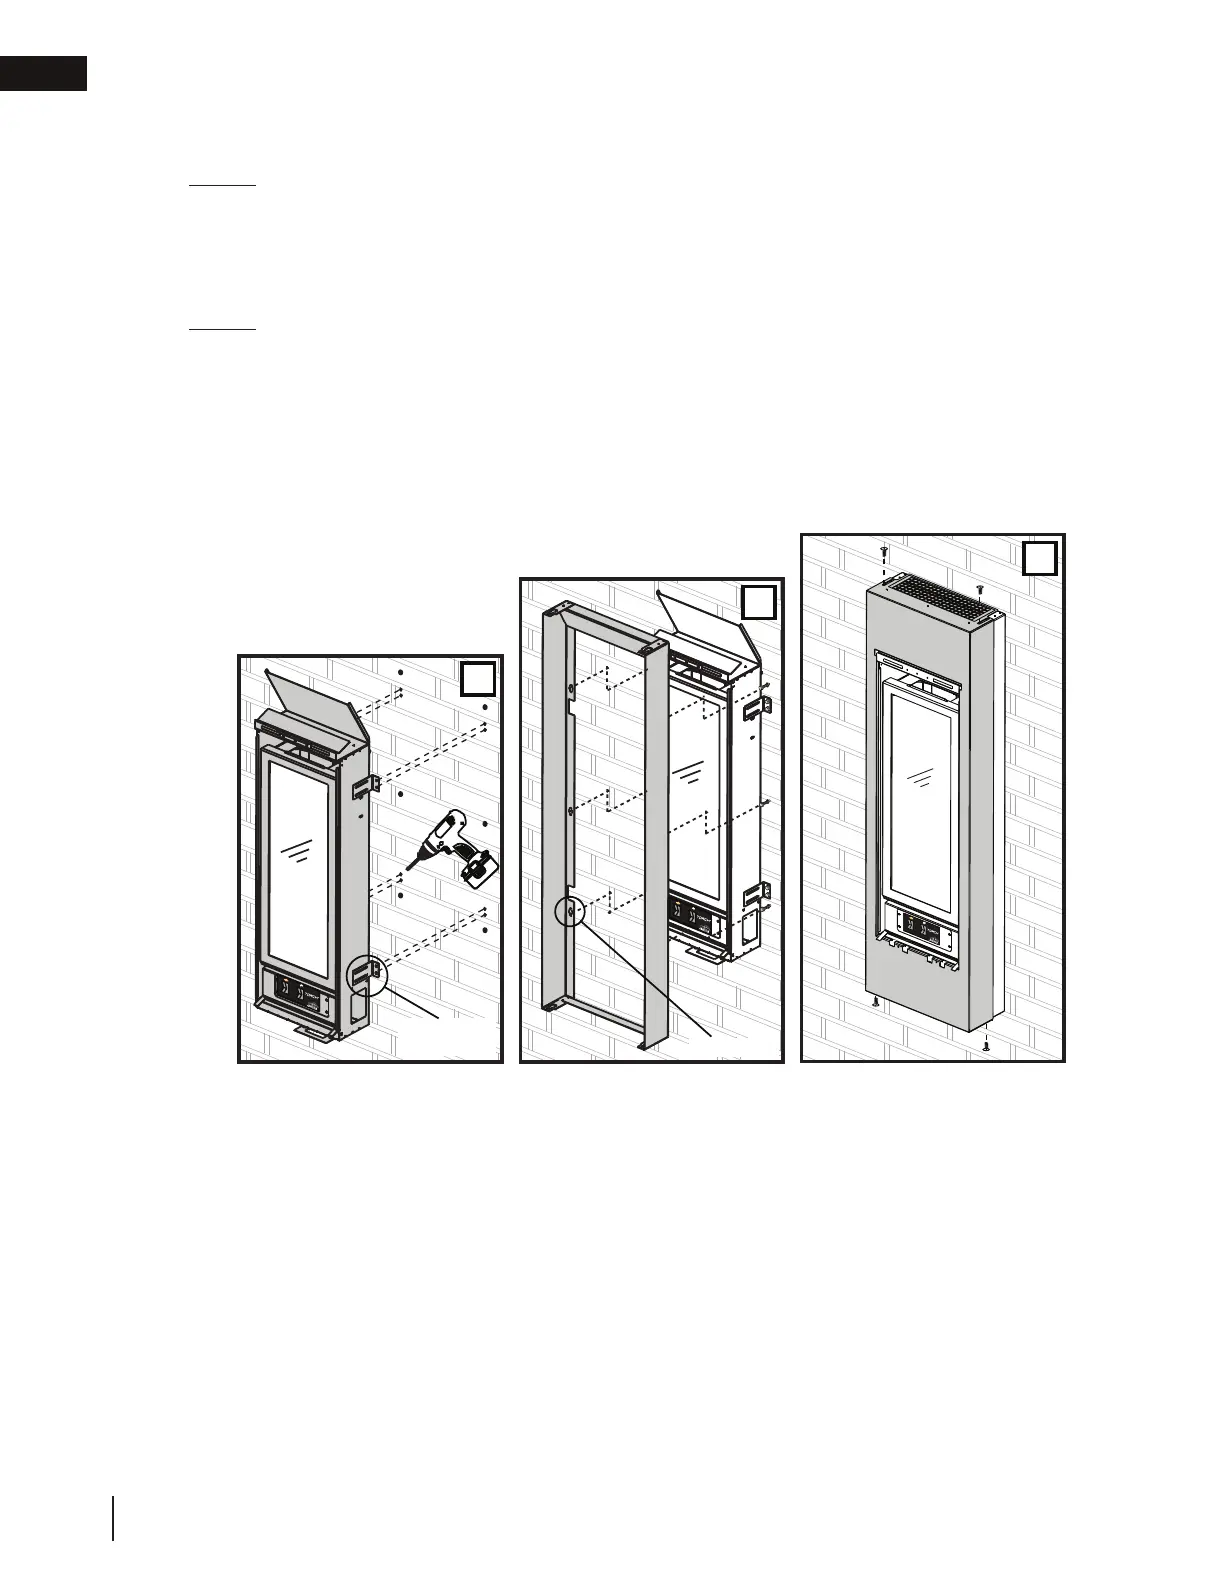
MOUNTING
BRACKET
4
3
KEYHOLE
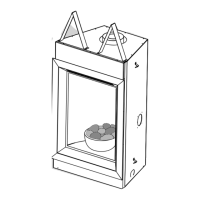
B. Remove the template. Depending on the surface and fasteners, drill the appropriate holes. Hold the
Torch up, aligning the mounting brackets to the mounting holes. Secure the Torch to the wall using the
appropriate fasteners.
NOTE: The Torch has been designed to have a 1/2" (13mm) clearance between the rear outer
panel and the mounting surface.
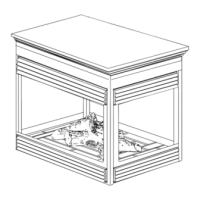
C. Start the fasteners into each of the six remaining mounting holes. Align the keyholes of the frame to the
heads of the fasteners and slide the frame down onto the fasteners. Ensure the frame is plumb and level
before tightening the fasteners.
NOTE: It is recommended that the gas and electrical be connected to the appliance at this
stage. Both must enter the appliance at the opening created between the bottom of the Torch
and the bottom of the mounting frame.
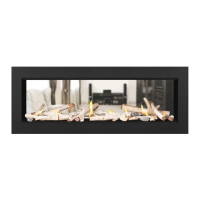
D. Slide the front of the cabinet over the mounting frame, ensuring the “mesh” is to the top. Start each of the
four screws (supplied) through the slots. Once the cabinet has been adjusted for depth the four screws
can be tightened.
 Loading...