APD Mode Operating Instructions 13-9
During the test a counter is displayed in bold showing the time going on. The
measurement ends when the period set in the Time field of the Setup page
is elapsed.
The Limit is considered as Level & Probability, related to each other.
When set time is elapsed, the indication “PASS” or “FAIL” appears,
depending on test result.
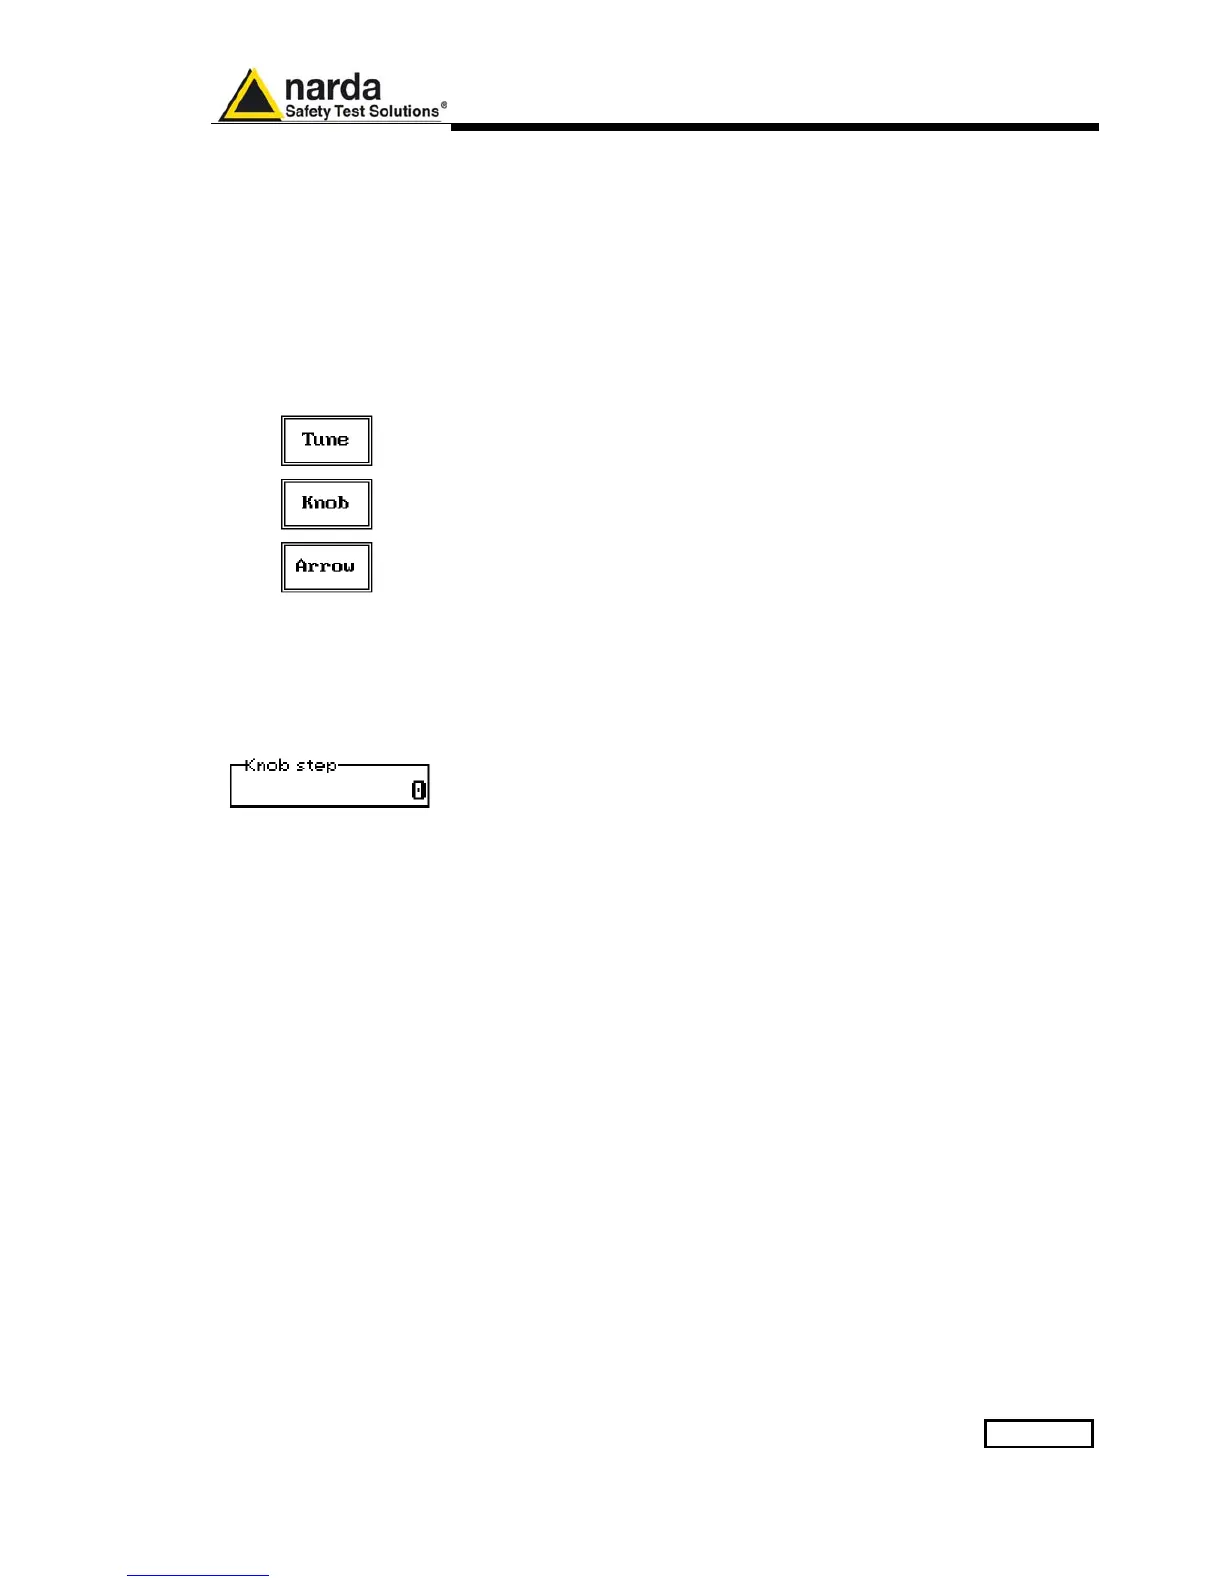
13.4.1.1 Frequency
Under this menu it is possible to set the tuning frequency and also the knob
and the arrow keys’ step.
The center Frequency of the reading can be directly edited into the Tune
window or set by the left and right arrow buttons or by rotating the knob.
The figures entered appear in a small window just below the graph and the
default unit is MHz.
Having selected Tune, the figures 0, 1, 2, 3, and 4 are selectable at first;
with the right arrow key it is possible to select the figures from 5 to 9, and
pressing again the right arrow key the units kHz, MHz and GHz becomes
accessible, as well as the decimal dot and the Back Space. The left arrow
key can be used as well to move back and forth from one screen to the
other. Pressing 0 as the first figure the decimal dot appears automatically.
To set a given frequency it is therefore enough to edit the value with the soft
keys and the left an right arrows, confirming the selections entering the units
value (kHz, MHz or GHz).
If Knob is selected, the small window below the bars indicates the step
which is going to be selected. After having fixed the step size, rotate the
knob and tune the desired frequency.
If Arrow is selected, the small window below the bars indicates the step
which is going to be selected. After having fixed the step size, press the left
and the right arrow keys to decrease or increase the frequency by the
selected step.