8-2 Updating Firmware
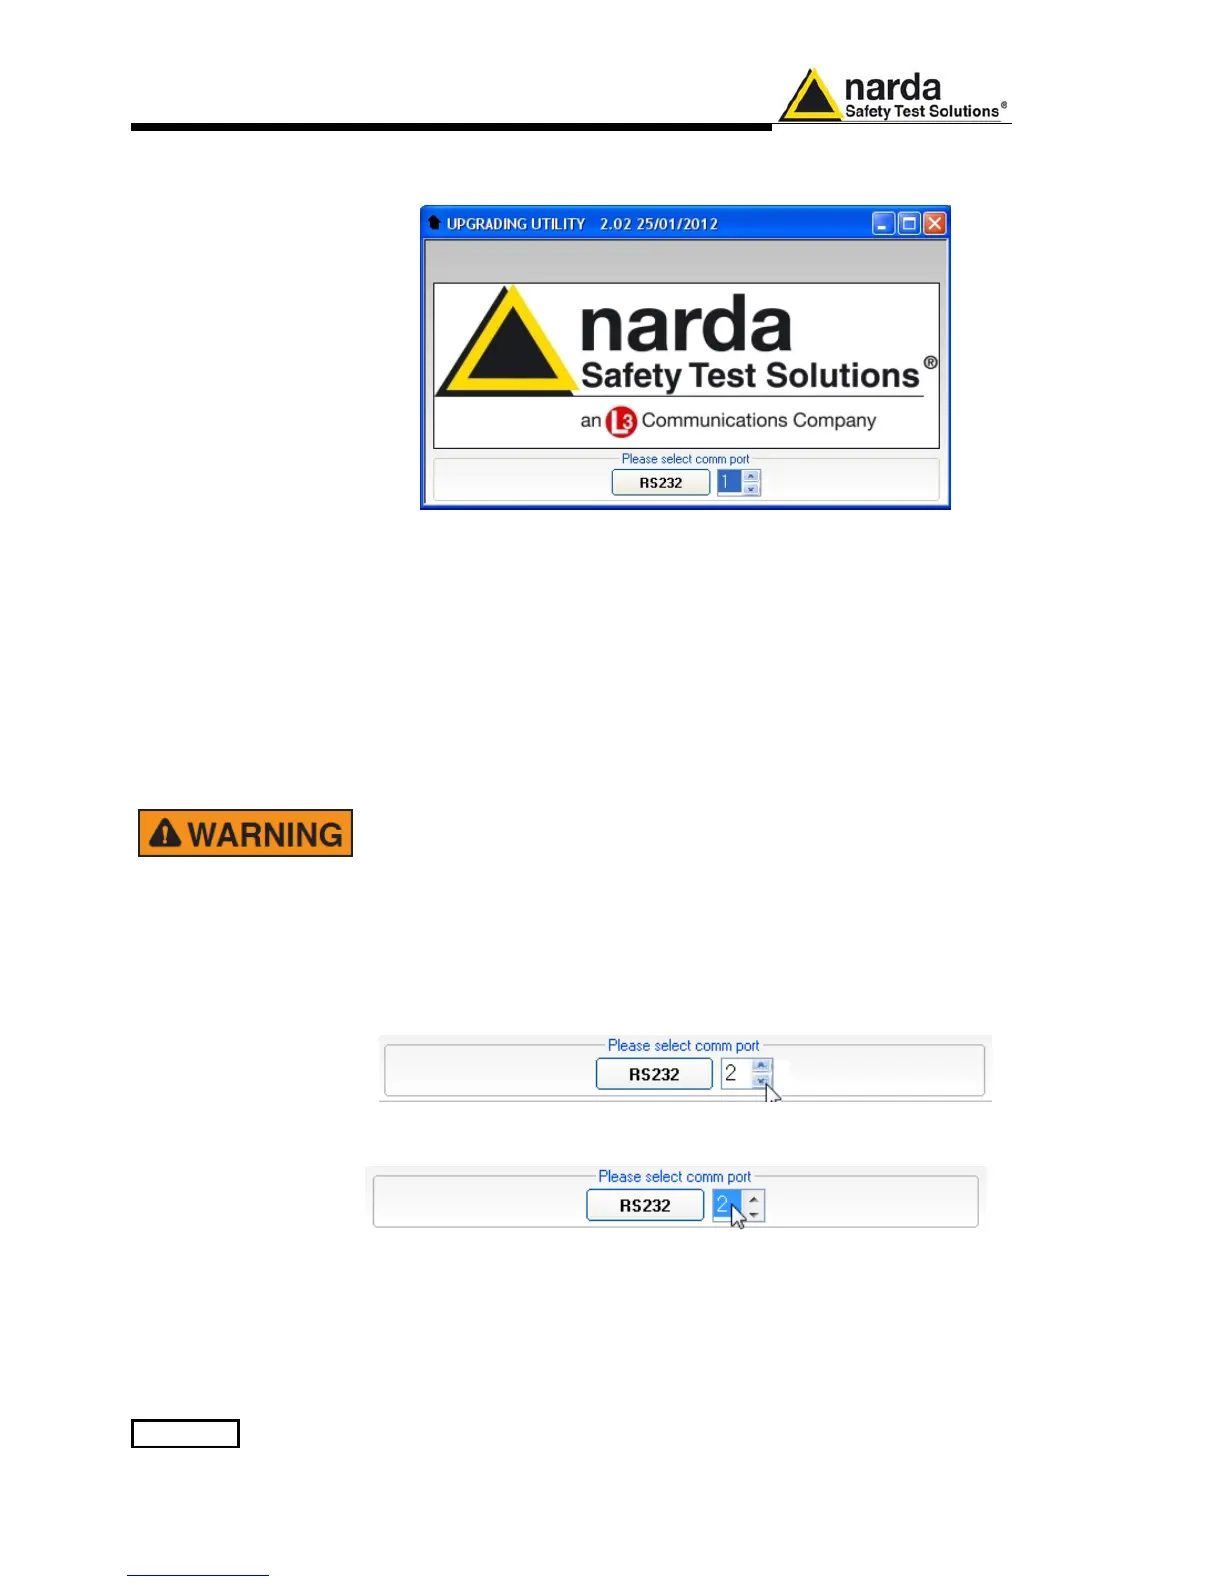
Click on “9010SeriesUp” (9010SeriesUp.exe) once for running the update
program, so getting the following window:
Two firmware components can be updated by this application: Firmware,
which is the receiver internal program, and FPGA, to update the internal
programmable logic.
The 9010FW.bin file required for Firmware updating and the PPI_ramp.bin
file for FPGA are automatically stored in the same directory of the
9010SeriesUp.exe, otherwise just copy them there before performing the
upgrade.
Be sure batteries of PMM 9010 and connected Laptop (PC) are fully
charged before performing the FW Upgrade, otherwise the upgrade
progress could not terminate properly.
Alternatively, be sure to have both PMM 9010 and Laptop (PC) powered
through their respective AC/DC power adapters.
Anyway, even in case of failure, the internal BIOS will never be
corrupted and you’ll just need to repeat the procedure once more (this
is a unique feature!).
Should FW Upgrade procedure stop before reaching the 100%
completion that will have not to be considered a trouble but simply an
intermediate step: in this case please switch OFF and ON the receiver
and repeat the FW Upgrade procedure once more until the end.
Always cycle power OFF and ON again after every FW Upgrade.
Choose the COM port pressing the Up or the Down arrows.
Move the cursor to the COM port number and select the left mouse button to
highlight the box.
Press RS232 button or Enter key to set the com port.