Mounting the CR100 Fixed handset cradle
¼ Notes:
• The CR100 Fixed handset cradle is a passive unit and does not require a power supply.
• The Fixed handset is provided with a 5m (16.4’) handset extension cable. Ensure the chosen
location is within the length of the installed cable to the Blackbox.
• Longer lengths of handset extension cable is available from your dealer.
• The handset LCD screen has an optimum horizontal and vertical viewing angles within approx.
+/-20 deg. Ensure the chosen location provides a suitable view of the display. Ideally, you should be
directly in front of the display or no more than +/-20 degrees from the front of the display.
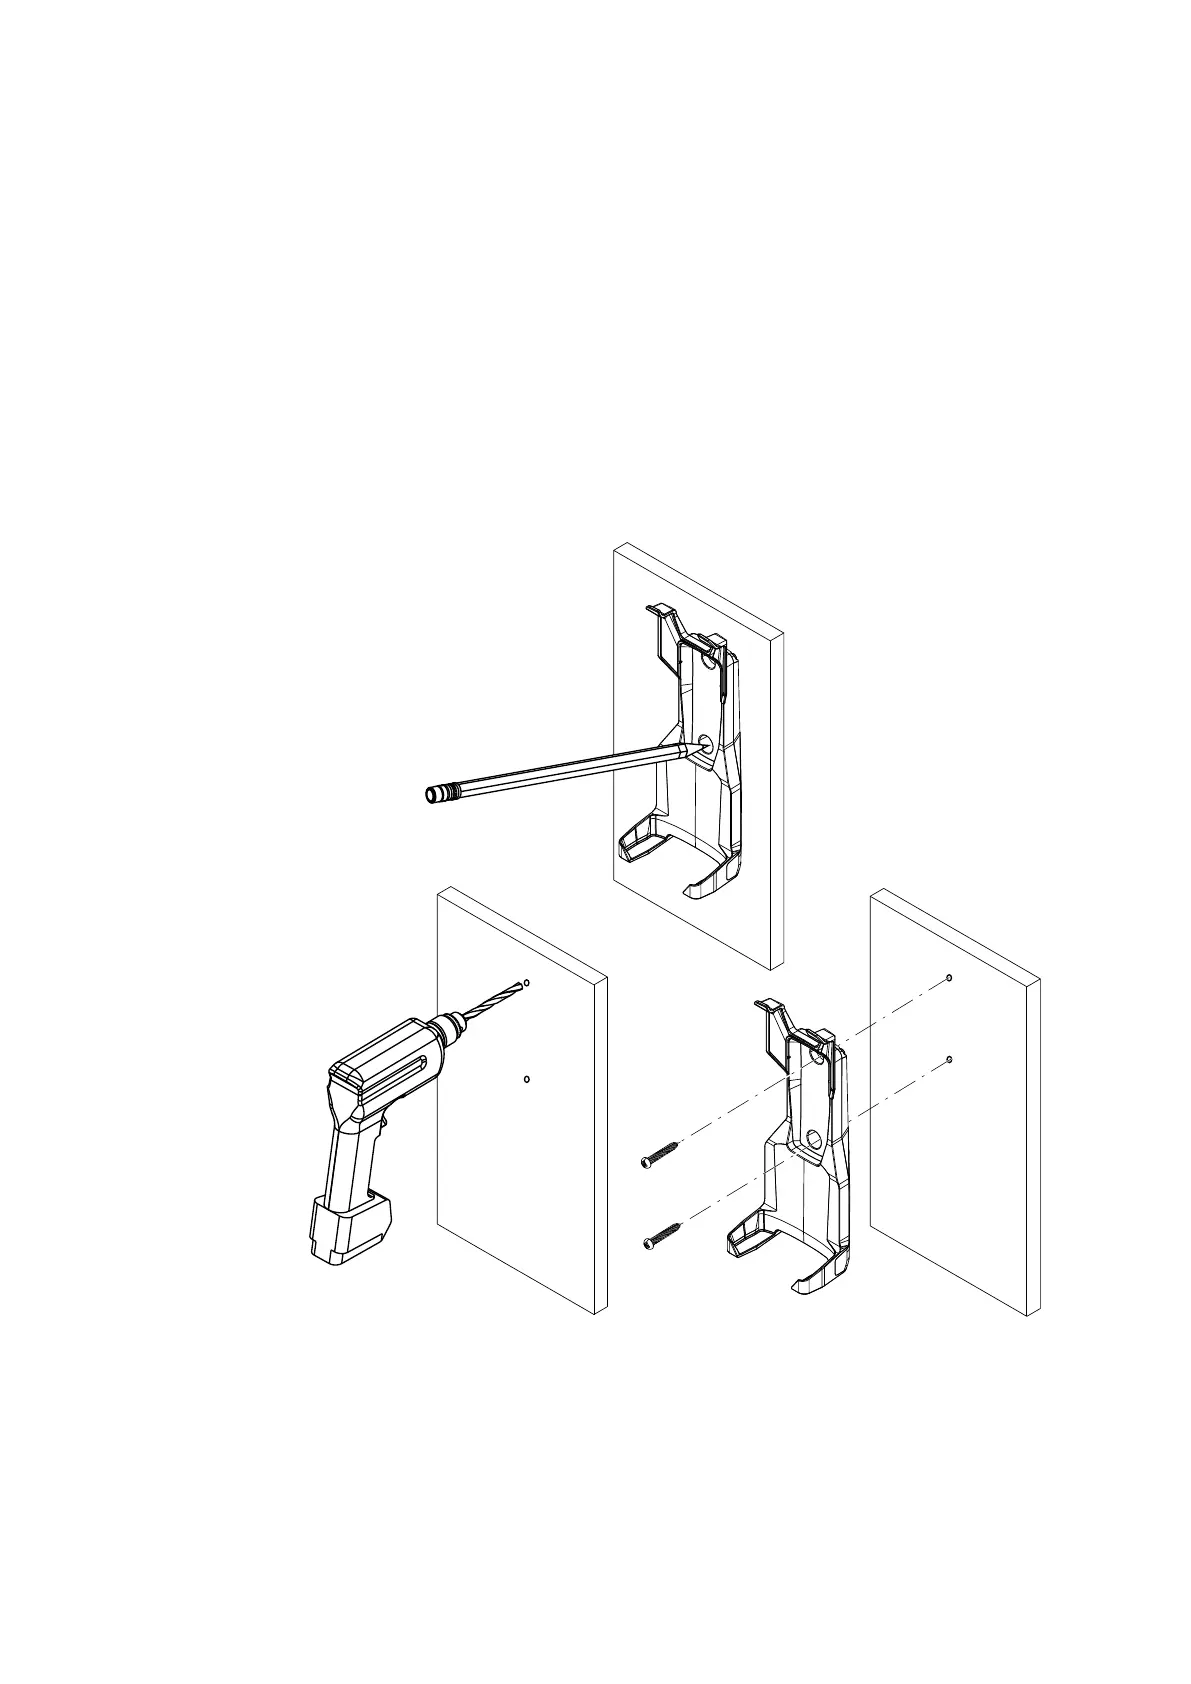
1 Temporary place the handset cradle onto the chosen mounting location and mark the two mounting
screw holes.
2 Drill screw holes using a 3.0 mm (1/8” ) drill bit if using the supplied 4.0x25 mm self-tapping screws; or a 4.1
mm (5/32”) drill bit if using the supplied 4.0x30 machine screws.
3 Attach the handset cradle to the mounting location using the provided screws.
1
2
3
| 51
Installation | RS100 / RS100-B / V100 / V100-B User Manual
 Loading...