Chapter 6: Terminal Imaging
Initial Terminal Imaging
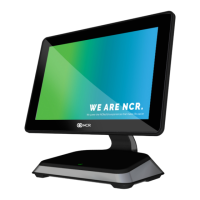
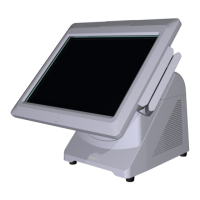
Factory default HDD/SSD images for the NCRPX10/PX15 POS (7746) are distributed on
bootable auto-imaging USB Flash Drive media. The following procedures describe how
to apply/restore an image on the terminal.
Warning: Using this procedure will replace any previously stored OS images
created using the Disk Image Backup and Recovery Tool.
Note: A USB Alphanumeric Keyboard is required to perform this operation.
Imaging Procedure
1. Connect the USB flash drive to the target terminal that you wish to image.
2. Connect a USB alphanumeric keyboard to the terminal.
3. Power on the terminal and boot from the USB Flash Drive. This can be done by
selecting F8 during the boot and choosing the USB option (NCR), or by entering
BIOS Setup and changing the boot order.
4.
The system boots in the Windows PE OS environment. Select Y on the keyboard at
the confirmation prompt to re-image the terminal.
5.
When the imaging process is complete, enter Exit on the keyboard to reboot the
system.
6. After the reboot, remove the USB Flash Drive and disconnect the keyboard.