Do you have a question about the NCR CX7 Series and is the answer not in the manual?
Outlines critical safety instructions and warnings for using the terminal and its components.
Warns about the dangers of incorrect lithium battery replacement and disposal.
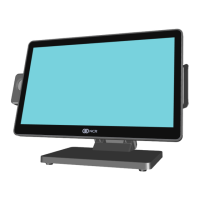
Lists and describes the various features and components offered for the NCR CX7 POS.
Lists supported operating systems and their pre-installation status for the NCR CX7 POS.
Details technical specifications of the NCR CX7 POS, including chipset, processor, memory, and storage.
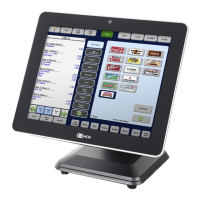
Describes the physical operator controls on the NCR CX7 POS terminal.
Explains the different LED indicators on the NCR CX7 POS and their meanings.
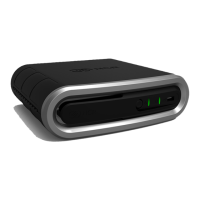
Details the status LEDs located on the I/O panel of the NCR CX7 POS base.
Lists critical restrictions and safety precautions to follow during terminal installation.
Details the input/output ports available on the NCR CX7 POS with a Retail I/O Base.
Details the input/output ports available on the NCR CX7 POS with a Hospitality I/O Base.
Describes the pin configurations for various I/O board connectors, starting with 12V USB.
Details the pinout for the 24V USB + Power connector on the I/O board.
Explains the connection and pinout for the Cash Drawer connector on the Retail I/O board.
Details the Cash Drawer connector pinout for the Hospitality I/O board.
Describes the DisplayPort connector and its pinout on the I/O board.
Explains the Gigabit Ethernet port and its functionality.
Details the Power In connector and its specifications for external power supply.
Describes the USB-C connector and its pinout, including repurposed functions.
Details the USB 3.0 Type A connector and its power supply capabilities.
Explains the RS-232 serial port via a DB-9 connector and its configuration options.
Describes the RJ12 serial port on the Hospitality I/O board and its pinout.
Details the RJ45 serial port on the Hospitality I/O board and its pinout.
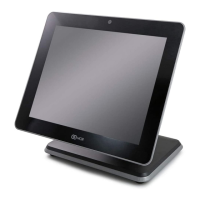
Guides on how to install the NCR CX7 POS terminal using different base configurations.
Instructs on how to connect the terminal to a power source using the provided power brick.
Explains how to connect the NCR CX7 POS terminal to a network using an Ethernet cable.
Guides through the initial power-up sequence and system setup after installation.
Details how to initiate and run the disk image backup and recovery tool.
Guides on how to load a previously saved system image onto the terminal.
Explains how to create a disk image using NCR tools for backup and restoration purposes.
Outlines the steps to install and configure a RAID system on the CX7 using Intel RST.
Guides on how to enter the BIOS setup utility on the NCR CX7 terminal.
Details the procedure to reset BIOS settings to their factory defaults.
Details the steps for creating a bootable USB flash drive for BIOS updates.
Details the procedure for updating the BIOS using a Windows executable file.
Details the step-by-step process for imaging the terminal.
| Brand | NCR |
|---|---|
| Model | CX7 Series |
| Category | Touch terminals |
| Language | English |