Option Installation 3-19
2. Slide the cage towards the front of the system and lift it out of the unit.
Installing a 3 1/2-Inch Device
Use the following procedure to install a 3 1/2-inch device.
1. Follow the preinstallation instructions that came with the device, such as
setting jumpers and switches.
2. Remove the access cover.
3. Remove and label any cables that interfere with installing the device.
4. Remove the front panel (see the previous section).
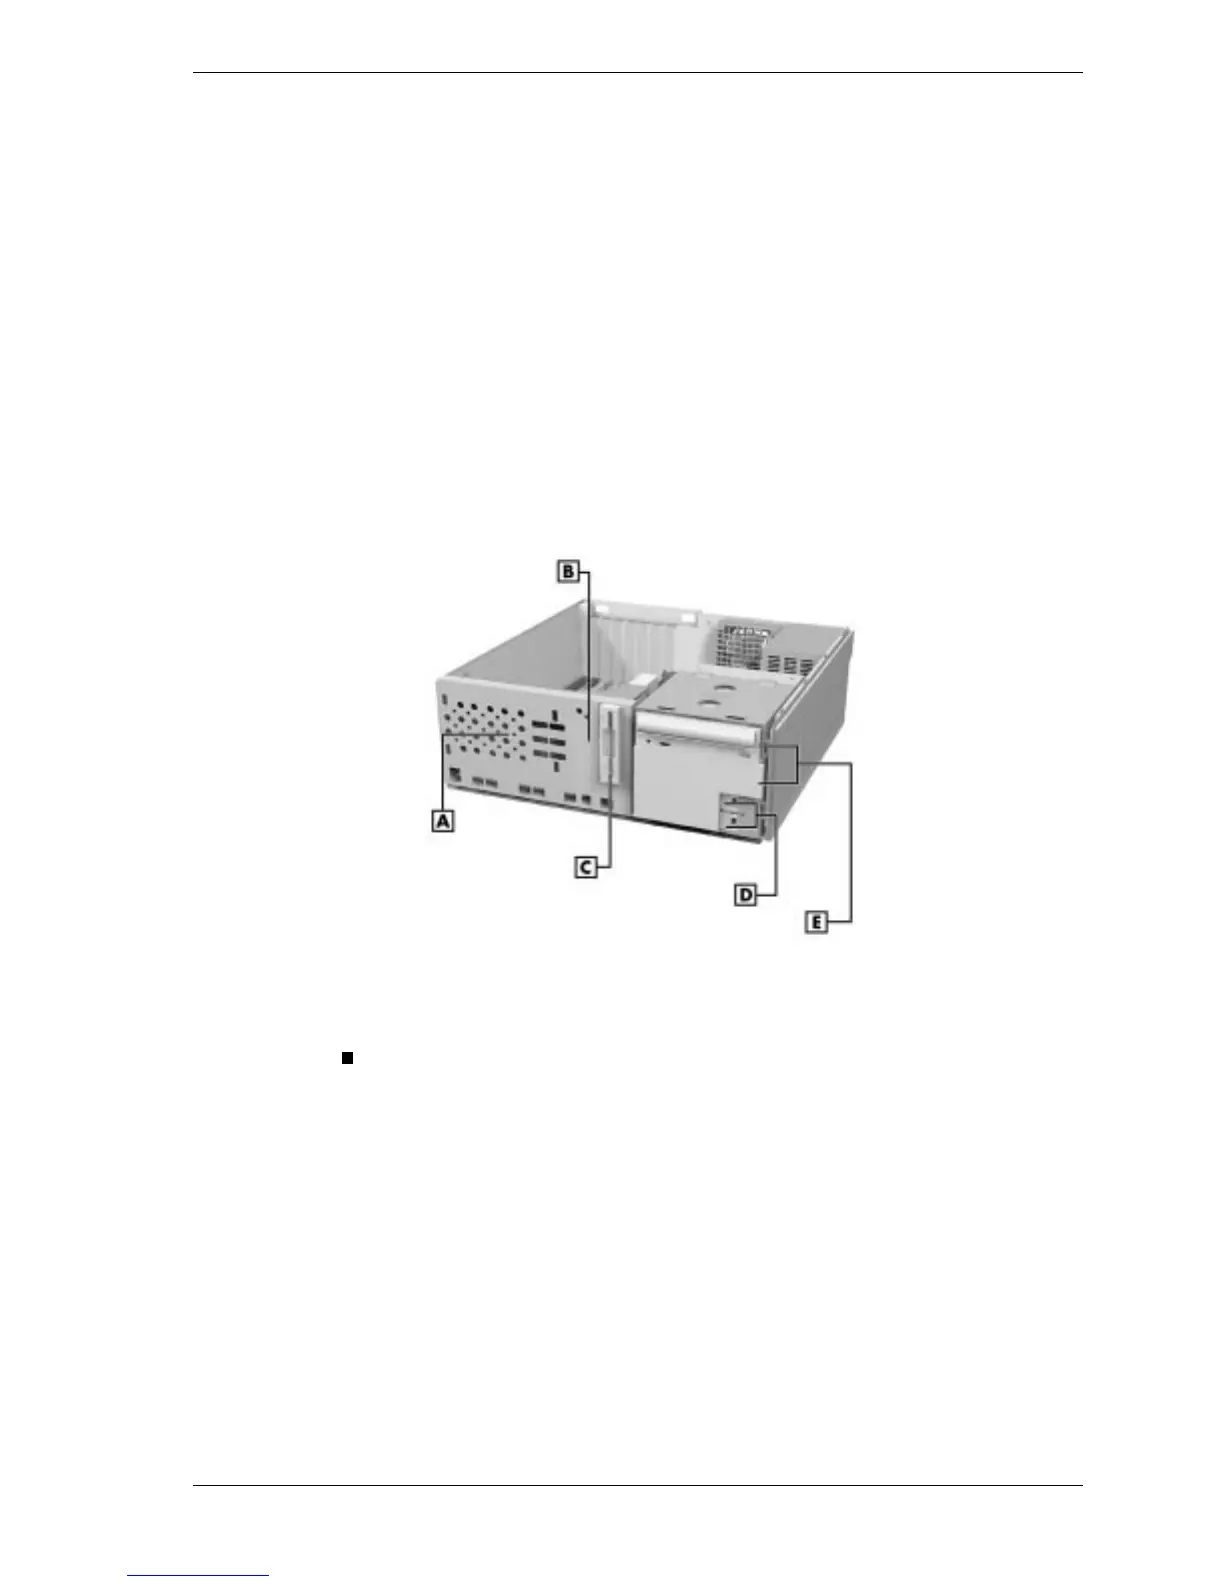
5. Choose the slot for the device being installed (see the following figure).
Locating Device Slots
A
– 3 1/2-Inch Internal Device Slot
B
– Second 3 1/2-Inch Internal Device Slot
C
– 3 1/2-Inch Diskette Drive
D
– 3 1/2-Inch Device Slots
E
– 5 1/4-Inch Accessible Device Slots
If you are installing the device in the second 3 1/2-inch internal device
slot, remove the two screws securing the 3 1/2-inch hard drive bracket to
the front of the system unit (see the following figure).
 Loading...