For some models, depending on the product ordered, the package might include
a power supply unit (PSU).
Step 4: Install the switch
You can install the switch on a flat surface or mount it in a standard 19-inch
(48.26-centimeter) network equipment rack. You can install a single half-width switch
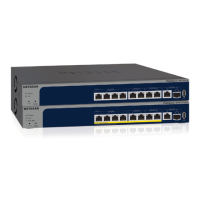
(models M4300-16X, M4300-8X8F, M4300-12X12F, or M4300-24X) in a single rack
space. You can also install two half-width switches (models M4300-16X, M4300-8X8F,
M4300-12X12F, M4300-24X, or a combination of models) in a single rack space, that
is, you can install these half-width switches next to each other.
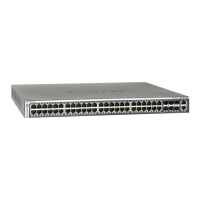
Install a full-width switch in a rack
To install the switch in a rack, you need the 19-inch rack-mount kit supplied with the
switch.
To install a full-width switch in a rack:
1.
Attach the supplied mounting brackets to the side of the switch.
2. Insert the screws provided in the rack-mount kit through each bracket and into the
bracket mounting holes in the switch.
3. Tighten the screws with a No. 1 Phillips screwdriver to secure each bracket.
4. Align the mounting holes in the brackets with the holes in the rack, and insert two
pan-head screws with nylon washers through each bracket and into the rack.
5. Tighten the screws with a No. 2 Phillips screwdriver to secure mounting brackets to
the rack.
Hardware Installation Guide51Installation
M4300 Intelligent Edge Series Fully Managed Stackable Switches
 Loading...