4.2 Take the Printer out of the Box
During unboxing, inspect the XiP for any damage or missing items. In the case of damage or missing items, contact Nexa3D
or the certified service provider.
1.
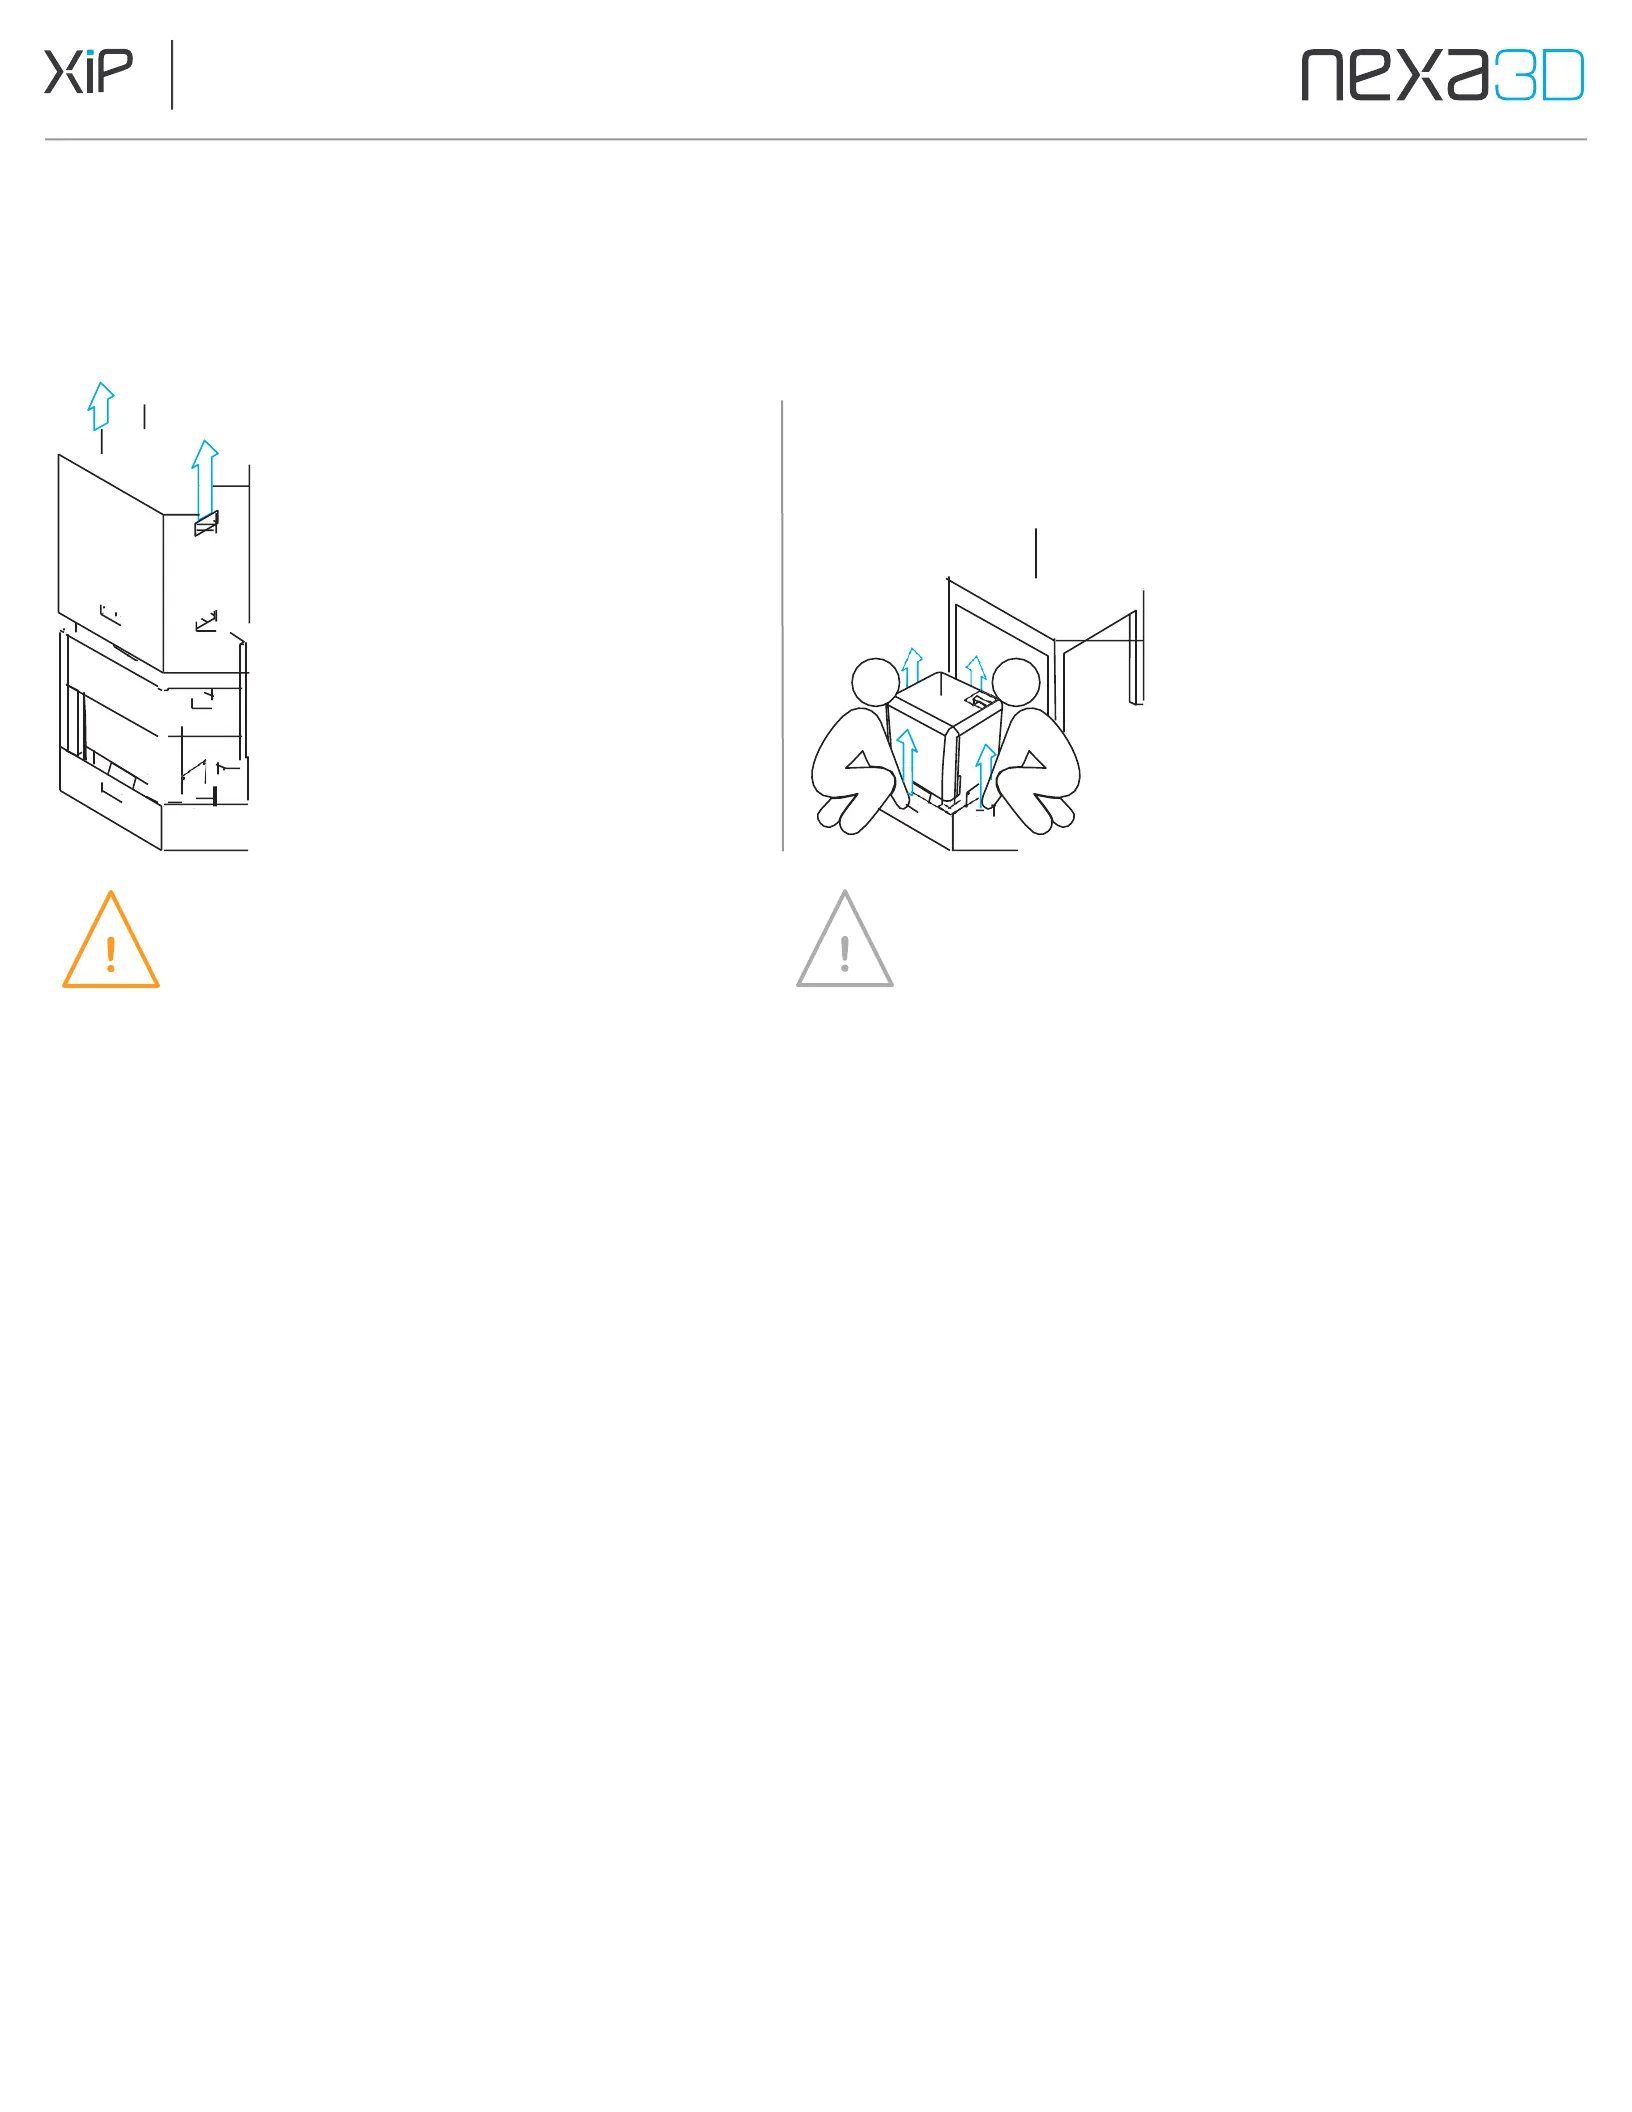
Unpacking instructions are
provided on the top of the box.
Follow the instructions to lift the
top portion of the box off the
printer and remove the packing
material from around the printer.
2.
Have two people one on
each side, lift the printer
from the base and put it on a
stable flat surface that can
support at least 100
pounds.
CAUTION
The XiP 3D printer is a heavy object. A
two-person lift is required to prevent
injury and avoid damage to the machine.
NOTE
Save the printer’s Original packaging. It is required
for warranty service and designed to be kept and
reused for transportation or shipping.
4.3 Level the Printer
The printer must be completely level to achieve optimum 3D print accuracy and performance.
1.
Once the printer is safely set on a stable work surface, open the printer door
and place a bubble level (or other available leveling tool) on the LCD.
2.
Turn leveling feet to adjust incrementally until the bubble reads level.
The four leveling feet are recessed into the base of the side panels.
4.4 Connect the Cables
Cable connections are located at the rear of the printer. These include a power connection and LAN port.
Connect the power cable to the back of the printer. Connect the power cord to an electrical outlet. Once power is
connected, the printer will boot up and the interior light will turn on after 5 seconds. The touchscreen will show boot
progress after a delay of 10-20 seconds.
Optional:
Ethernet Cable: Plug one end of a network (Ethernet) cable into the
Ethernet port and the other end directly into your LAN port.