5.
Onboarding
and
First
Print
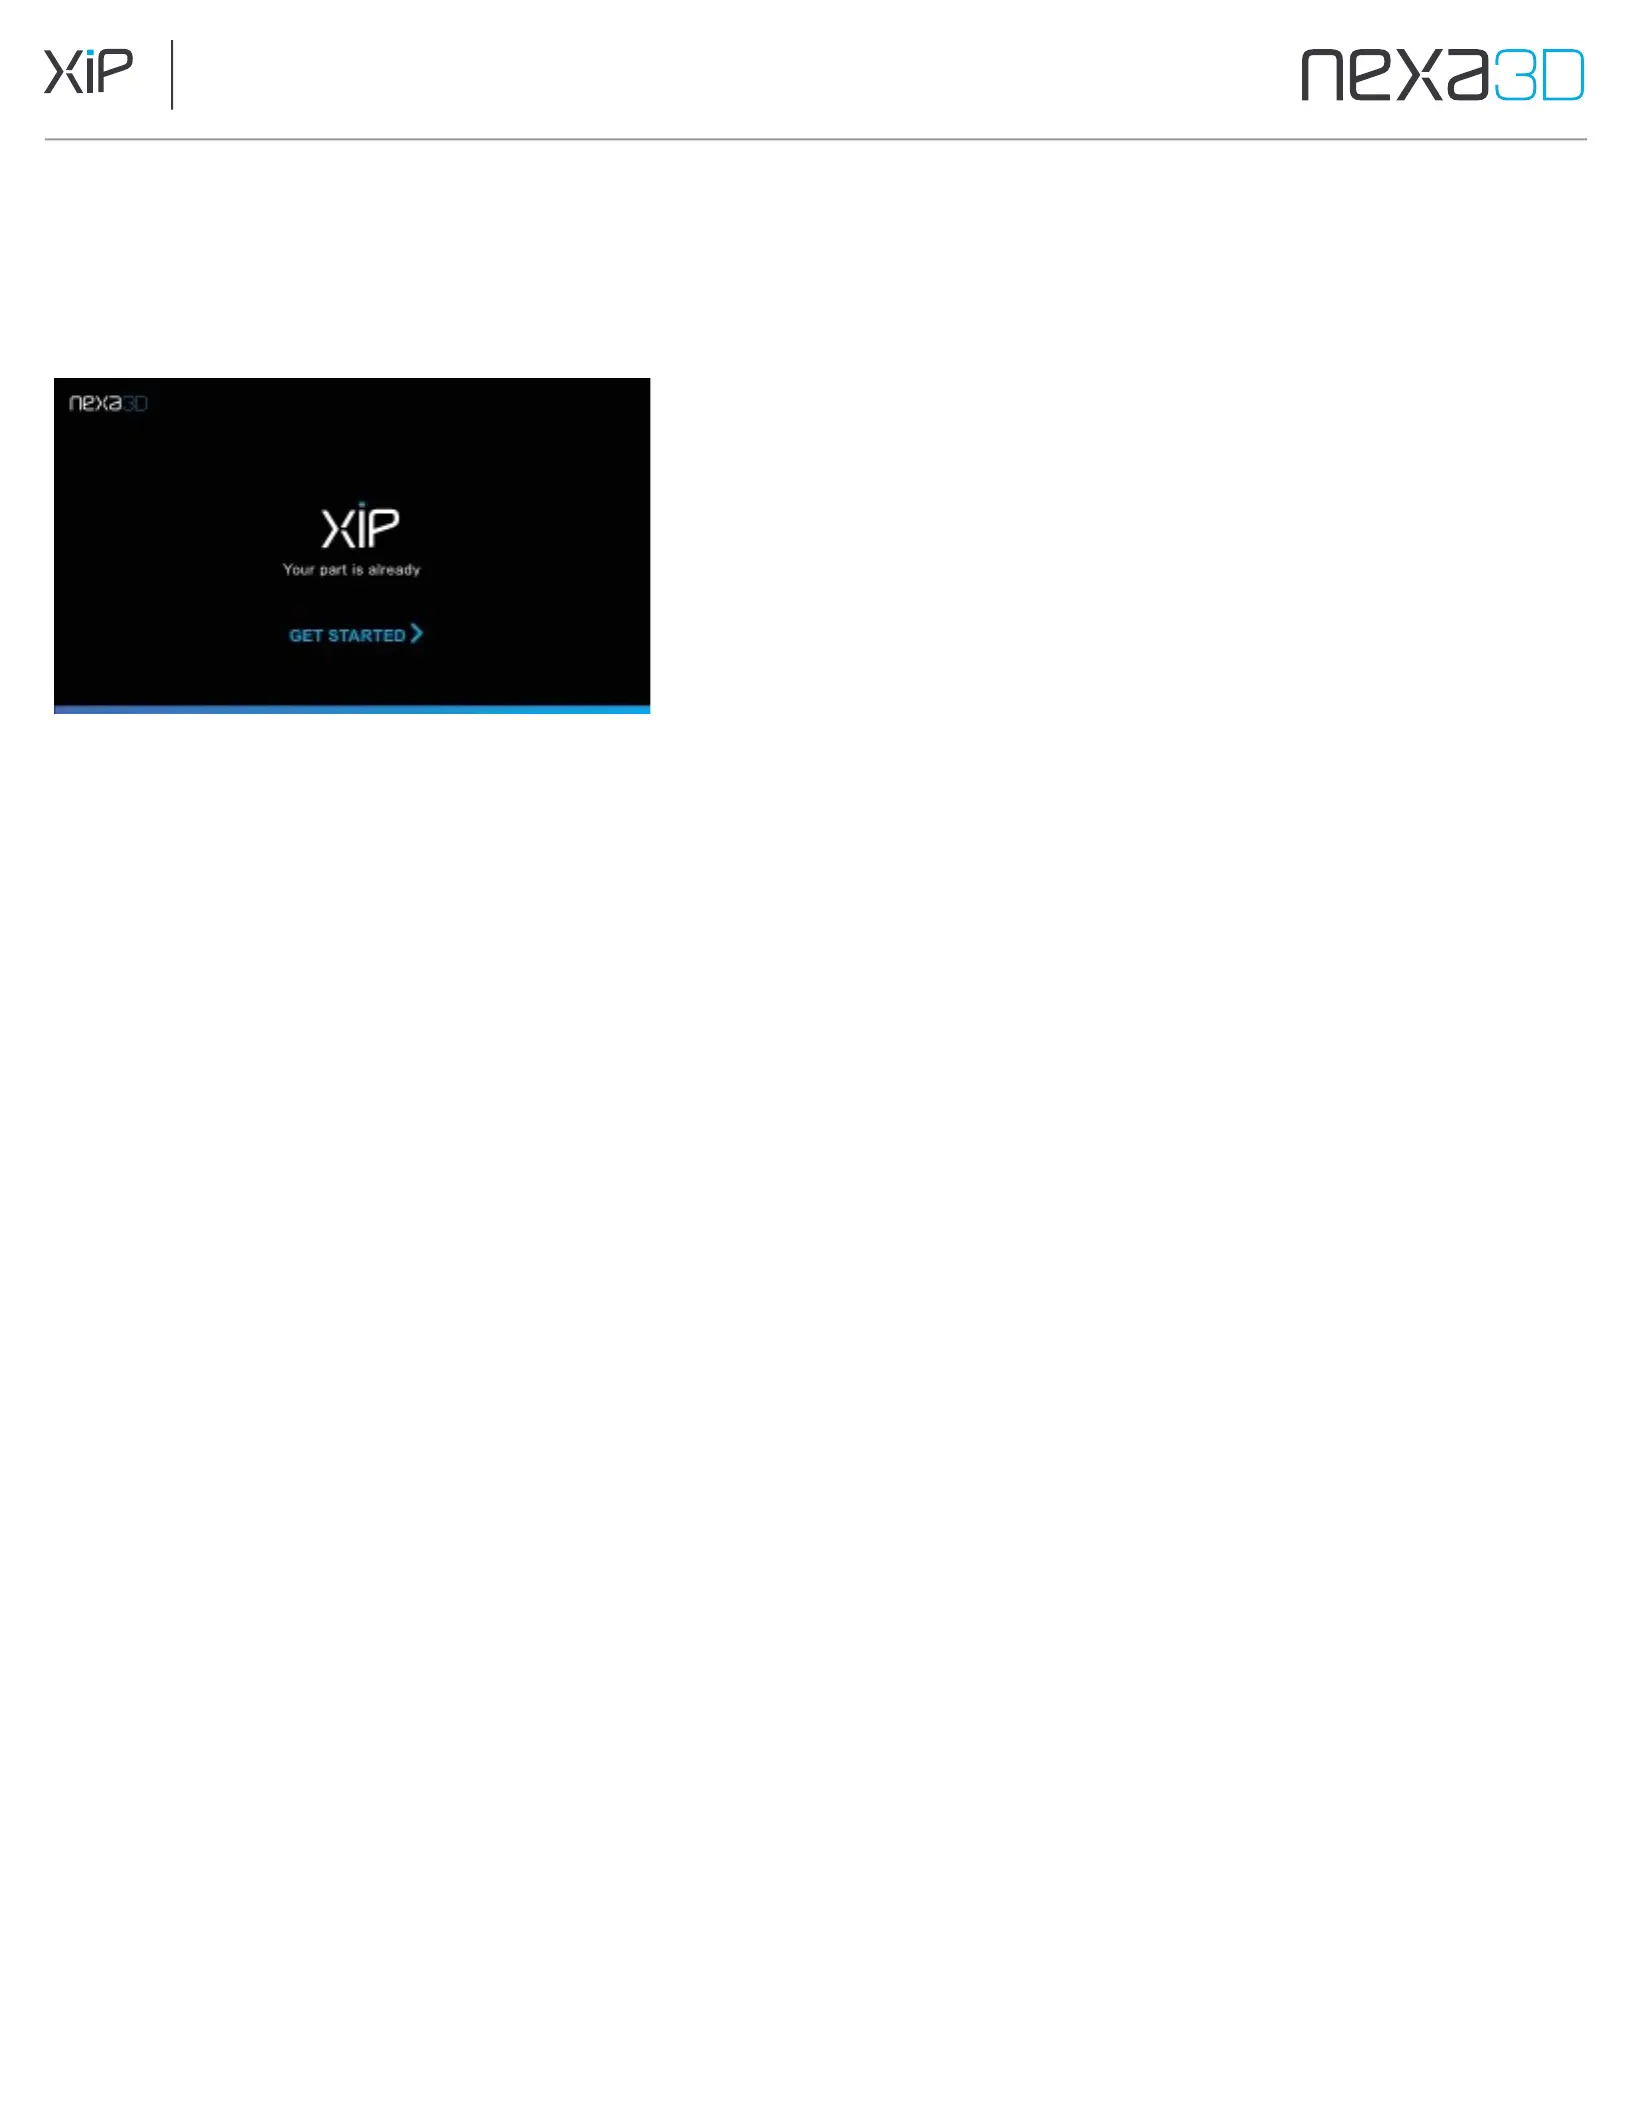
The first time you power on XiP, a Welcome screen will guide you through the setup process.
5.1 Register and Activate Your Printer
You need to register the printer before you can operate it. Your machine does not need to be connected to a network, but you
will need a network-connected device on hand (smartphone, laptop, etc.) to fill out the online registration.
Registering starts the warranty on your machine and it provides us with a contact and location for the machine, which is
important for warranty service. To register:
1.
Tap
Get Started
on the welcome screen.
2.
Use your phone to scan the QR code on the printer's touchscreen. If you cannot scan the QR code, skip to Step 5.
3.
The scanned QR code will bring you to the printer registration form with the printer serial and registration code
filled in. Enter the remaining information on the registration form and click Submit. Once the form has been
submitted, you will receive a 4-digit Printer PIN to enter onto your XiP printer.
4.
Return to your printer's touchscreen and tap Continue. Enter the 4-digit Printer PIN from the registration form
into the touchscreen number pad to complete the registration process.
5.
If you're unable to scan the QR code, tap the
Can't Scan the QR Code
option on the printer's touchscreen. Use
your
computer or mobile device to navigate to nexa3d.com/xip-registration
6.
Complete the registration form using the printer's serial number and unique registration code generated on the
printer's touchscreen. Upon submission of the registration form, you will receive your 4-digit Printer PIN.
7.
Return to your printer's touchscreen, tap
I Have Received the Printer PIN
and enter the 4-digit pin on the
number pad to complete the registration process.