6. Operating
the
Printer
6.1 Pre-Print Procedure
Follow these steps before every print.
1.
Install
a
clean
Build
Plate
on
the
Z-axis
platform
Maintaining a clean build plate is essential for print success. Ensure your
build plate is free of any dust, debris, or cured resin on the surface.
2.
Install a clean Resin Vat
Make sure there are no cured pieces of resin or debris in the Resin Vat.
3.
Install
a
Resin
Cartridge
that
matches
the
material
in
the
Resin
Vat
The material in the cartridge must match the resin in the vat. If a different
type of resin is allowed to flow, the resin vat will be contaminated and will
need to be cleaned before use.
6.2 Prepare a File for Print
Use NexaX software to process
.stl
and
.obj
files.
Prepare, save, and upload .nxa files to the printer either via Wi-Fi, Ethernet, or a USB thumb drive.
6.3 Start
a
Print
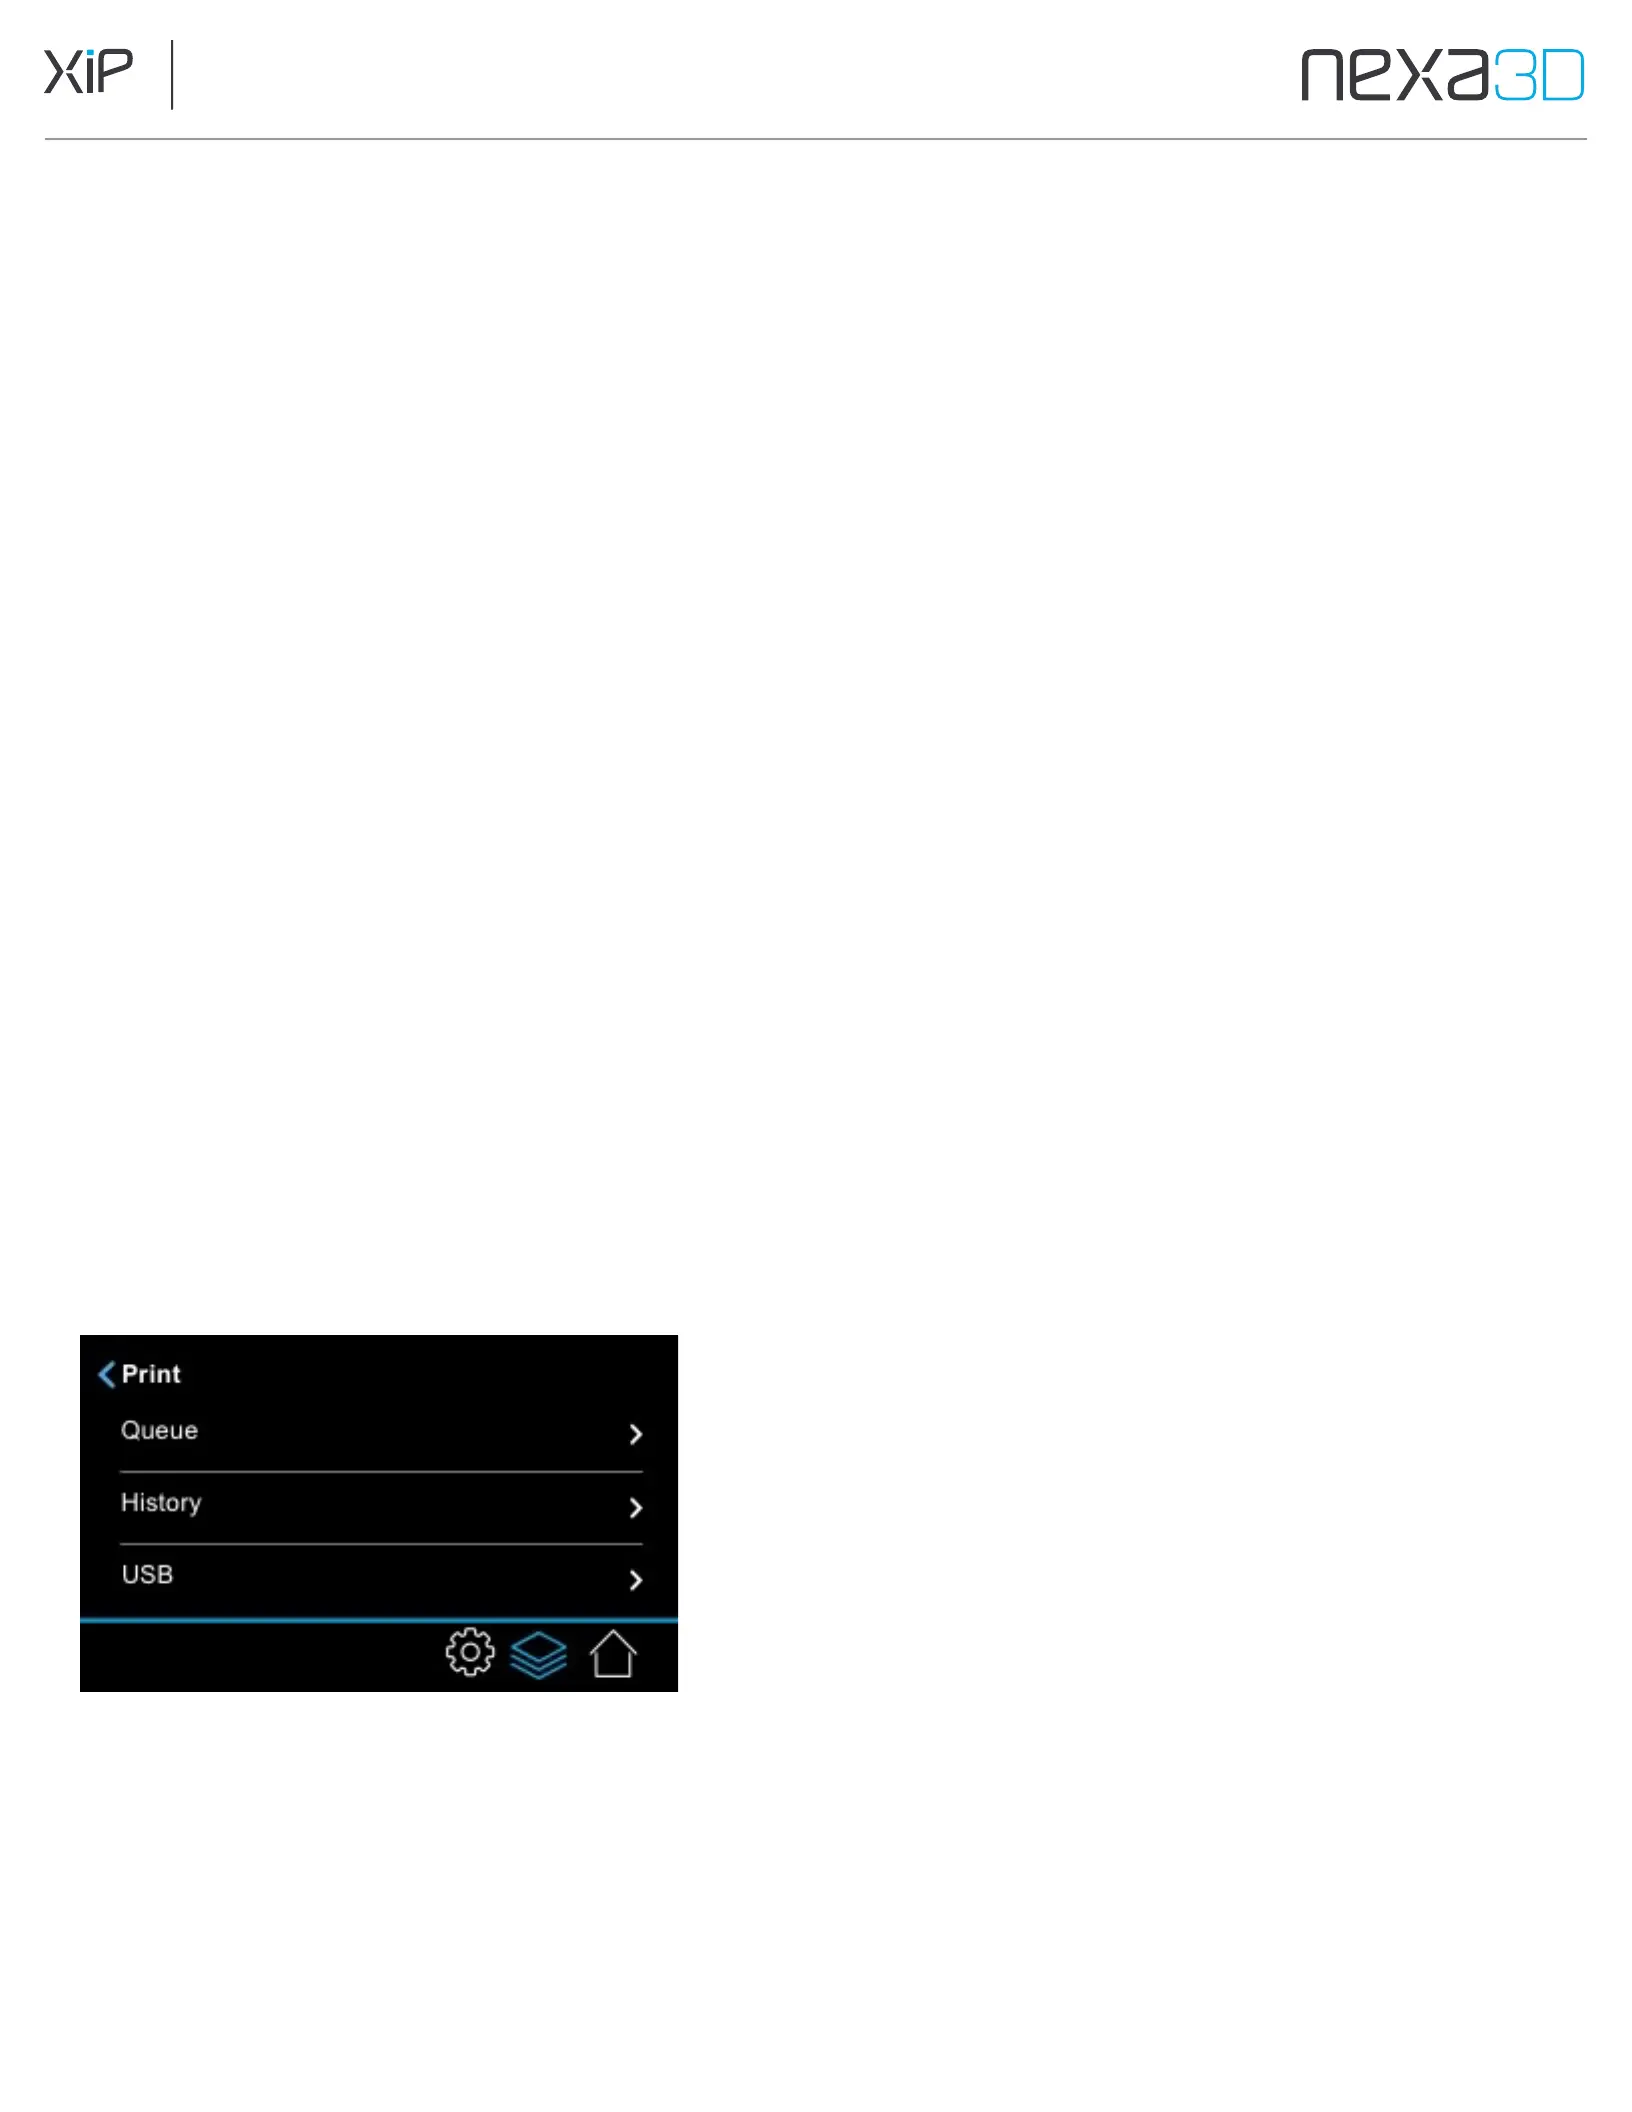
1.
On the Print menu, tap the option you want and then select a file to print.
Queue:
Files waiting in the NexaX job queue.
History:
Files printed in the past.
USB: Files loaded on a USB key plugged into the USB port.
2.
Confirm that the Resin Vat and Resin Cartridge match the file’s resin type
(you may need to re-generate supports for different types of material).
3.
Tap
Print Now
.
As the print progresses, the UI displays the progress by layer.
You can walk away at this moment and leave the print unattended.