7
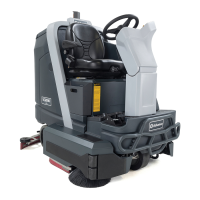
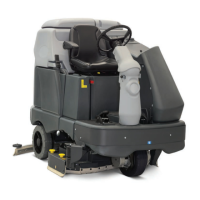
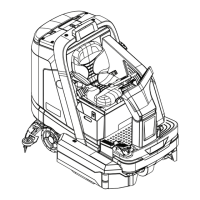
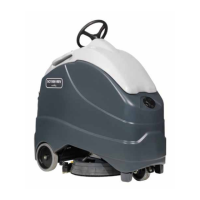
MACHINE DESCRIPTION
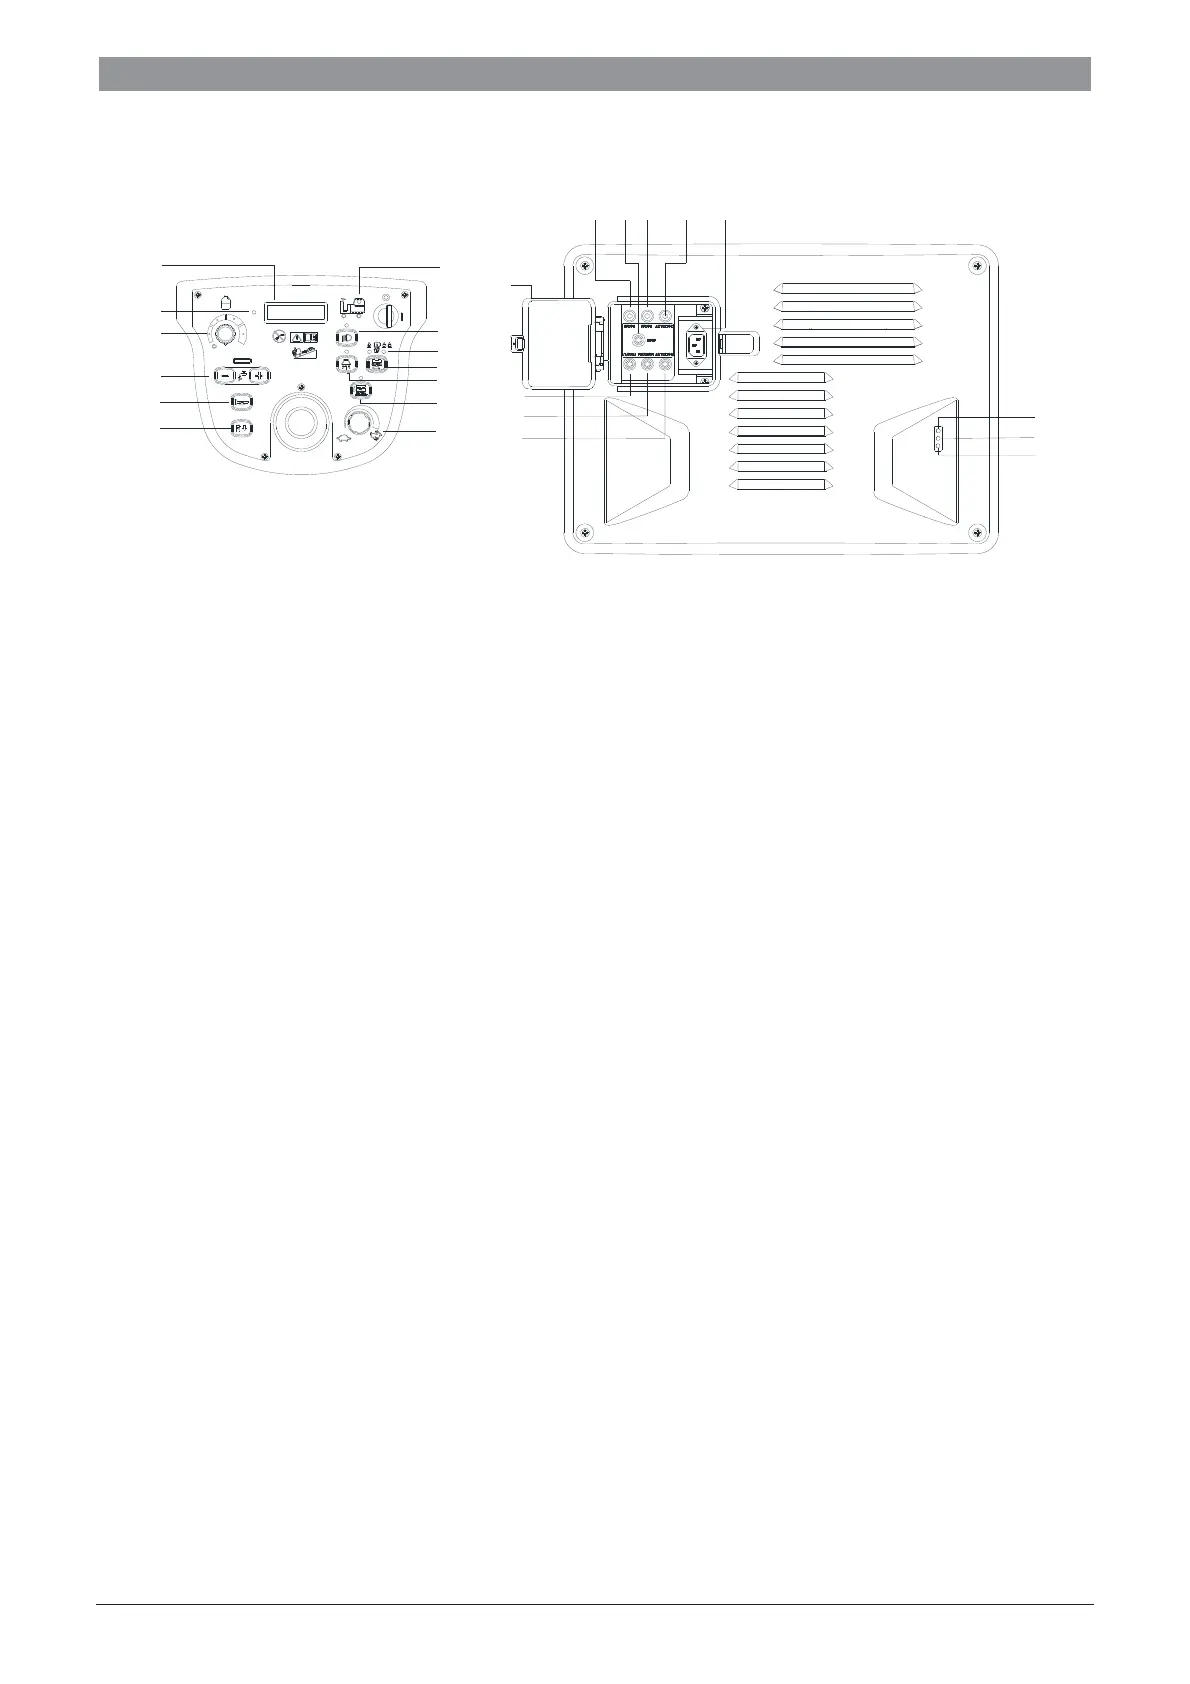
CONTROL PANEL (as shown in Figure 2)
. Speed controller light
. Detergent flow control knob (*)
. Solution volume adjusting button (- +)
. Horn button
. Forward-Backward switch
. Recovery tank full indicated light
. Front lights
. Brush pressure indicated light
. One-Start button
. Vacuum system switch
. Brush unload button
. Speed adjusting knob
43. Charger plug cover
44
. Vacuum motor overload protector
. Drive motor overload protector
. Brush lift overload protector
. Brush motor overload protector
. Main motor overload protector
. Brush motor overload protector
. Squeegee lift overload protector
. Charger plug
. Battery fully charged indicator (Green)
. Battery semi-charged indicator (Yellow)
. Battery charge indicator (Red)
INFORMATION DISPLAY BY LCD SCREEN (29)
1. Running time. For example, “0001.5Hour” indicates that the machine has been used for 1.5hour.
2. “STOP” indicates there is nobody on the seat, the machine won’t move, brushes don’t work, only vacuum motor
is active for work.
3. Battery level. For example, “80%■■■■_” indicates that the battery capacity is 80% remaining. When the battery
capacity is 10%, only drive motor is active for work, other functions don’t work anymore. Must charge the bat-
teries before it works normally.
4. Battery type. The default setting of battery type is “GEL”. “WET” indicates that wet batteries are installed.
5. Error 1 display. “ERROR-01 Battery Vol Low” indicates the batter voltage is lower than 18V. All the functions
of the machine cannot be used, please charge the batteries.
6. Error 2 display. “ERROR-02 Brush Actuator Fault” indicates that brush actuator is current overload, please
check if there is something be stuck in the actuator. Turn off the power to remove the fault before using the ma-
chine.
DISPLAY WINDOW OF CHARGER INDICATON LIGHT (as shown in Figure 2)
1. At the charging beginning, red light indicator (53) stays on.
2. After charging for some time, the red LED (53) on charger turns off, the yellow LED (52) turns on, this is the
second stage of charging.
3. When charging is completed, the yellow LED (52) turns off, the green LED (51) turns on to indicate that the
battery is fully charged.
31
45
47
32
36
42
43
46
48
33
41
40
39
53
51
49
52
34
37
38
44
54
50
30
35
 Loading...