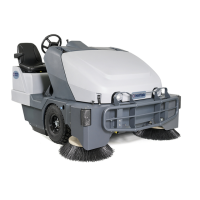
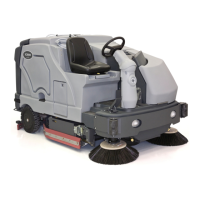
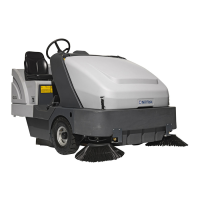
Main Broom System 162Service Manual – SW4000
Maintenance and Adjustments
Main Broom Height Check And Adjustment
Note: Broomswithharderorsofter
bristlesareavailable.This
procedure is applicable to all
types of brooms.
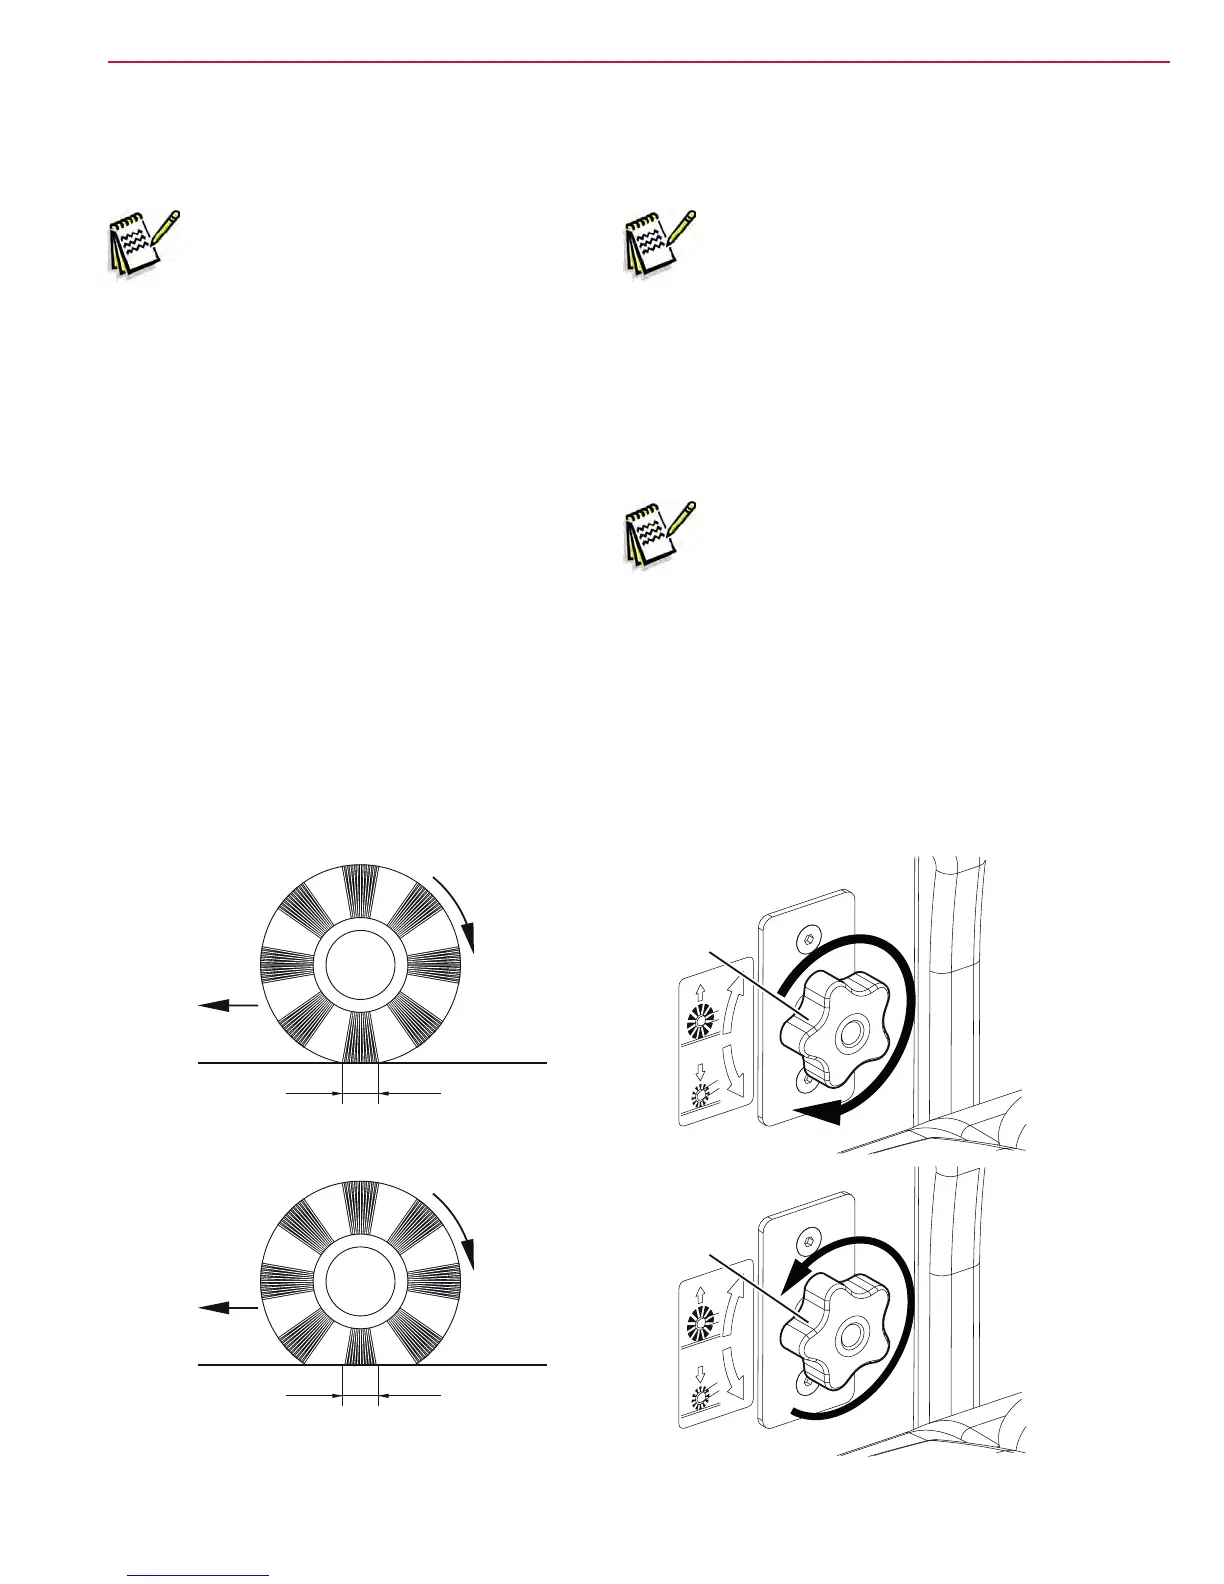
1. Check the main broom distance from the ground,
according to the following procedure:
• Drive the machine on a level oor.
• Keep the machine stationary, lower the main
broom and turn it on for a few seconds.
• Stop and lift the main broom, then move the
machine and switch it off.
• Check that the main broom print (A), along
its length, is 2 to 4 cm wide.
If the print (A) is not within specications,
adjust the main broom height according to the
following procedure.
2. Turn the knob (B) and consider that:
• to increase the print length, turn the knob
counter-clockwise
• to decrease the print length, lift the broom
with the lever and then turn the knob clock-
wise.
Note: Theknobcanbeusedbothto
adjusttheprintandtoadjust
thebroomaccordingtothe
bristle wear.
3. Perform step 1 again to check that the main
broom is at the correct distance from the ground.
4. When the broom is too worn and can no
longer be adjusted, replace it according to the
procedure shown in the relevant paragraph.
Note: Afterthemainbroomheight
hasbeenadjusted,checkthat
themainbroomoverload
warninglightdoesnotashin
therstminutesofoperation.
Otherwisethemainbroom
pressureonthegroundmust
bereducedbymeansofthe
relevantadjustingknob.
5. If the print (A) cannot be properly adjusted,
because the broom pressure differs from one end
to another, proceed as follows.
A
0.8 - 1.6 in / 2 - 4 cm
0.8 - 1.6 in / 2 - 4 cm
A
B
B
P200237
 Loading...