7210 SAS-M CHASSIS INSTALLATION GUIDE Installing the Chassis
Issue: 07 3HE 10089 AAAA TQZZA Edition 01 35
3.2 Installing Your Switch
3.2.1 Rack Mounting
Before you begin, verify that:
• the equipment rack is securely installed, anchored, and grounded. Refer to
the rack manufacturer’s documentation for instructions.
• nearby equipment, including breaker panel bus bars and power connectors,
is made safe. Either shut off the power, if possible, or install safety guards or
mats over exposed power points and cables.
Required tools:
• Bracket Mounting Kit for each device you plan to install in a rack
• Four rack-mounting screws (not included) for each device you plan to install
in a rack
• A screwdriver appropriate for the rack-mount screws
To install the 7210 SAS-M in a rack:
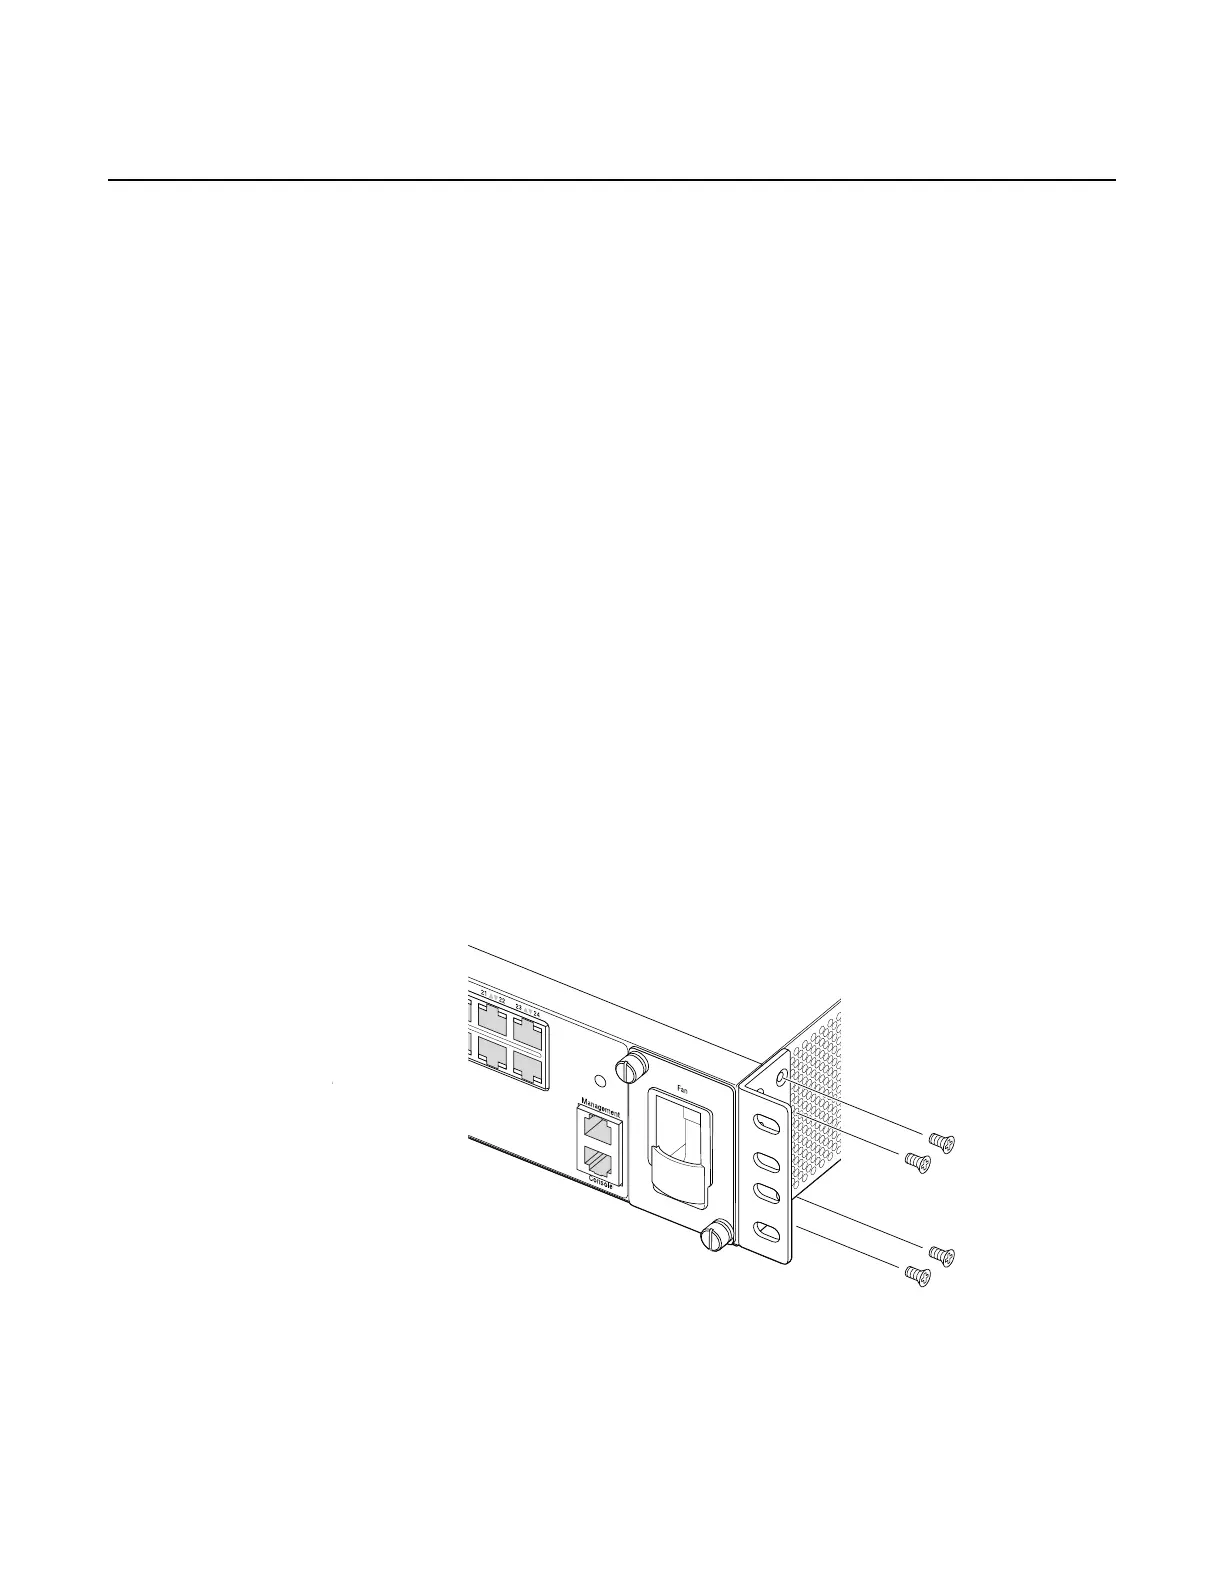
Step 1. Attach the brackets to the device using the screws provided in the Bracket
Mounting Kit, as shown in Figure 10.
Figure 10 Attaching the Brackets
 Loading...