22 Chapter 1 Installing the client
311644-J Rev 00
6 Select the method that you want to use to install and run the client:
• Application (default)
• Windows service (Two step Domain Logon); see “Two step domain
logon” on page 23
• Windows GINA (Connect Before Logon); see “Graphical Identification
and Authentication (GINA)” on page 24
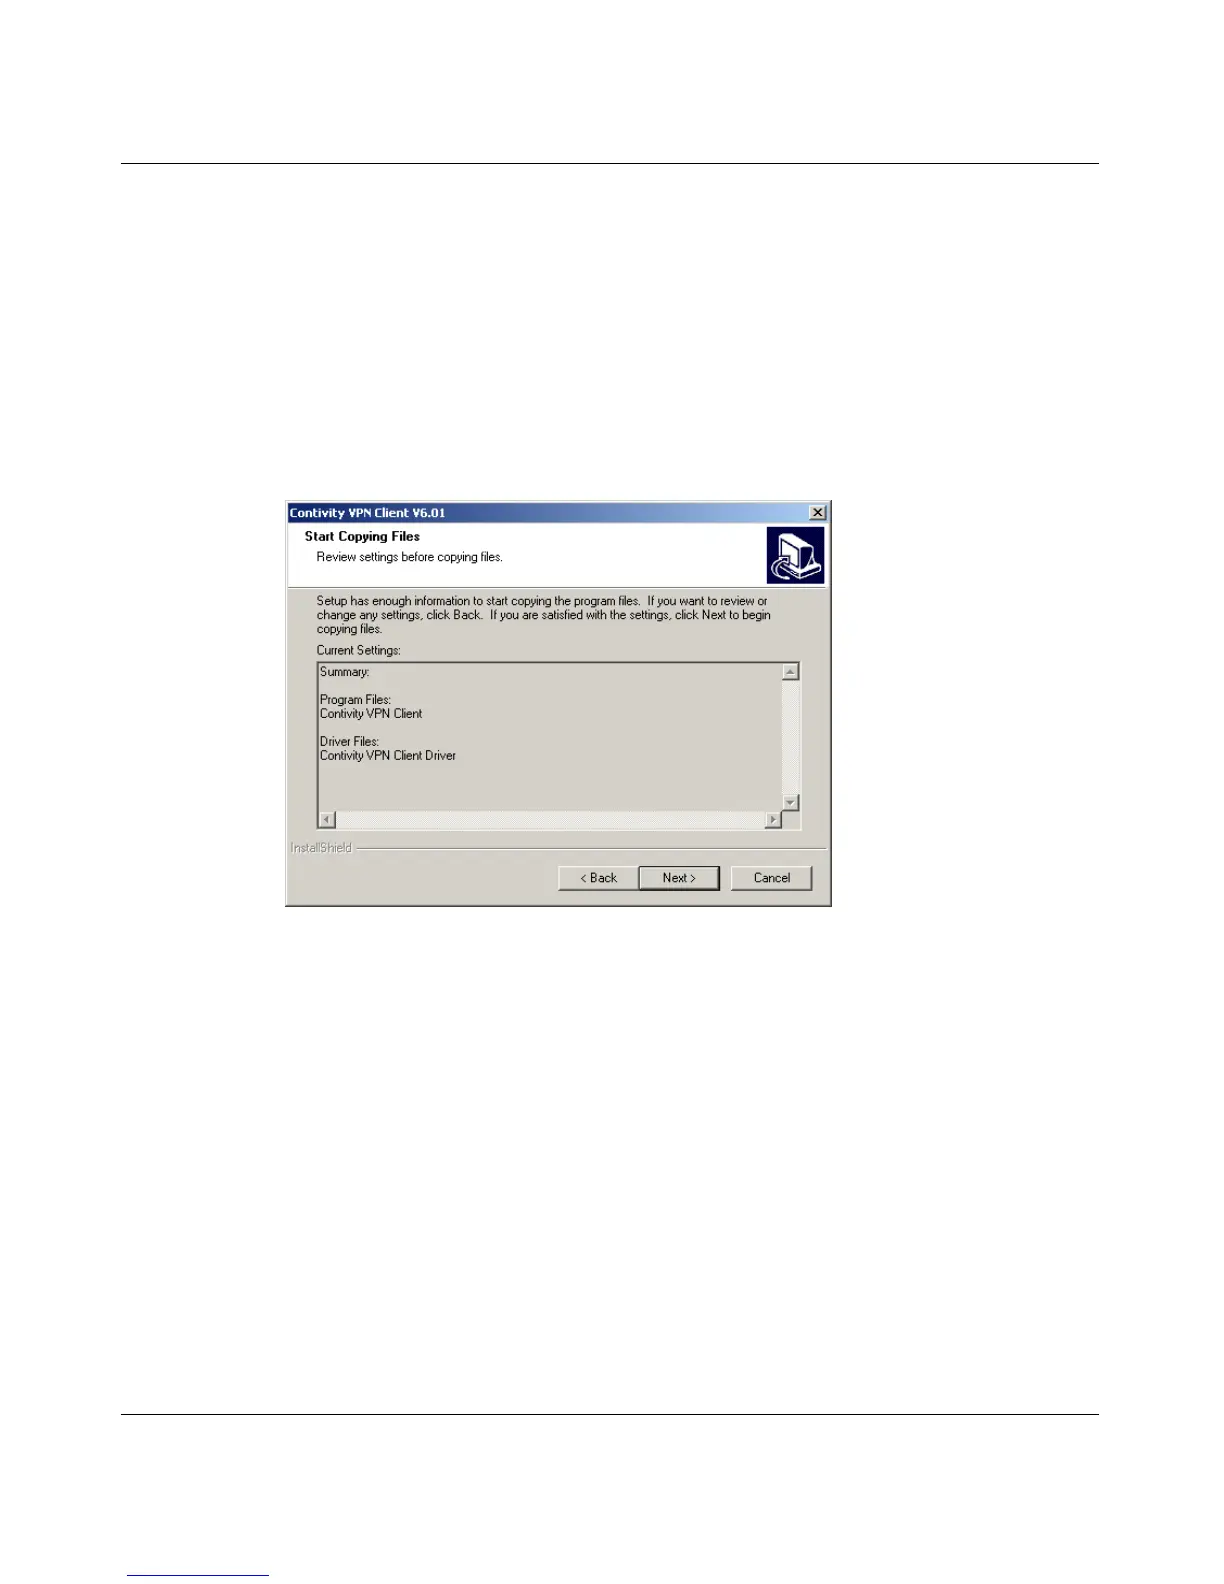
7 Click Next. The Start Copying Files screen appears. (Figure 6)
Figure 6 Start Copying Files screen
8 Click Next to continue the installation.
9 When prompted at the end of the installation, reboot your system.
10 Double-click the Contivity VPN Client icon.
a Enter a new Connection name.
b Optionally, enter a description for the connection.
c Create a new Dial-up Connection. Click on Tool (next to the Dial-up
Connection list box), select New, and follow the wizard.