Installation Procedure Optional Modules
20 RP-1001 15150:F 05/24/2001
2SWLRQDO0RGXOHV
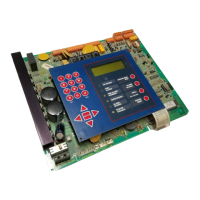
The fire control panel has two
module connectors — J5 and J8.
Three modules are available for the
panel and they can be used in any
combination, including duplicate
modules. The corresponding option
jumper must be cut before instal-
lation of an optional module.
Note: Optional 4XLM module for
an RZA-4X Annunciator must be
installed on J8 only. The 4XTM and
4XZM modules can be installed in
either location.
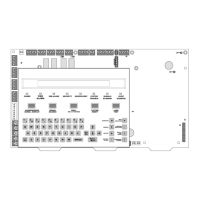
Insert the two stand-offs (provided)
into the holes located on the right-
side edge of the main board.
Carefully align the pins on the main
board with J1 and/or J2 on the
optional board. Insert screw
through the optional board until it
is secured on the stand-offs.
Affix the terminal identification
labels provided with the optional
modules as shown in Figure 2.9.
B+ A+ A- B-B+ A+ A- B-
B+ A+ A- B-B+ A+ A- B-
TB4
JP 1
SUPV 2
LM2
NO DACT
DACT
C
-
-
-
-
237
237
4XTM
or
4XZM
4XTM
or
4XLM
or
4XZM
[2SW,QVWDOODWLRQFGU
Figure 2.7 Selecting Location & Cutting Jumpers
Note: If a
module is
installed in
this position,
cut jumper
“OPT1” on
the main
board.
Note: If a
module is
installed in
this position,
cut jumper
“OPT2” on
the main
board.
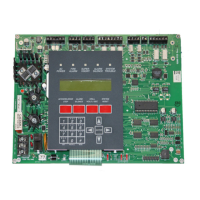
Optional Board
(4XZM shown)
(Part # 42050)
Stand-offs
Main
Board
;6712))FGU
Figure 2.8 Assembling Optional Modules
;2371%'FGU
Figure 2.9 Labelling Optional Modules
www.PDF-Zoo.com