Chapter 6. U.2 NVMe Cache Drive
Replacement
6.1. U.2 NVMe Cache Drive Replacement
Overview
This is a high-level overview of the procedure to replace a cache Non-Volatile Memory Express (NVMe)
drive.
1. Identify failed SSD
2. Get replacement SSD from NVIDIA Enterprise Support
3. Power o the system
4. Remove failed SSD identied earlier
5. Insert new SSD
6. Power on the system
7. Rebuild the RAID volume and mount the lesystem
8. Ship back the failed unit to NVIDIA Enterprise Support using the packaging provided
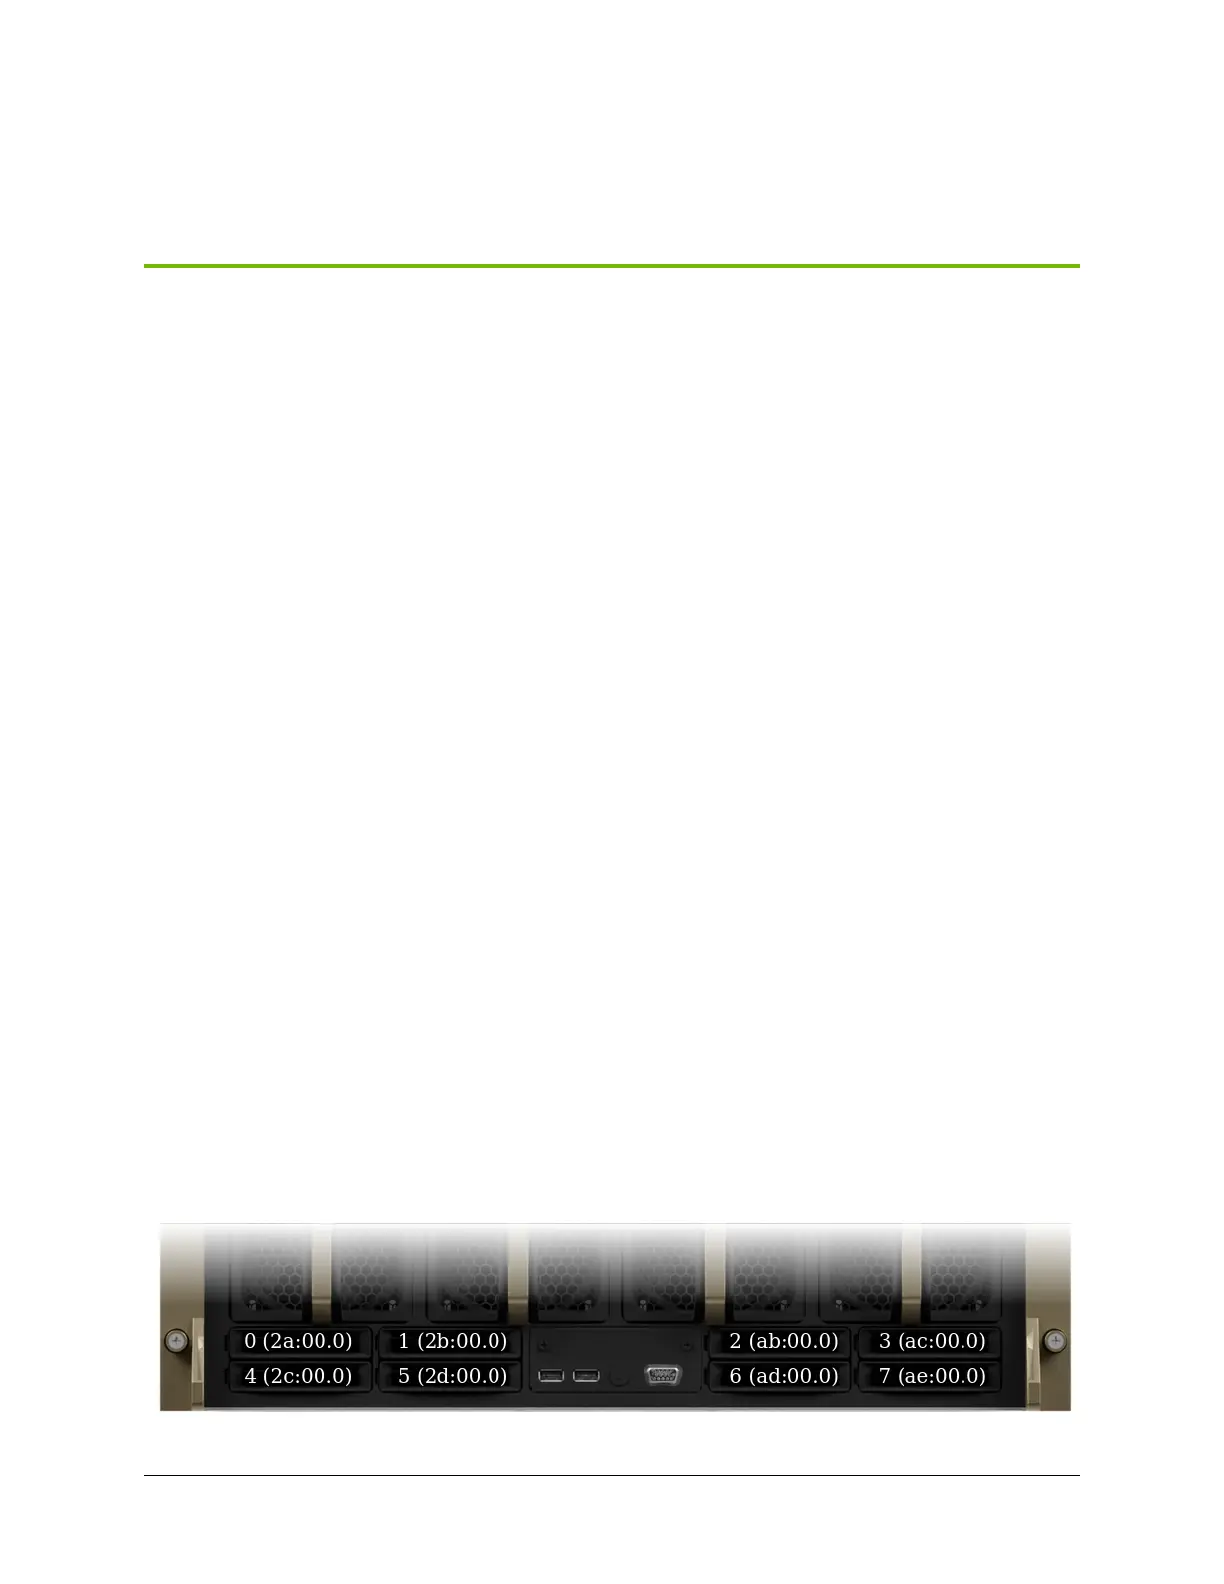
6.2. Identifying the Failed U.2 NVMe SSD
Identifying the Failed NVMe from the Front
If physical access to the system is available, you can identify a failed drive by the illuminated amber
LED.
37

 Loading...