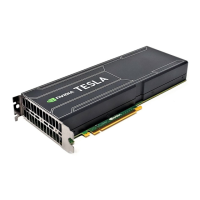
Chapter 8. M.2 NVMe Boot Drive
Replacement
Caution: Static Sensitive Devices: Be sure to observe best practices for electrostatic discharge
(ESD) protection. This includes making sure personnel and equipment are connected to a common
ground, such as by wearing a wrist strap connected to the chassis ground, and placing components
on static-free work surfaces.
8.1. M.2 NVMe Boot Drive Replacement
Overview
This is a high-level overview of the procedure to replace a boot drive.
1. Determine which M.2 device needs to be replaced with the help of NVIDIA Enterprise Support
2. Get a replacement M.2 disk from NVIDIA Enterprise Support
3. Make sure the system is shut down
4. If cables don’t reach, label all cables and unplug them from the motherboard tray
5. Slide motherboard out until it locks in place
6. Open rear compartment
7. Pull out the M.2 riser card with both M.2 disks attached
8. Replace the failed M.2 device on the riser card
9. Install the M.2 riser card with both M.2 disks
10. Close the rear motherboard compartment
11. Slide the motherboard back into the system
12. Plug in all cables using the labels as a reference
13. Power on the system
14. Conrm the M.2 RAID 1 mirror is synchronizing
15. Ship back the failed unit to NVIDIA Enterprise Support using the packaging provided
45

 Loading...