SAMM User Manual
83
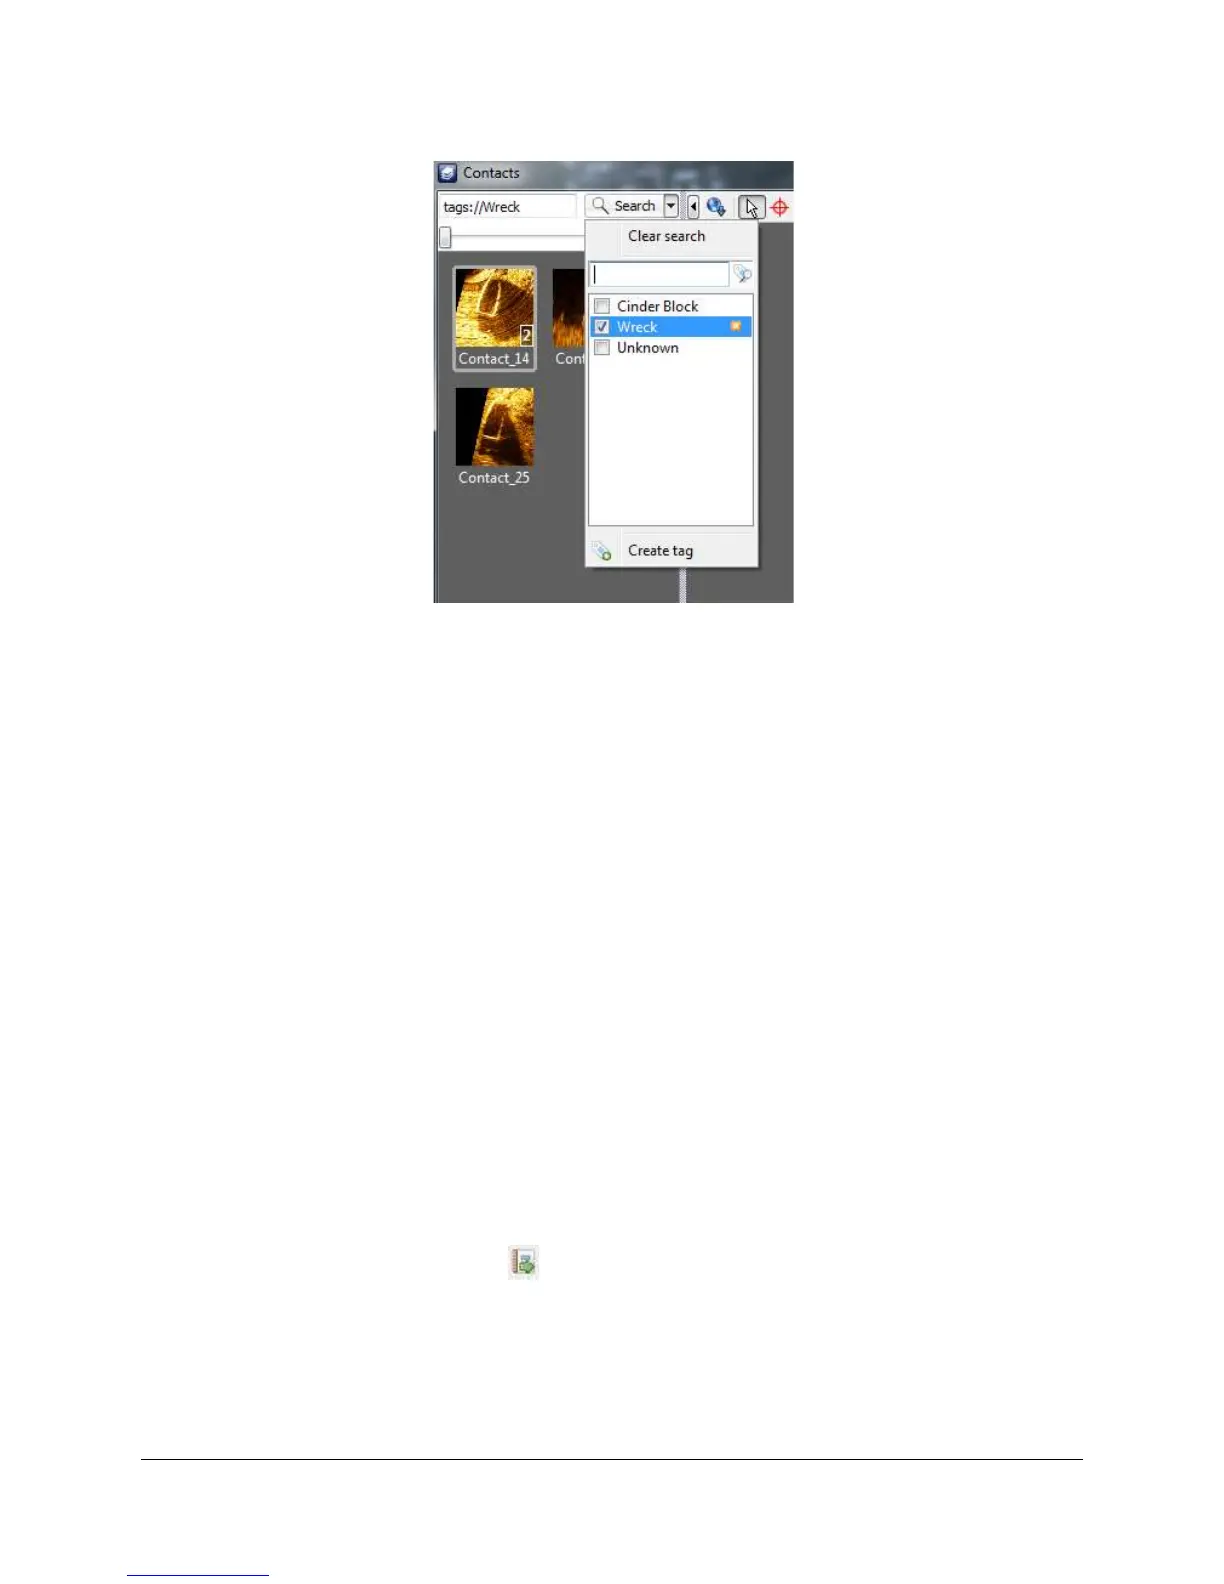
Figure 68. Filtering by Tag
To send contacts to the staging table, right-click on the selected thumbnails/tiles and click Add
contact(s) to staging table. You can select all, multiple adjacent, or multiple non adjacent
thumbnails in the same way as viewing them in the contact display (Section 8.2). The staging
table will appear at the bottom of the Contacts interface, with contact and properties displayed in
a tabular form.
8.5.2 Prep the Staging Table
At this time, most of the formatting functions in the staging table are for display purposes only.
The order of the contacts in the table, however, is preserved in the report. Sort the table by
clicking on the column name. Text fields sort alphabetically while numeric fields sort
sequentially, in ascending or descending order. A small up arrow signifies ascending, while a
small down arrow signifies descending.
To remove contact(s) from the staging table, select them in the table and either click the
Remove contact(s) from staging table icon or click this command on the right-click context
menu. You may also choose to limit the display of thumbnails and tiles to those present in the
staging table; use the Show contact(s) icon or context menu command to perform this action
for contacts selected in the staging table. This assists in building your report because it shows
you which images will be exported.
8.5.3 Export a Report
You can export reports in *.html and *.xml format from the staging table. To build the report:
1. In the staging table, sort the table to set the report order.
2. Click the Create report icon ( ).
3. In the Create Report window, navigate to the file location to save your report. The default
file location is the project folder.
4. Enter a file name.
5. Click Save.